A STEEL BEAM, LINTELS AND JOISTS
- Chris Berry
- Aug 31, 2022
- 4 min read
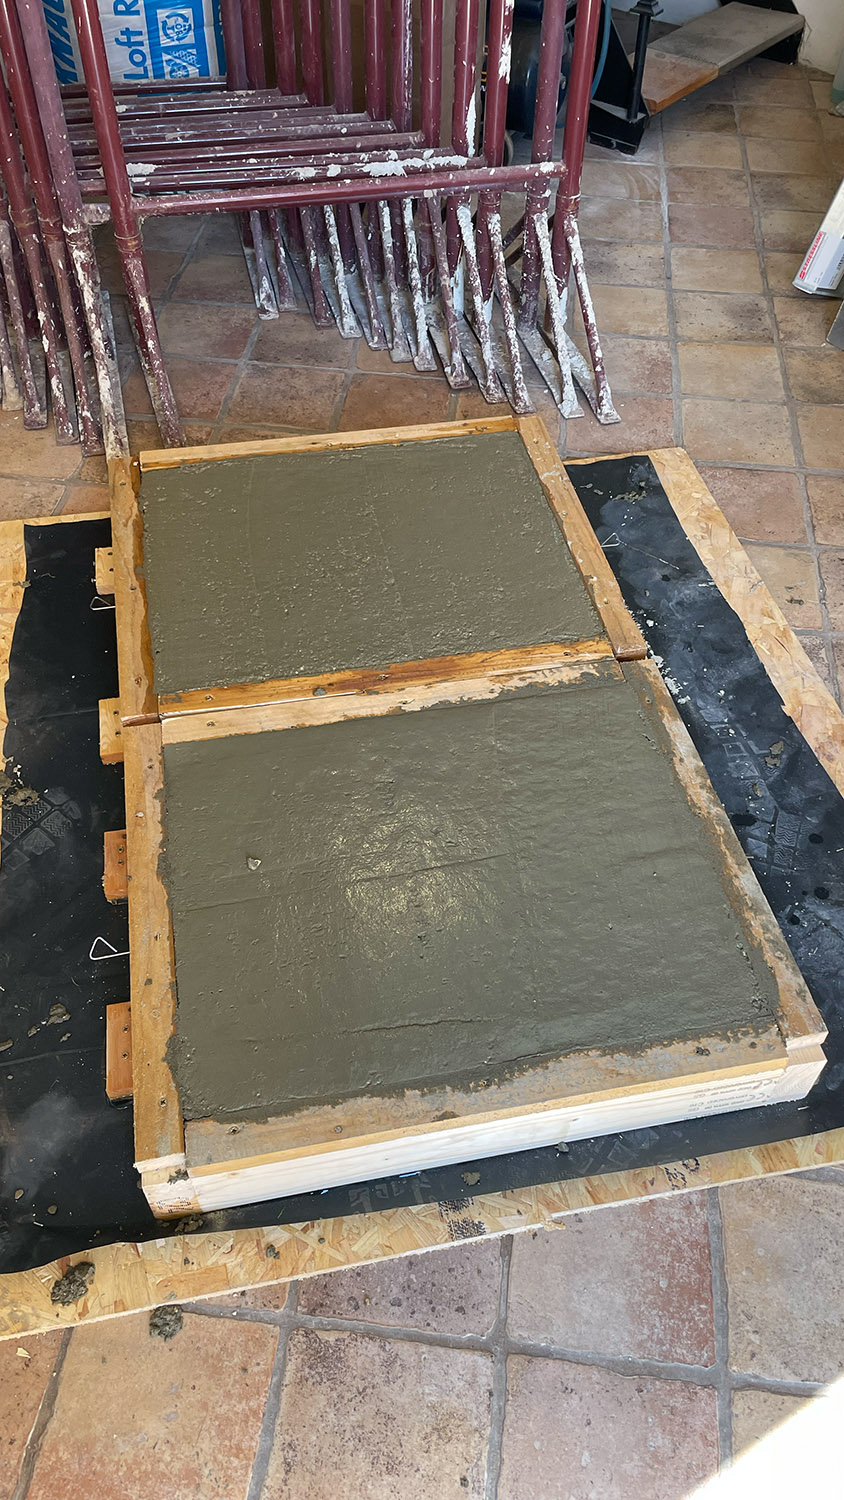
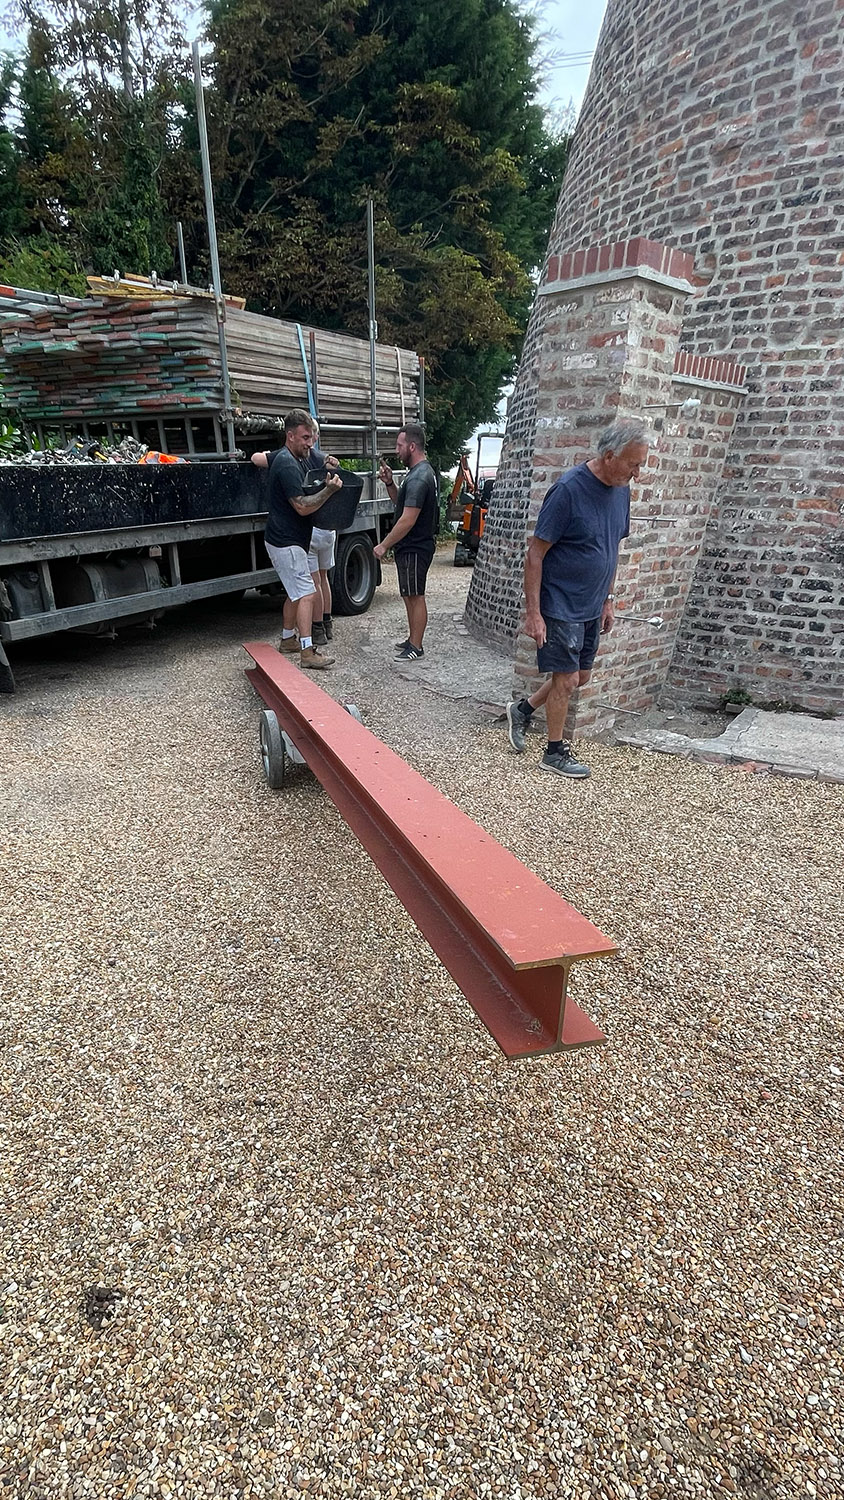
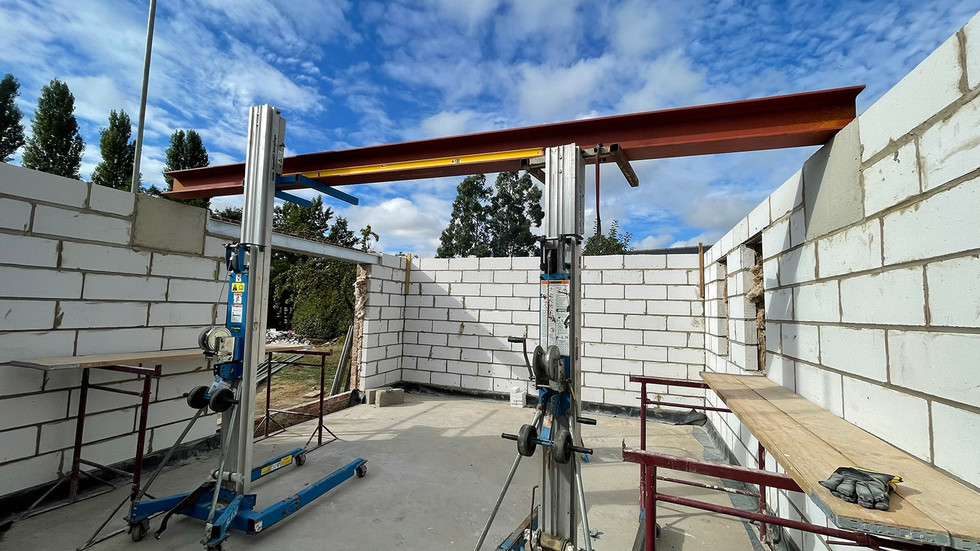
With the walls at lintel height the lintels were now ready to be installed, but first there was the small matter of a piece of steel that needed to span the living room ceiling in order to support the wall above that would delimit the master bedroom from the bathrooms and would also support the ridge beams for the main roof. This was a not unsubstantial 203 x 203 UC 5.5m long piece of steel that weighed 330kg and this needed to be moved from the front of the house where it had been delivered into the living room and then winched up to sit on two cast padstones. The padstones were cast on site with some reinforcing bar added to strengthen them further and these were built into the walls at the requisite positions. To get the steel into the room space a jockey wheel was hired and this allowed the beam to be surprisingly easily wheeled into location. Two Genie Lifts were then used to gently lift and turn the beam before lowering it carefully onto a mortar bed on top of the padstones whereupon it was levelled appropriately.
The padstones being cast and the steel beam being moved and installed.
Once this was in place the various lintels were installed and brick and block work added to bring the walls up to a height where the first floor joists could be installed.
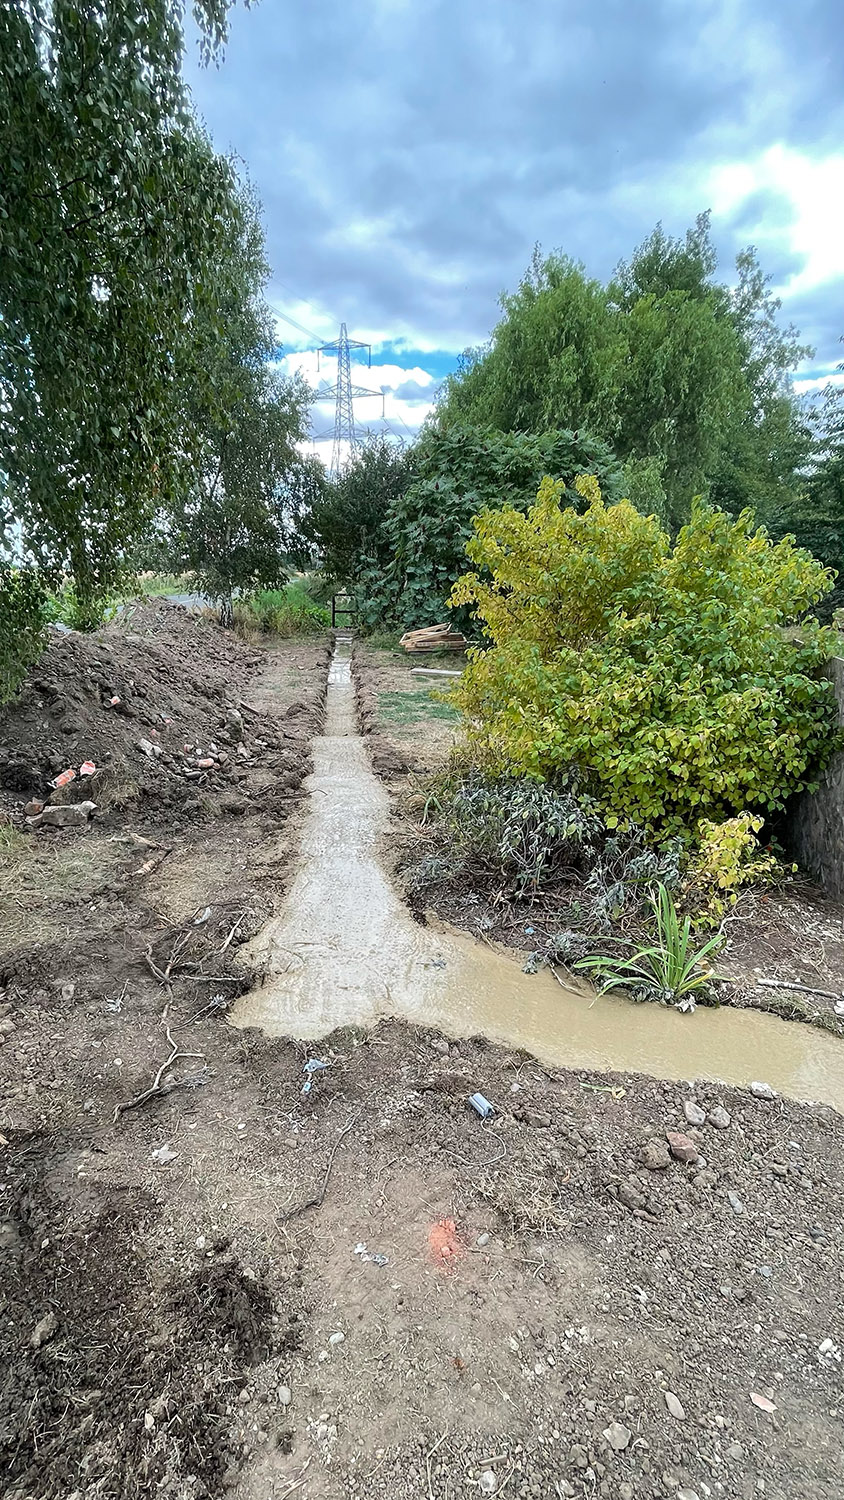
While all this was happening we had decided to undertake another (connected-ish) task that we were originally planning to do once the new building was up, but decided to bring forward with all the materials and skills on site, this being a front garden wall. We had always felt in two minds about this as the lawn running straight onto the road made the front of the property feel very spacious, but on the other hand it did nothing to deter dogs and cats from running across the road or people just ambling in to the property. We didn’t want a high wall as that would feel like we were hemmed in so decided on building a 3’ to 4’ high wall which while it wouldn’t completely stop animals from running on the road or people climbing over would be a delimiter/deterrent. With this is mind we dug a 40m long trench and laid down a good 600mm depth of concrete as a footing.
New garden wall footings being poured.
When we repointed the mill in phase 1 we didn’t do the part of the building just over the original bungalow or inside the bungalow as we had a notion that we might leave it with the original pointing as it was all now to be inside the new house and this would preserve at least some of the original 1780’s mortar. However, when we removed the bungalow and the associated services running through the mill walls we realised just how much damage there was to the façade and how loose some of the bricks were so much so that by the time we had patched in all the missing or damaged bricks and filled the holes etc. much of the original pointing would be gone. Factoring in this and the need to make a new doorway opening on the first floor level (for the bridge) we reluctantly decided to completely repoint this part of the mill as part of the repairs to give it a uniform look rather than leaving it looking what would have been very patchy. Work on this was started around this time with a scaffold tower erected against the mill and the old mortar being removed ready for repointing after the various repairs and the opening had been made.
Work on raking out the old mortar in the mill wall under way.
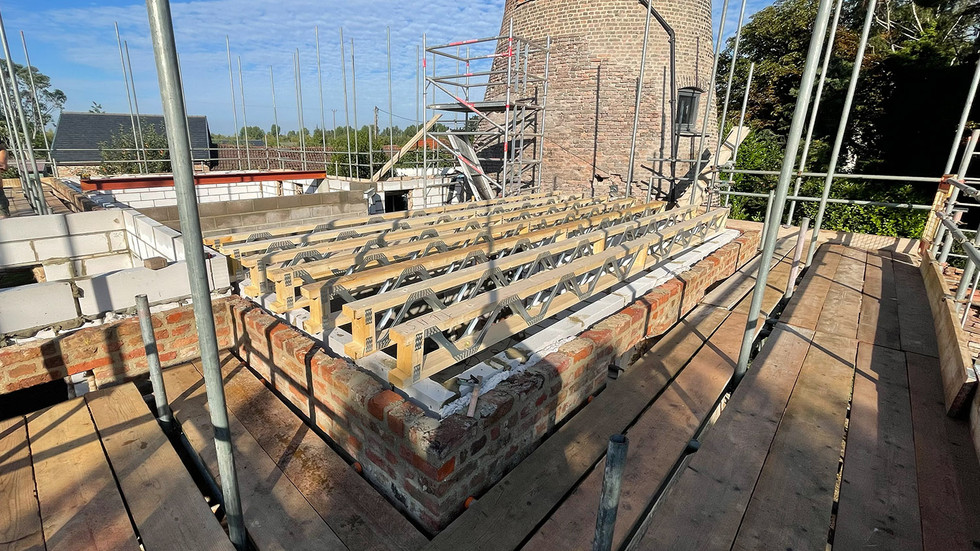
On the main build it was time to install the posi-joists that would form the floor of the upper storey rooms. Posi-joists are metal webbed joists with a timber top/bottom that are used when a lightweight but strong solution is required and/or the span is too great for a traditional joist (as was the case here). One huge advantage of them is that pipework can run through them so plumbing is a lot easier than struggling with traditional solid joists. They are custom made to the precise lengths required and are generally set at 600mm centres although in this case I wanted to go at 400mm centres to eliminate any bounce as much as possible. These were installed bearing their load on the inside skin of the external walls and levelled using packers. The landing was not floored using them as the span was much less here and there was the need to build in a large staircase aperture which made using them somewhat redundant when compared to standard joists especially from a cost perspective.
The posi-joists being installed.
The utility building being only a single storey didn’t need any joists as it was being roofed with trusses, but there was a need to set the height of the roof to be optimal with the rest of the building i.e. to have the fascia boards line up with the cladding etc. In order for this to work the inside skin needed to be the same height as the top of the posi-joists and therefore another course of block was added accordingly.











Comments