AND... PHASE 1 IS COMPLETE
- Chris Berry
- Feb 4, 2022
- 4 min read
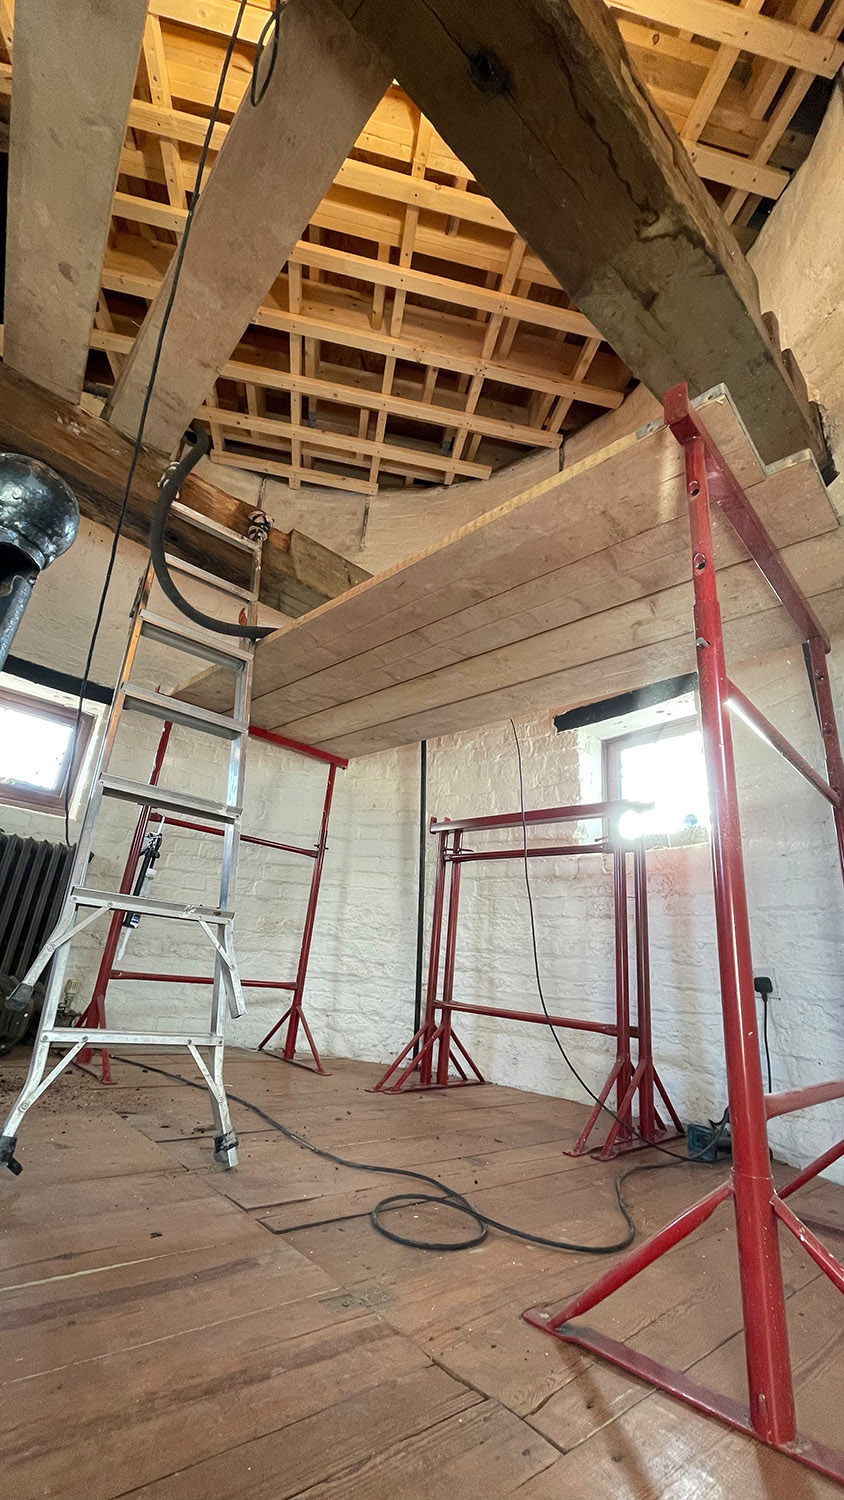
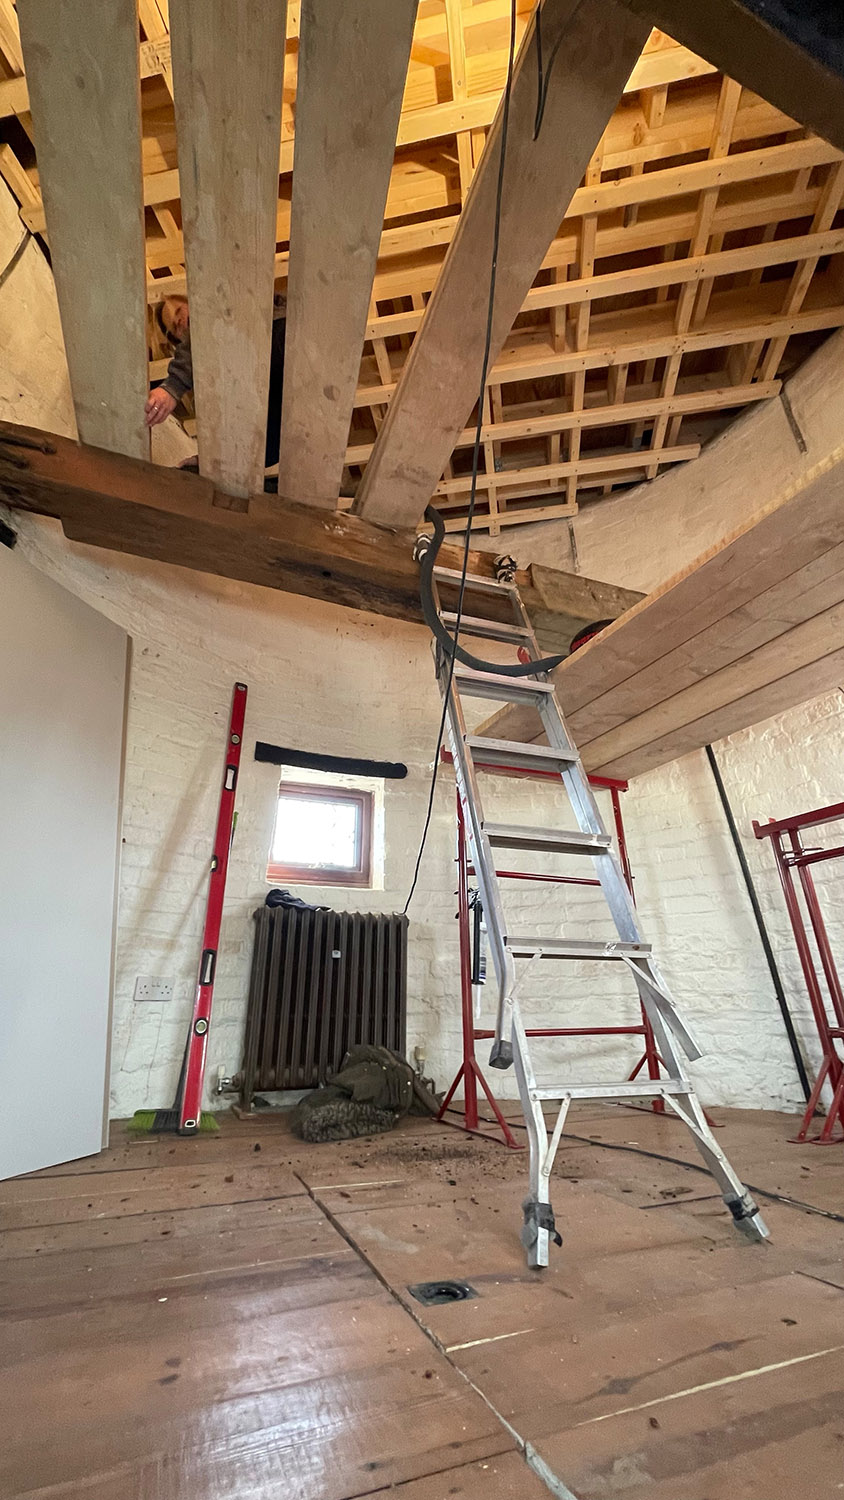
Once the roof was completed externally the ceiling needed reinstating inside the top bedroom. As we had effectively moved the roof up by a metre or more the room was now much higher and the two beams that used to support the old roof were now in free space across the room. The plan is in time to make them a feature, but for now the immediate priority was the ceiling. However, before that we had to address the issue of the walls that were originally external and above the old roof, but were now internal below the new (higher) roof. Over time these had been coated with various waterproofing treatments and had been obviously open to the elements so they were covered in sticky, oily, dirty deposits. To remove these we used drills with wire brush attachments and two coats of Floorseal Sealer Residue Remover which was a dirty job to undertake, but eventually resulted in a clean stable surface to the brickwork. This was then painted with two coats of white masonry paint to seal it and act as temporary decoration until the mill was properly decorated internally at a later date.
The painted walls (you can see the difference in finish between the old and the new paint).

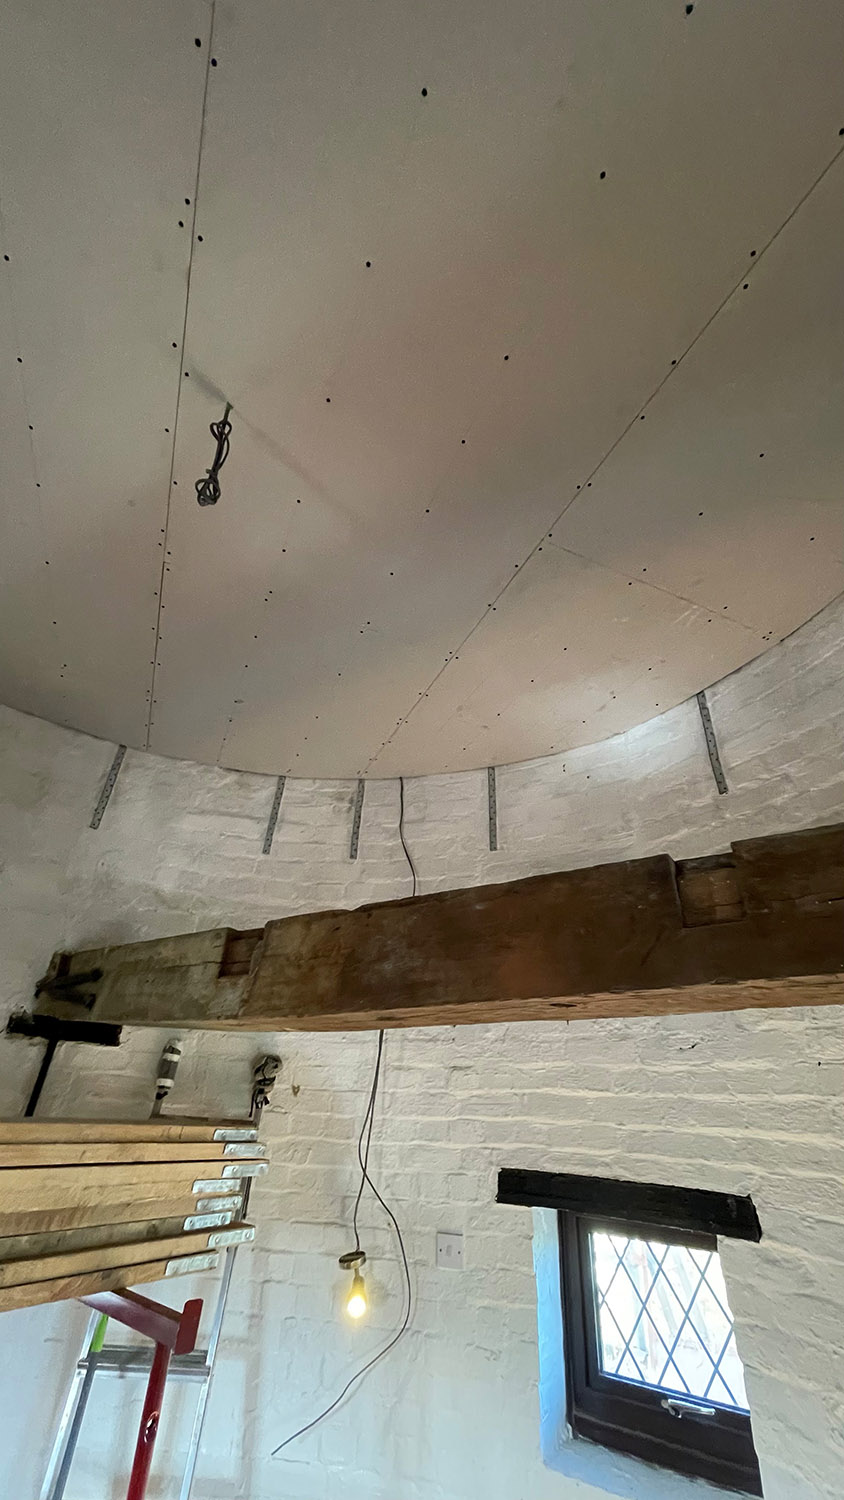
In order to install a new ceiling a raised deck was created with trestles and scaffold planks so we had something to work off. Using this 75 x 47 ceiling battens were then installed at 400mmm centres and plasterboard cut and screwed into position with provision made for a new central light fitting by installing a 1.5mm FT&E cable for the future. The ceiling was then plastered and painted so the room could be put back into use prior to full renovation in 2023.
The raised working deck and the plasterboard installed prior to plastering.
The date plate numbers on the mill (these were installed in 1815 when the mill was altered) were in bad shape (as mentioned previously) and becoming loose so these were carefully removed, and copies (or homages in reality as they weren't exact copies) made at a local foundry. These were then galvanised and painted before being installed in place of the originals with them, this time, screwed to the brickwork via several extra solid fixings.
The new date plates during manufacture.

The new accoya windows (which were finished in anthracite) were installed in the second, third and fourth storeys along with new slate sills. Some small modifications needed to be made to the openings and they were all repointed as part of the process. The mastic sealant round the windows was applied in what were now very cold temperatures and this combined with the size of the bead in some areas (due to the somewhat variable brickwork on some of the reveals) made the curing time lengthy, but ultimately they were all successfully sealed. The final job before the scaffold came down was to install two new name plaques. By way of explanation when the mill was converted in 1815 the millwright John Dobbs installed a 300mm square stone plaque on the east side of the mill about one storey up on the brickwork containing his initials and the year 1815. The previous owners who had rescued the building from dereliction had asked us if they could add a similar plaque emblazoned with their initials and year they bought the property. We liked this idea and decided to add our own as well. A local stonemason made the plaques and we embedded them in the mill wall next to John Dobbs’ plaque.
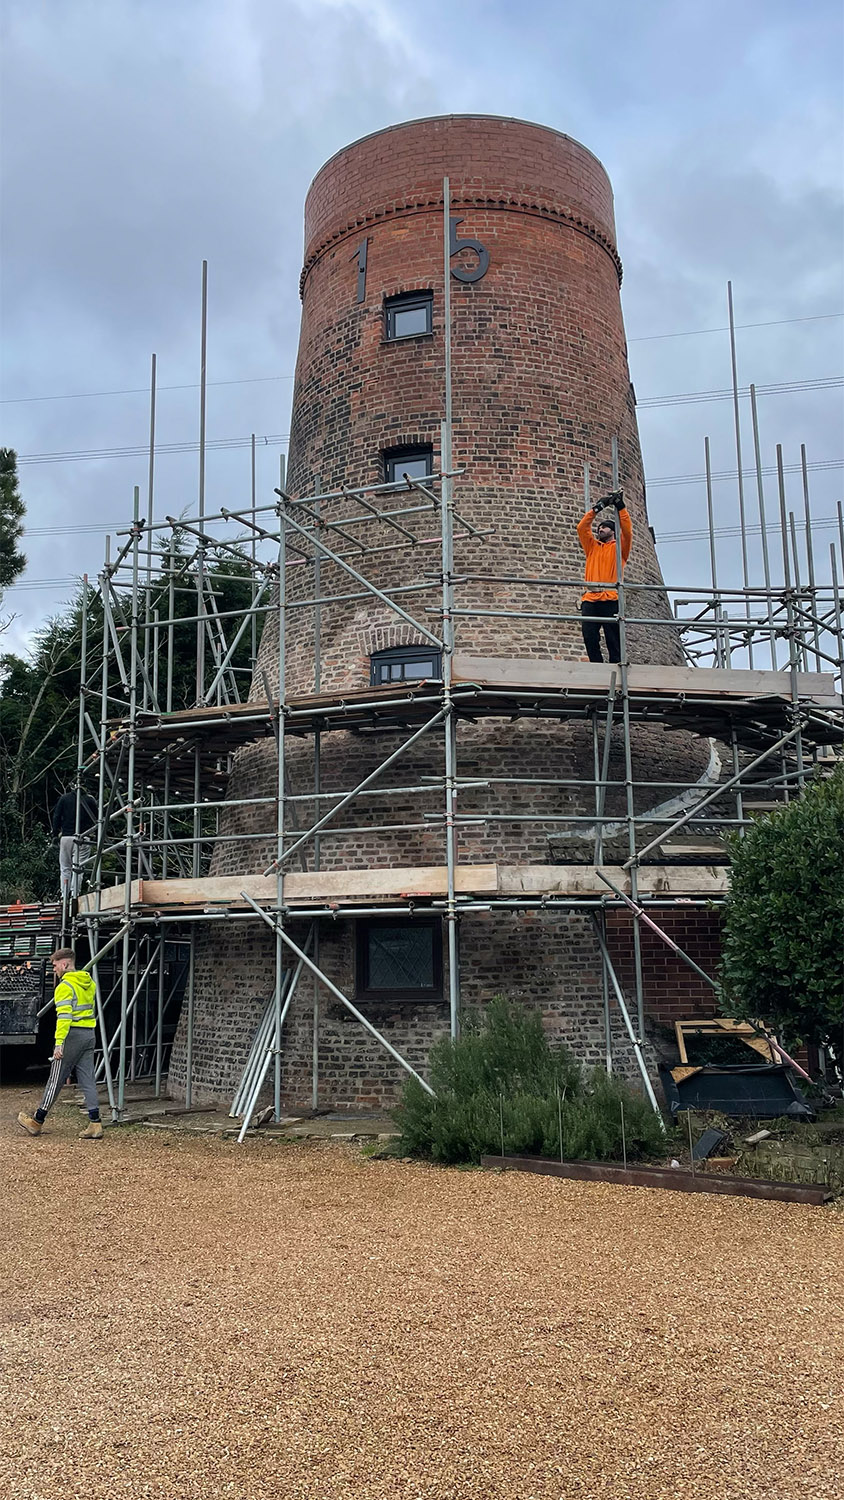
The plaques in situ and the scaffold coming down.
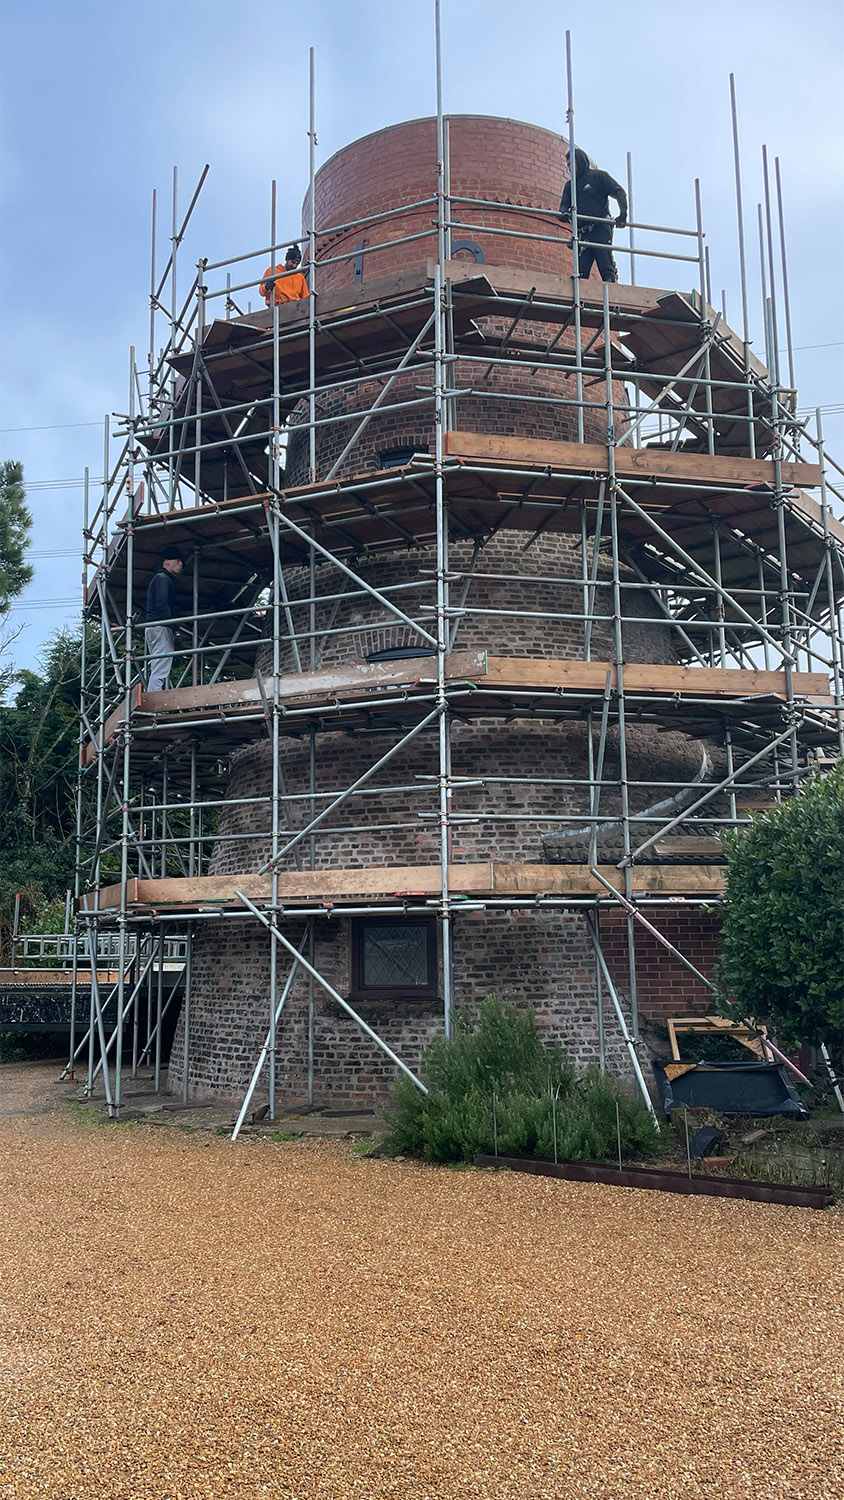
And so that was it... all tasks ticked off and now the scaffolding could come down. We had to wait a short while for that to happen as the scaffold company were phenomenally busy, but when the day arrived we were looking forward to finally seeing the results of our work properly.
The plaques in situ and the scaffold coming down.
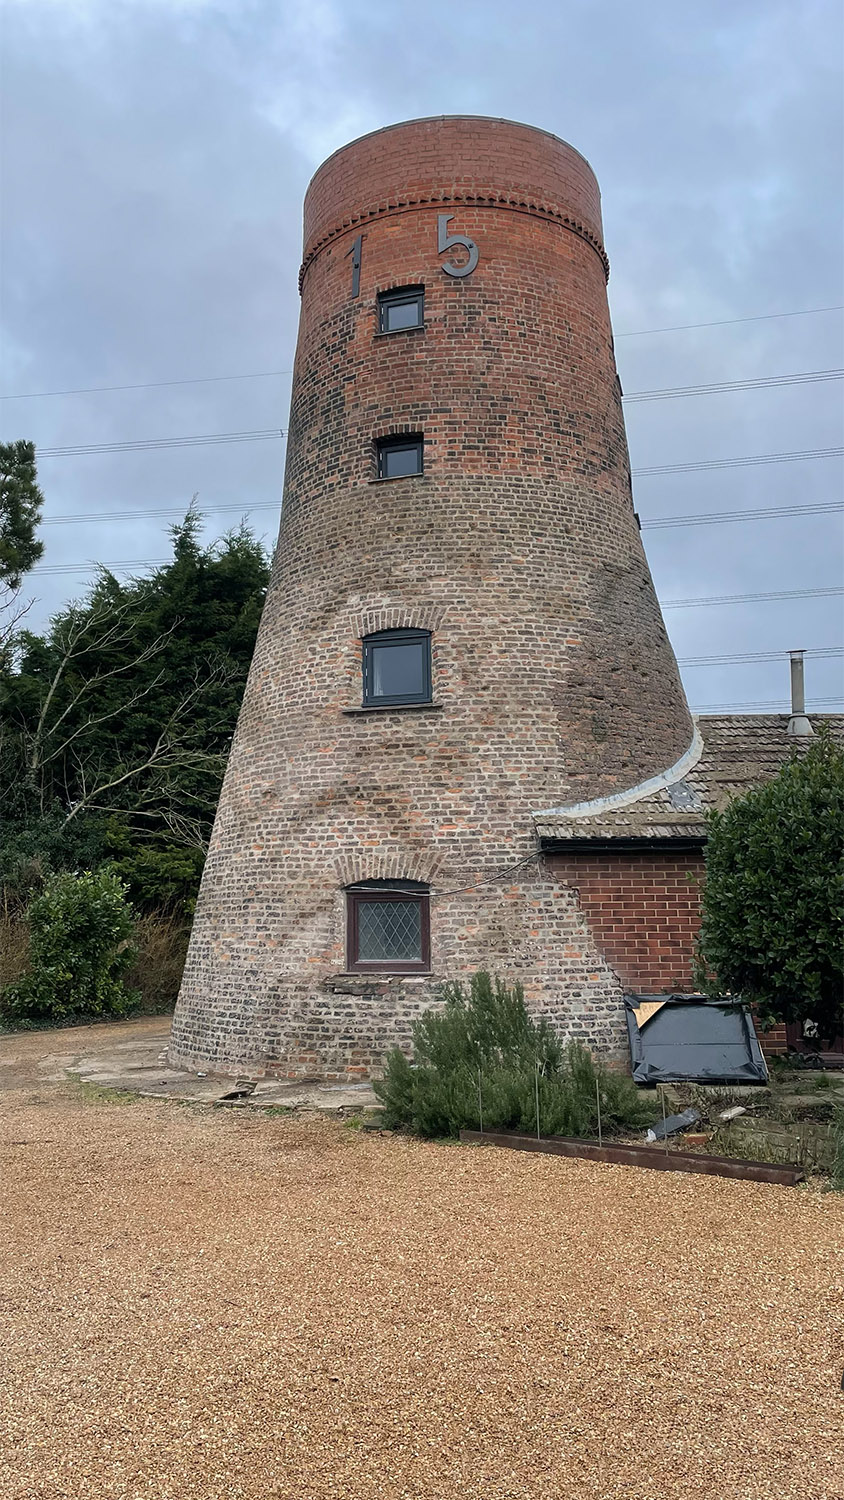
The three ground floor windows were not replaced with the others as the scaffold was in the way of doing this and they need a bit more work on the apertures than the others as well as some alterations to the sill heights so either we will do them shortly (if the weather holds) or when Phase 2 begins, as yet we’re undecided.
The ‘naked’ mill revealing the new windows, date plates and a pretty much full re-pointing. Note the reclaimed bricks stacked and covered ready for the commencement of phase 2 in summer 2022.
One other task we undertook while all the work was going on with the mill was the rebuilding of the courtyard wall. This was originally in a fairly asinine red brick that would be even more incongruous with the mill once it was renovated so we decided to rebuild it in reclaimed brick to match the mill. At the same time we wanted to add two gateposts to mount some large gates on as with the renovation we were eventually going to change the vehicular access point from the driveway next to the mill to the driveway that is used for the barn and add a new car park for the mill. This would mean that we could then ‘close off’ the current driveway/courtyard with gates that would only be used to get vehicles in and out of the garage. The gateposts were to be brick pillars built around steel beams mounted vertically in concrete to give the posts strength. One of the new posts would be built adjoined to the wall of the mill and this couldn’t be done with the scaffold in situ, but the other at the end of the new wall was done during the Phase 1 works and as part of the courtyard wall build.
The gatepost steel in place and the brickwork being built up.
The finished wall can be seen here behind the roof rubble (a better picture is forthcoming in the future).













Comments