ASSESSING PHASE 1 OF THE WORKS
- Chris Berry
- Sep 9, 2021
- 6 min read
Phase 1 of the project was to pay some attention to the mill in the form of replacing the windows, addressing any issues with the roof and re-pointing any brickwork that needed it. In the case of the latter it was hoped that the top part of the mill that was rebuilt in 1815 using engineering bricks could largely be left alone as from the ground the bricks and mortar looked in good condition. The lower part, however (built in 1780) was clearly suffering with mortar beginning to fail and some of the brick faces blowing off with frost damage. That said the building is over 200 years old so for the brickwork to as lasted as well as it has is a testament to the original build.
The existing condition of the lower portion of the brickwork from 1780.
To carry out this work we obviously needed scaffolding up on the mill, but erecting this around a circular building that tapers inwards quite substantially is not a simple task. Luckily we found a local company who could do it (admittedly with a bit of head scratching involved) and the only further fly in the ointment was the electricity supply to the mill. The issue with this was it fed via a suspended cable from a ‘telegraph’ pole approximately 20m away and entered the mill at first floor height on the north side. The scaffolders did not want to erect their scaffold with it there as the suspended cable hanging across the scaffold obviously presented a health and safety hazard on several levels. As it happens though, the electricity supply in our tenure had always had an issue in that the lights were prone to flickering all the time and I suspected this might be due to the age of this cable as it seemed especially bad when it got blown around in the wind and/or was raining. This coupled with the fact that ideally we wanted the electricity supply on the other side of the new building meant we decided to bite the bullet and contact UK Power Networks about installing a new underground supply as we knew the supply cable to the ‘telegraph’ pole was running across under our land behind the garage.
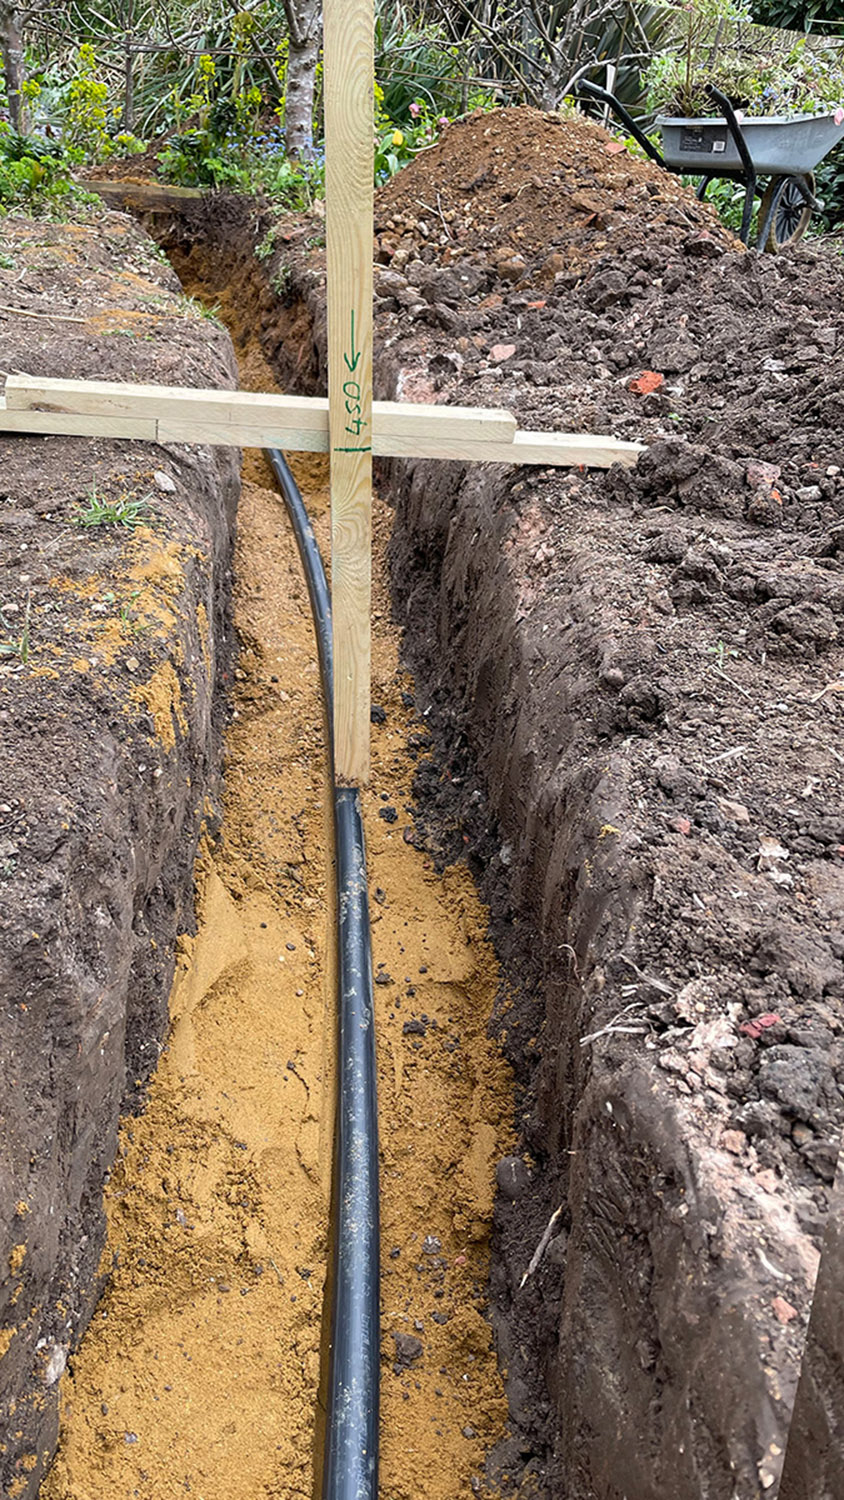
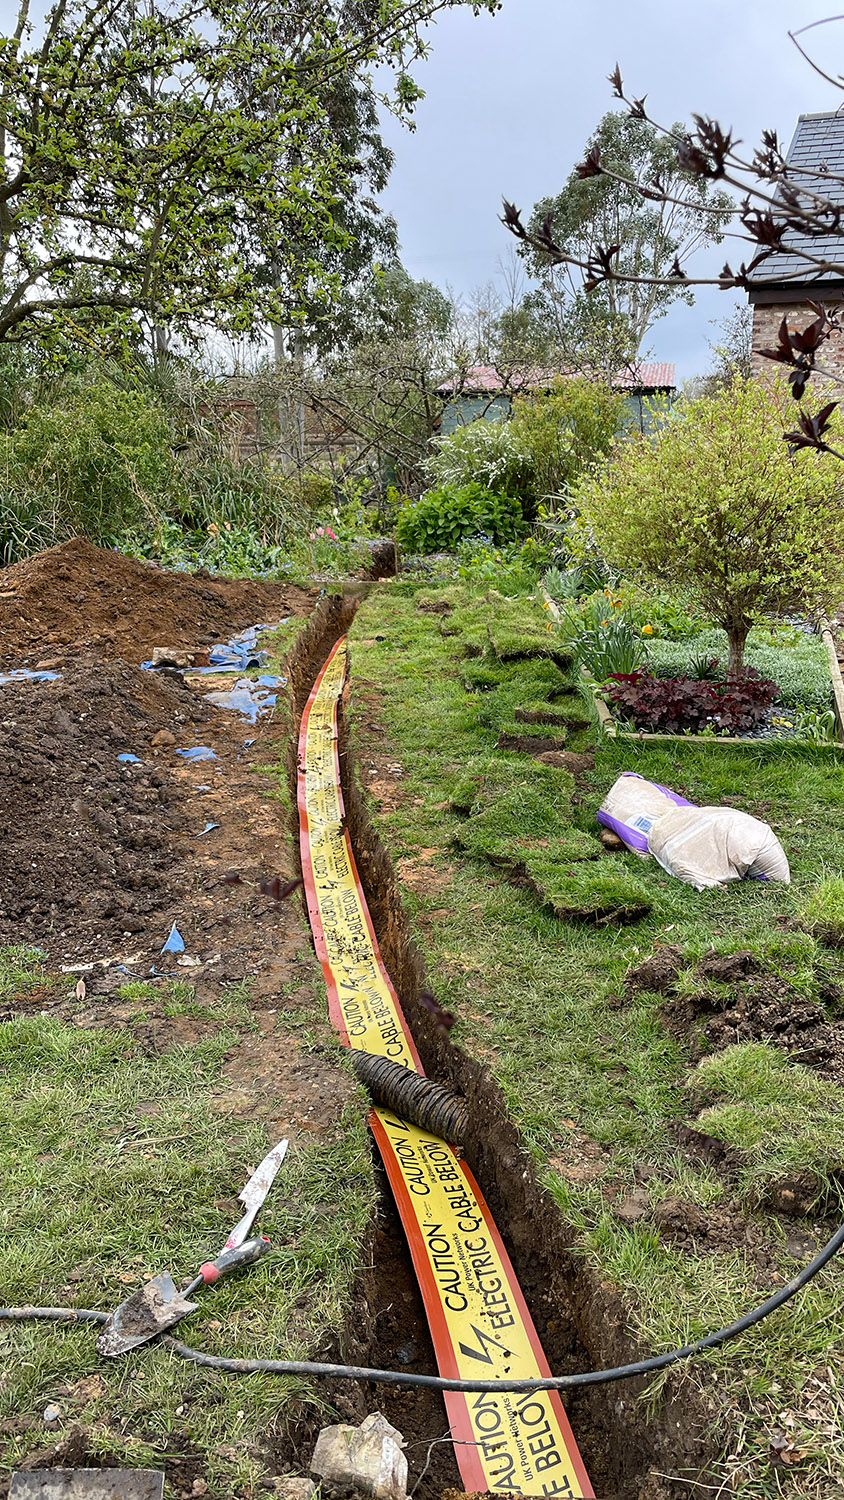
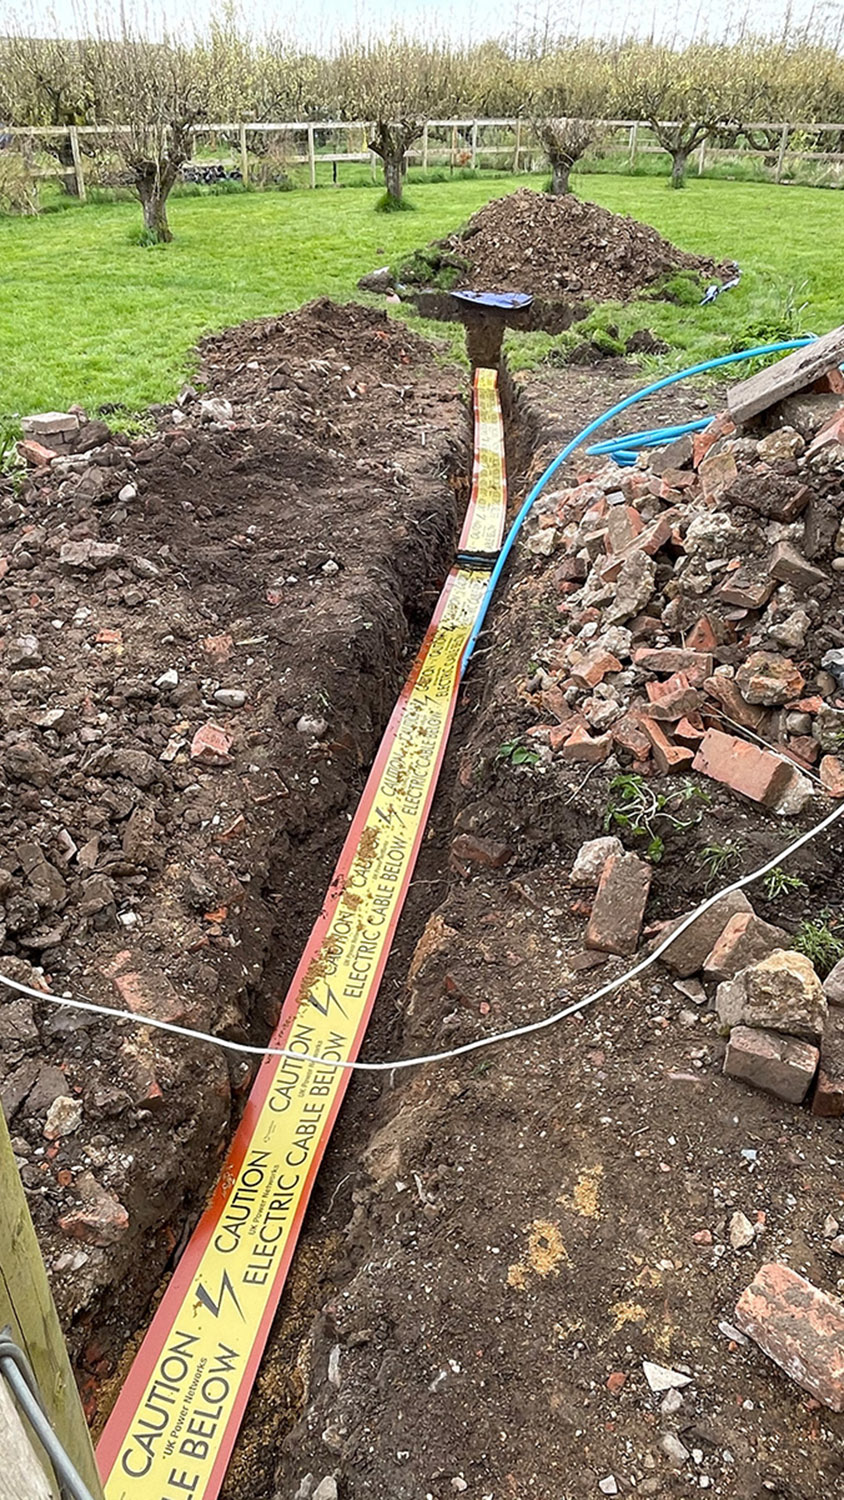
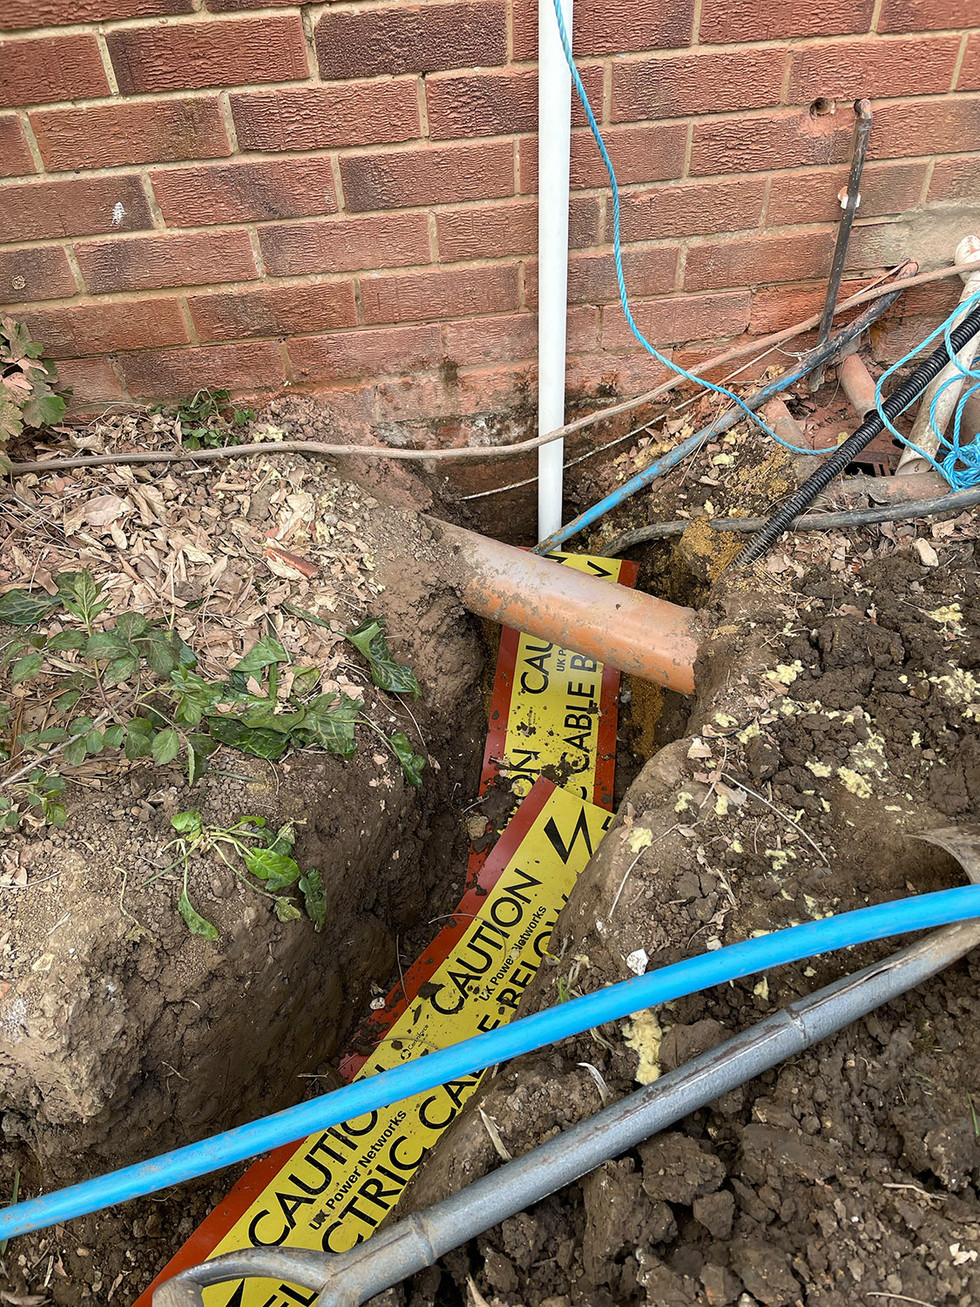
Now if anyone has ever dealt with the usual inefficiencies and red tape of energy companies you can imagine the pain I was expecting with such a request. In reality I was completely wrong. We contacted them, they came out soon after (exactly when they said they would) and surveyed the situation. Together with us they devised a plan as to where they would splice into the cable underground and where to route the new cable to the bungalow. Even better they were happy for us to dig the trench and the hole for the connection ourselves which saved us money. A date was set and they also made sure our electricity supplier (Scottish Power) would be on site to install and activate the new meter. So we set about digging the trench/hole and a couple of days before the job was due to be done UK Power Networks contacted us to check all was well and confirm their visit. On the day in question, they were on site promptly and by early afternoon we had a new electricity supply... unfortunately Scottish power weren’t quite as well organised as they had it down as a meter replacement despite my contacting them to ensure they knew what they were doing. Fortunately, the engineer they sent was a ‘get it done’ type and despite the ‘computer saying no’ he got us connected up to the new meter etc. We then ran a temporary armoured cable back to the old consumer unit in the mill to power everything back up for the time being.
The old cable being removed and the new cable being installed.
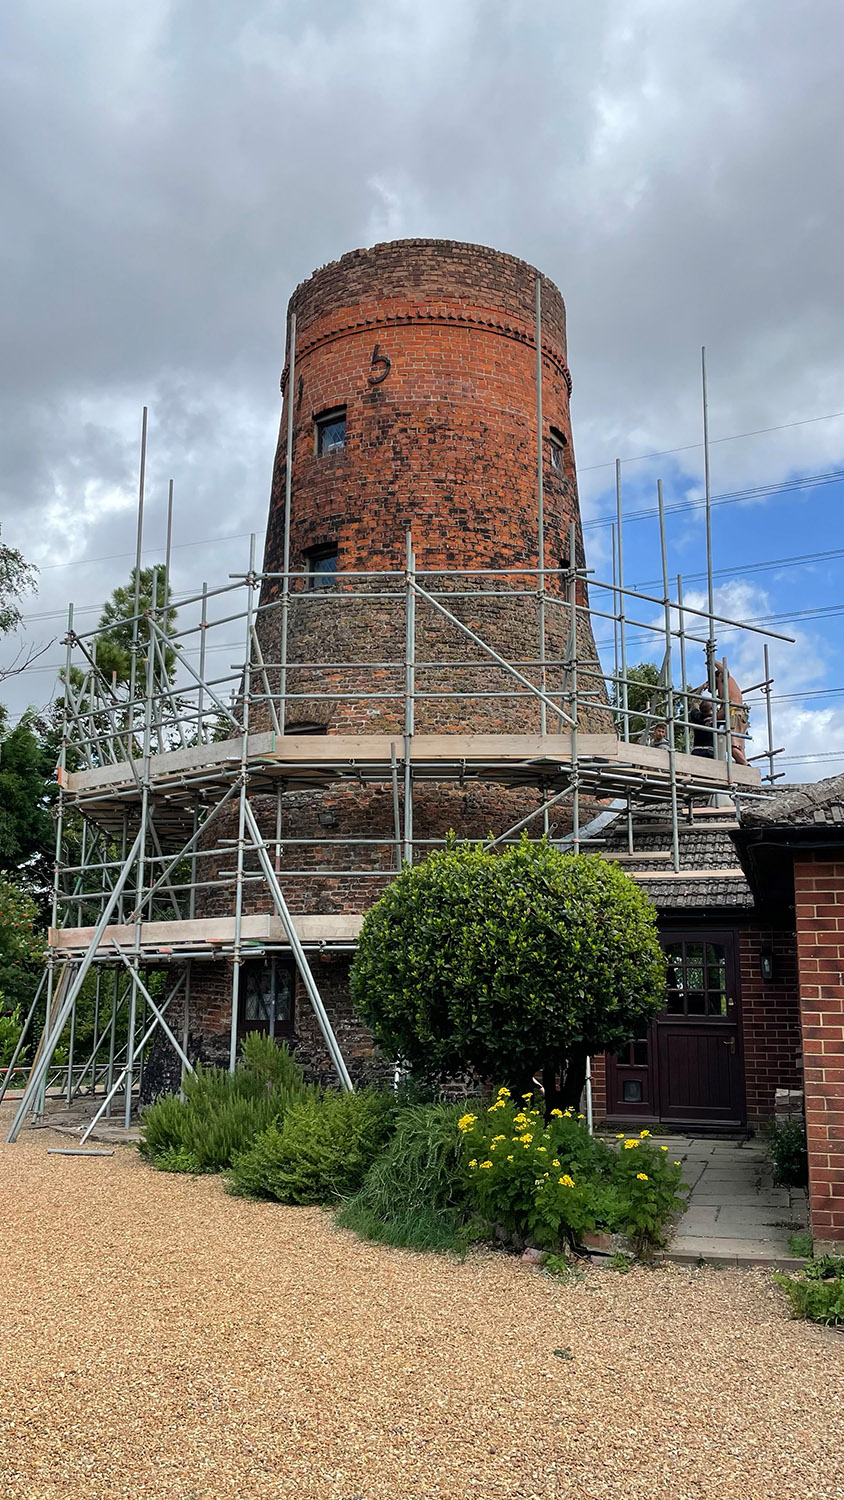
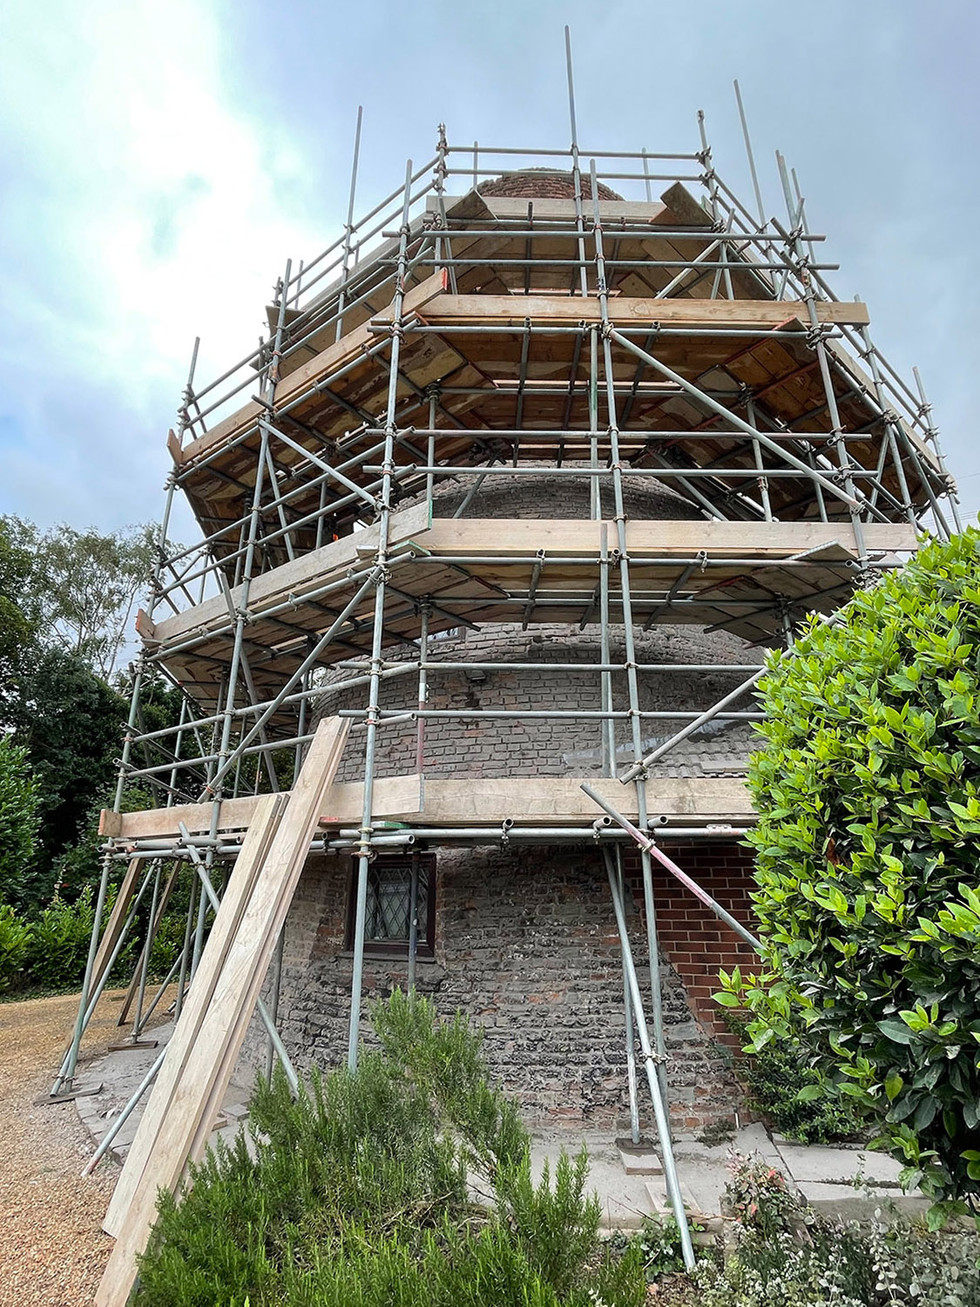
Once the electricity supply situation was sorted out the scaffolding could be erected. As hinted at above this was a fairly major piece of work with the eventual result being a five lift tapered install with two ladders, one from ground to third lift and a further one taking you from the third lift to the fifth lift right at the top of the mill. It took a couple of days for the scaffolders to erect it, but thereafter we had access to every square inch of the mill and the hard work could begin.
Scaffolding being erected.
Now we could access the building we could properly inspect the brickwork and pointing. The first thing that became abundantly apparent was the poor state of the top 11 courses of brickwork. These were sat on the 1815 engineering bricks and were the result of the top of the mill being altered several times in the 20th century including sporting, at one point, castellations... lovely eh? The problem was that the bricks used were cheap facing bricks which are very porous and they had succumbed to the weather being exposed as much as they were to the elements. This resulted in water and frost damage to the point where they were starting to crumble and as such we knew they would need to all be replaced.
The poor state of the mill top.
As for the rest of the building we already knew the brickwork at the bottom of the building that dated from 1780 needed repointing and some repairs carried out, but we had question marks over the 1815 brickwork that makes up storeys two and three. Now we could get up close to it the good news was that the engineering bricks they had used all those years ago were still in excellent condition. The mortar too was actually pretty good, but not perfect and it was decided as we were repointing the bottom of the building and having to replace the top eleven courses of brickwork we may as well repoint this as well so the whole building would be refreshed and future-proofed.
The mortar and bricks on the ‘1815’ section of the building.

Other than the brickwork we also assessed the following:
Roof – this was a recessed glass fibre roof sitting down inside the top of the mill within a stepped basin and we had very recently been experiencing the occasional drip from it internally although nothing major. Once standing on it the whole north side of it felt spongy and closer inspection revealed some hairline cracking. Additionally, from an engineering perspective having rain coming down on top of the walls is not really a recipe for a lack of damp and/or leaks so we decided to replace this as part of our phase 1 work.
The glass fibre roof.

Window apertures – the sills of the apertures were topped with a sand/cement render mix that had over the years since the uPVC windows were installed in 2001 (according to the receipt we had acquired as part of the paperwork passed over when we purchased the property) started to fail and water was beginning to get into the brickwork as a result. As we were replacing the windows we decided to make new sills out of slates for the new windows to sit on and these would provide a virtually permanent fixture that would not suffer with weather to anywhere near the extent the rendered sills had, and would look rather good to boot.
Date plates – when the mill was modified in 1815 the millwright (John Dobbs - his plaque is on the west side of the mill) had installed some cast iron date plates right at the top of the mill. Facing east were the numbers 1 and 8 and facing west were the numbers 1 and 5. After 200 years these were suffering with extensive corrosion so we decided we would remove them and have copies made that we would then re-install.
So at the end of all this we finally had a complete list of work for Phase 1 and we decided to tackle the tasks in the following order:
Replace top 11 courses of brick with an engineering brick matching the ‘1815’ brick as much as possible.
Rake out and re-point the entire mill with lime mortar.
Replace the roof with a new heavily insulated ‘warm roof’ with a metal finish (either zinc or lead). This will include the installation of a new drainpipe (in cast iron style) to track down the mill and deposit the roof water run off into the existing drain.
Install new timber windows and tidy up apertures as well as installing new slate sills.
Remove old date plates and replace with re-manufactured copies.
Looking at that list we’d best get cracking.











Comments