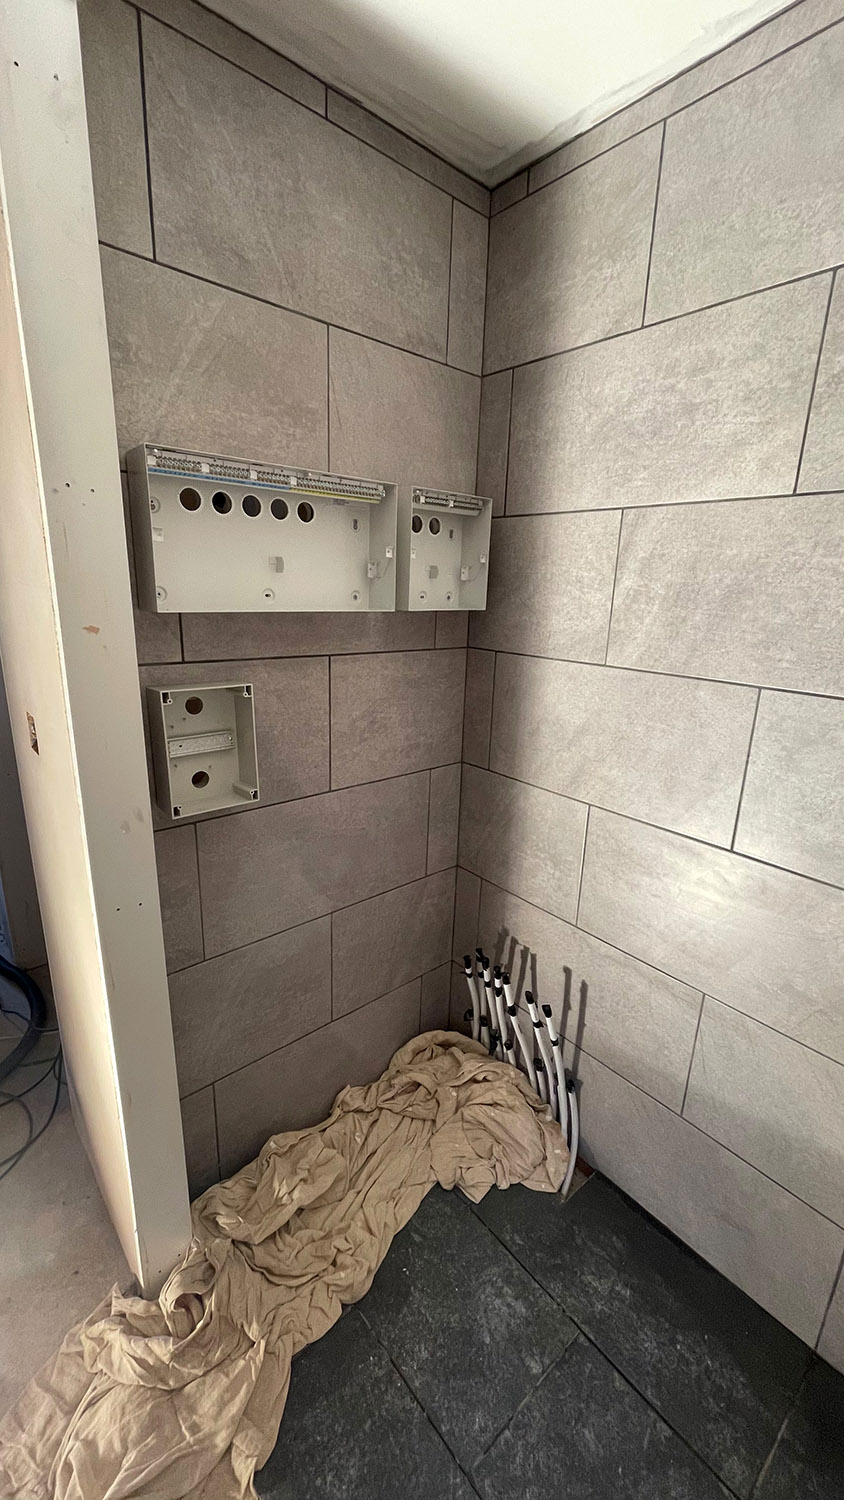
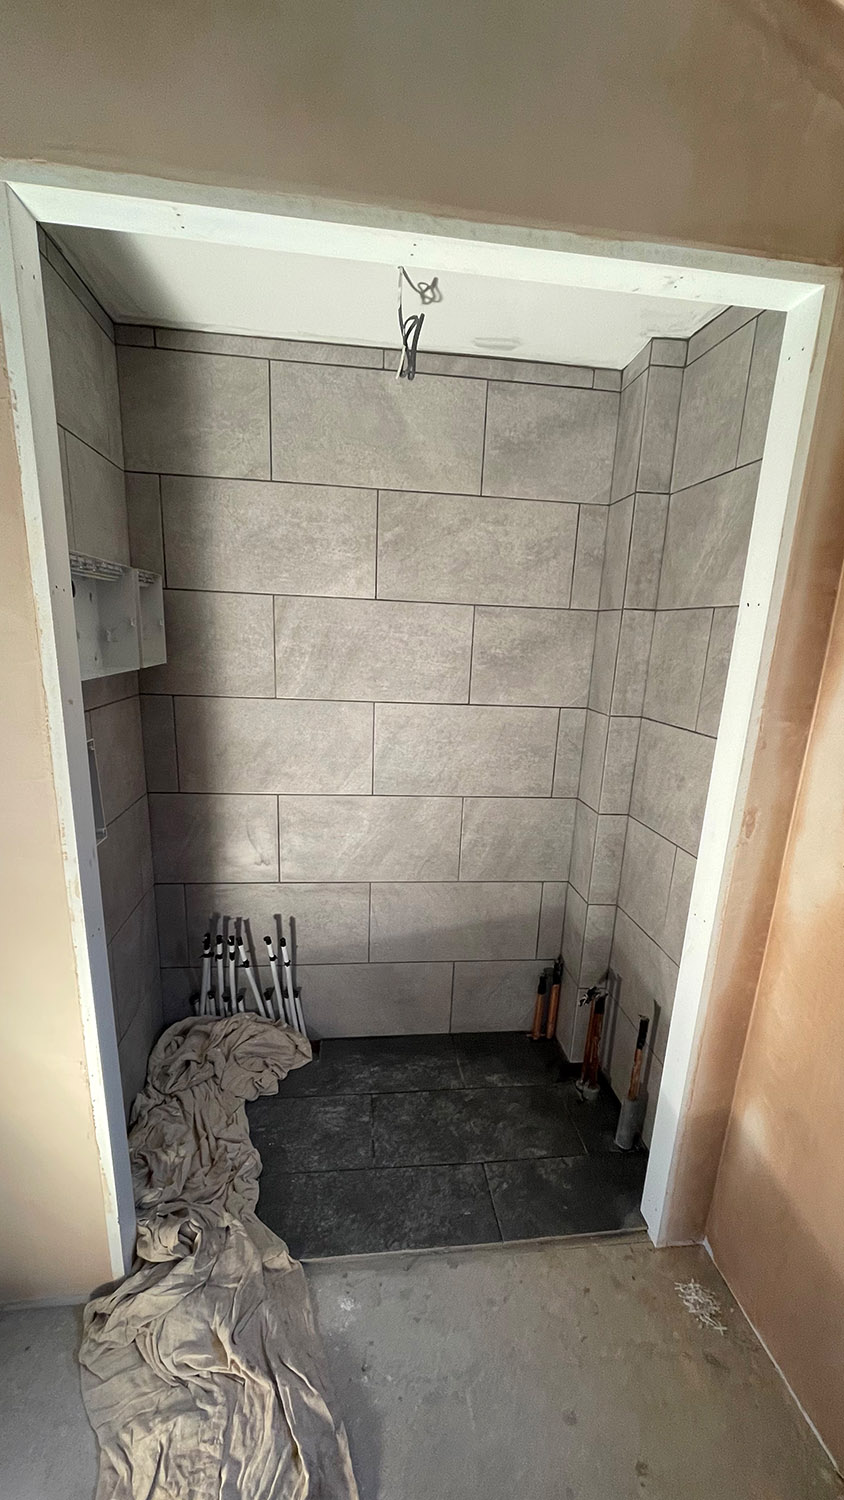
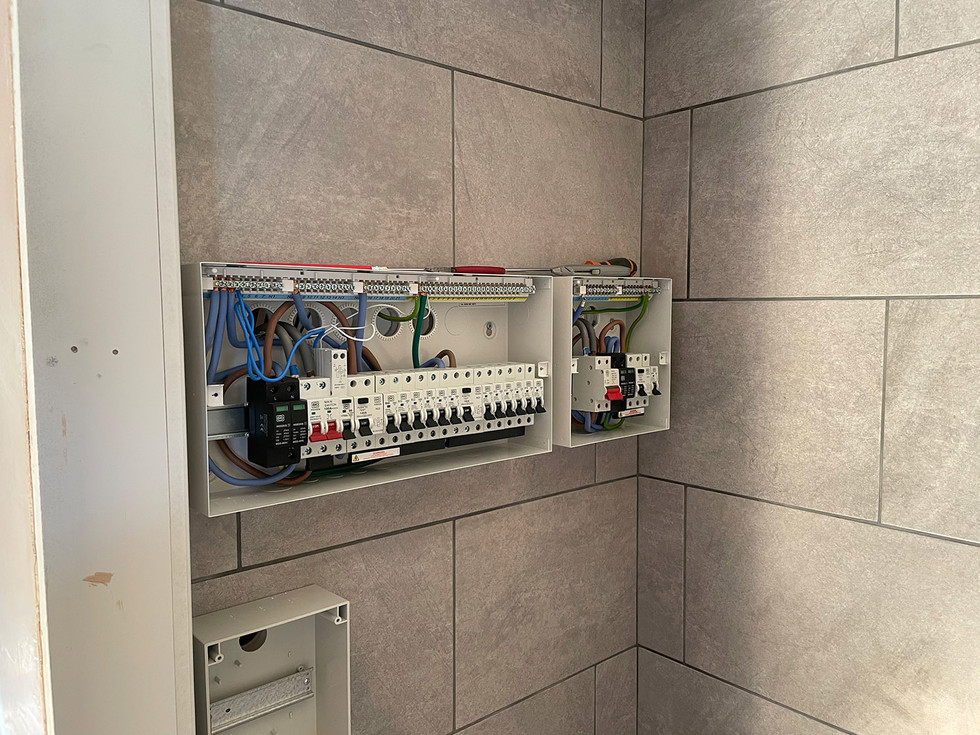
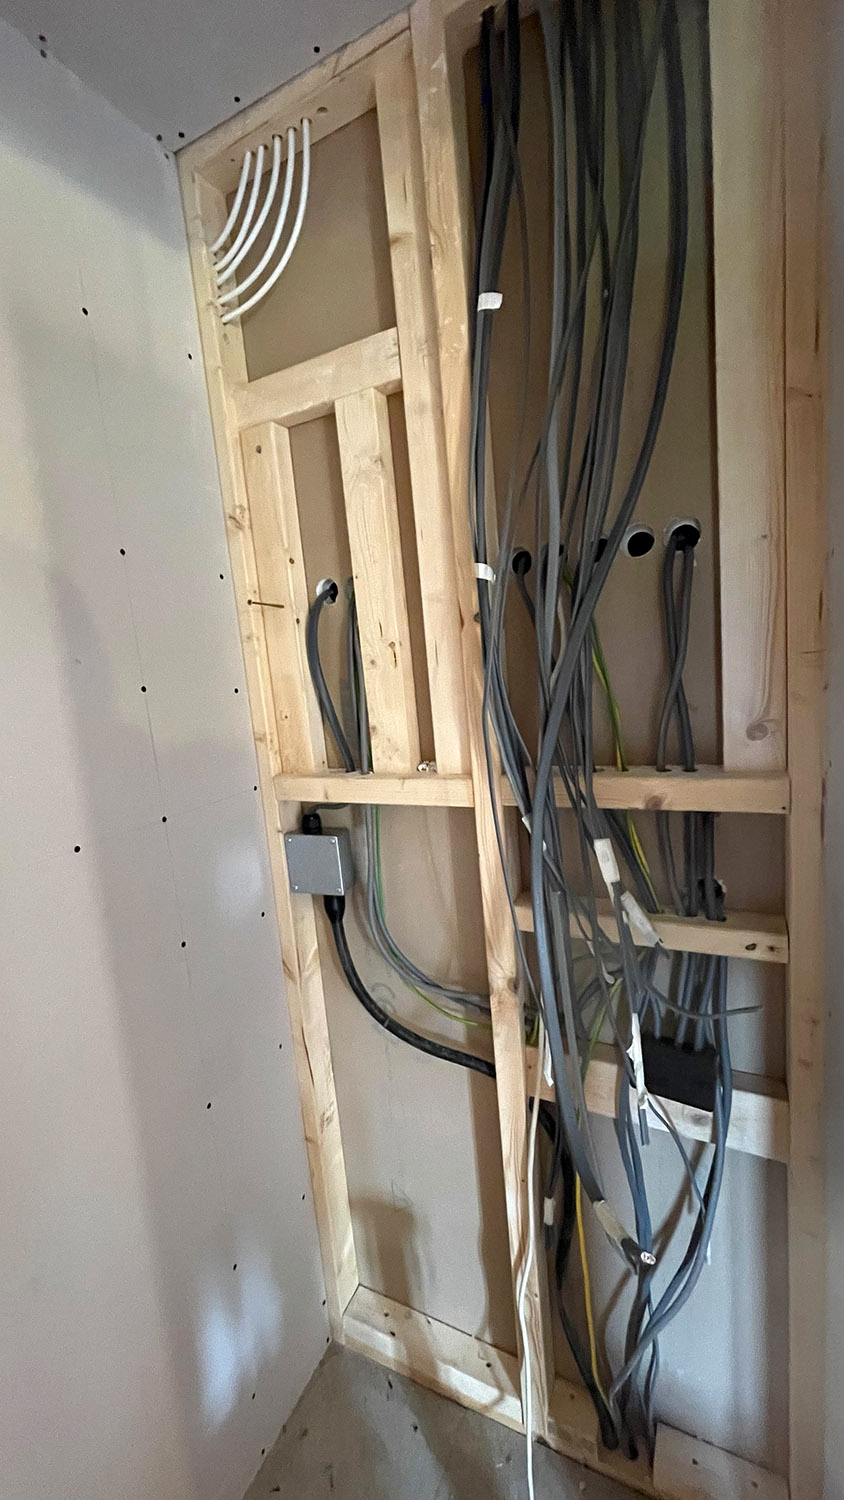
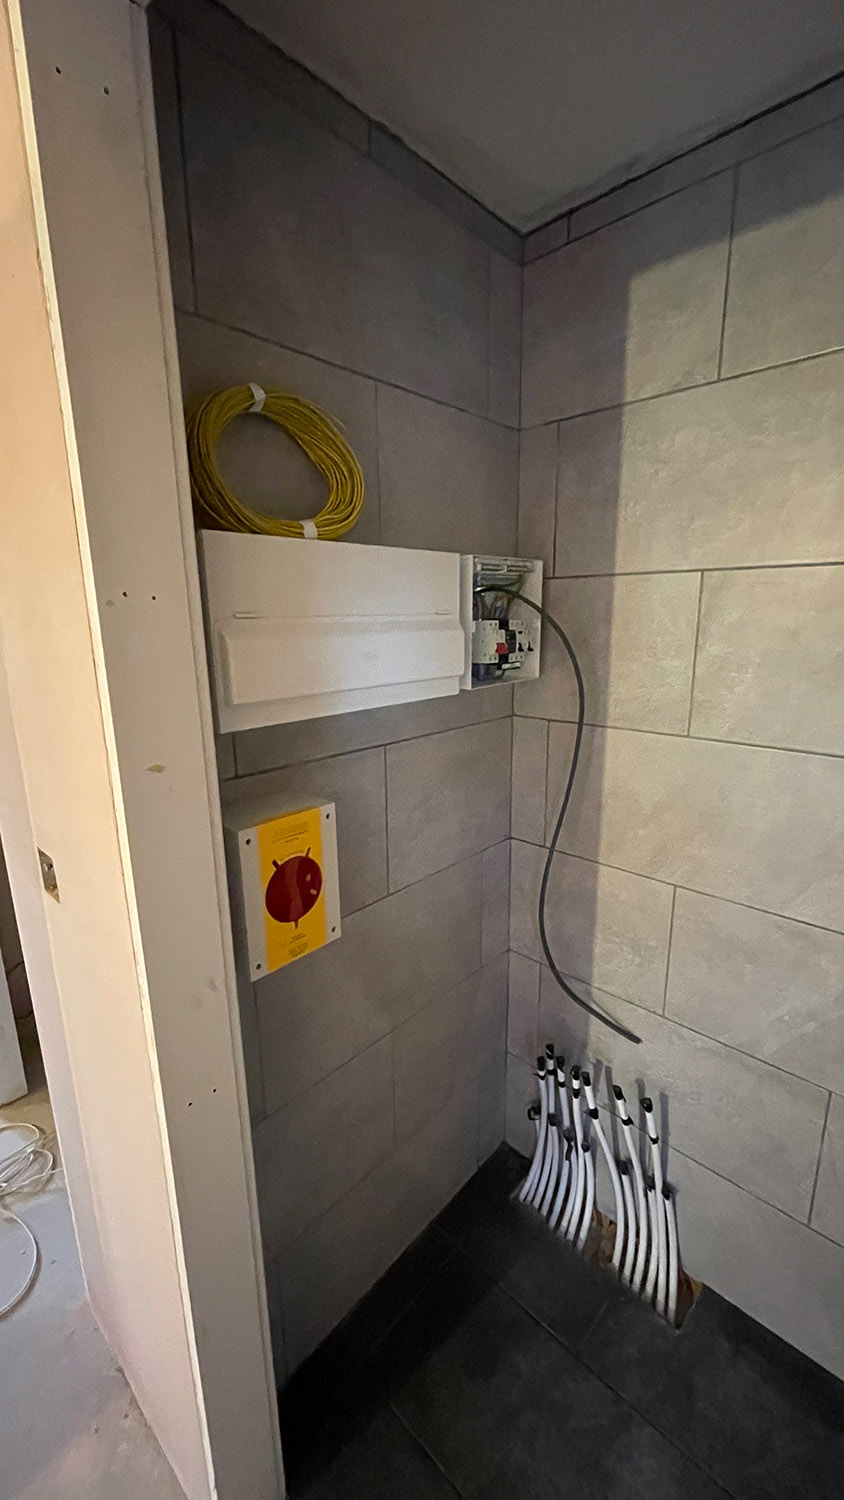
The plant cupboard was tiled both on the walls and floor in readiness for the installation of the heating and hot water system. Once this was done installing and commissioning the new consumer unit was first on the agenda. This was to be installed in the plant room, but a problem arose with the number of circuits due to the need for twin RCDs and surge protectors in the consumer unit meaning these took up ‘slots’ in the unit’s capacity and left us with a circuit over the maximum number available in a single unit. The solution was to add a second consumer unit and use a master isolator switch wired via a Henley block to split the supply to the two units. The consumer units selected were MK as these are a good balance of quality and price and these were duly installed in the plant room with all the wiring being fed in the back via an internal wall void. Cunningly we had left the plasterboard off the back of this wall to facilitate cable installation and the plan was to board and plaster it once the wiring was complete.
Consumer units and wiring taking shape in the newly tiled plant cupboard.
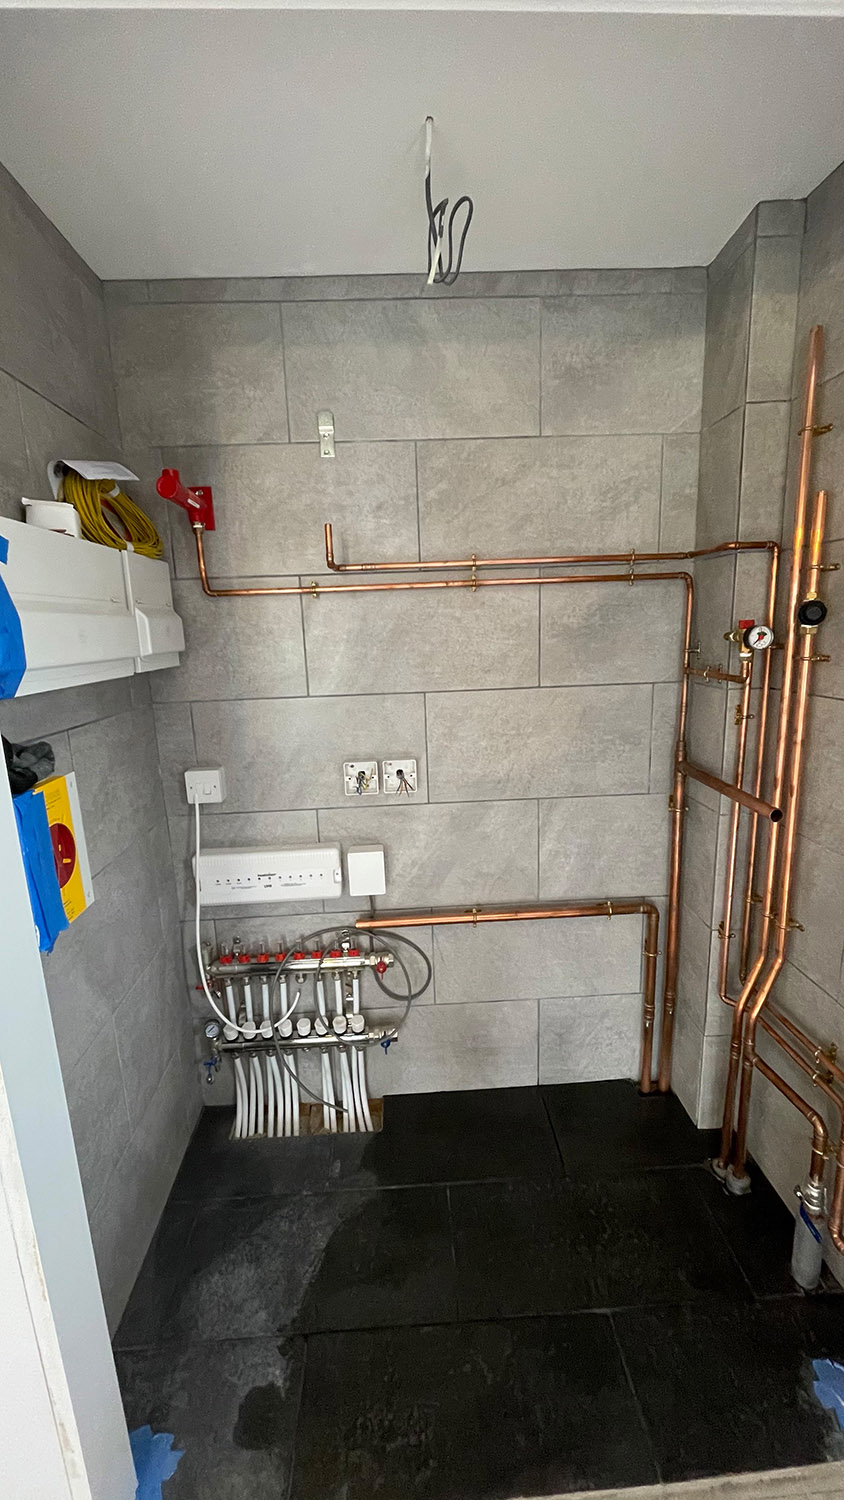
Once the consumer unit was commissioned installation of the air source heat pump and associated pre-plumbed cylinder and underfloor heating controller could begin. Initially the wiring for the Heatmiser underfloor heating controller, the pre-plumbed cylinder and the immersion heater were routed into the back of the plant cupboard (again via the wall behind having not being boarded just like the cupboard). The Heatmiser unit was mounted as was the underfloor heating manifold. Each room then had its thermostat mounted, wired and the relevant connection made from each thermostat into the back of the control unit. After this the plumbing work could begin with copper tube used throughout and mounted to the walls via Munsen brackets as these would be seen hence the neatest job possible was the order of the day. In a similar vein care was taken to ensure all pipes were running straight and true.
The initial plumbing and electrical work in the plant cupboard.
The Mitsubishi pre-plumbed cylinder was then installed, but done so in such a way (with compression fittings) that it could easily be disconnected and removed if required. All the electrical connections were made and further neatening around cable termination and wall outlets was undertaken. The expansion vessels were also installed at this point. Outside the air source heat pump itself was mounted on its dedicated concrete pad and plumbed to the 28mm flow and return from the cylinder as well as being wired to the dedicated external 40A switch. The consumer unit was wiring was then fully completed to connect the various heating system circuits.
The heating and hot water system being installed.
Now you might have thought at this point we'd power up the system and turn the water on so as to speak, but as is often the case in our world there was a problem or two problems to be exact. Firstly the incoming mains water pressure was woeful and secondly the water is ultra-hard and limescale is a huge problem in all the plumbing and water based appliances on the site. However, after some research I had a fix for both of these issues. The latter was a relatively simple solution, that being the introduction of a water softening system. The former was a little more complex and involved adding pressurised vessels to the incoming mains as well as a boosting pump to keep the pressure up even when demand is high. This is known as a Mainsboost system and is made by a company called Stuart Turner. However, there is no room in the barn to fit boost pumps, tanks and water softeners, but as luck would have it we route the mains water for the barn and the cottage through the garage and being as there's enough space this is where we chose to install two pressurised Mainsboost tanks, the boost pump and the water softener and have them serve both the barn and the cottage. This required some significant re-working of the plumbing in the garage to accommodate the new system and this was all done as part of the install.
The Mainsboost and water softener being installed in the garage.
Once commissioned the incoming water pressure was now maintained at 3 bar and the water was no longer limescale central... happy days. After this the pre-plumbed cylinder and air source heat pump were commissioned and activated for the first time. Within an hour there was piping hot water and the floors were starting to ease up in temperature. At last... we had a heating system and a modern efficient one to boot.












Comments