INTO THE VALLEY(S)
- Chris Berry
- Feb 7, 2023
- 4 min read
One other job that we had to do is as a result of a rather sorry tale. The expensive Accoya windows we installed in the mill in December 2021 had originally arrived with some issues whereby some of the openers had bound themselves to the frames causing them to split when opened and we initially thought this as being down to the lack of curing of the paint before they were assembled. We experienced major problems with the supplier in trying to get this resolved properly, but ultimately it was and we thought all was well. However, when we came to open the windows in the middle of the year (2022) we established that this problem was still occurring as two more windows did the same thing. We also had some issues with the fit of the openers, dust behind the seals and one or two of the windows exhibited issues where it turned out copious amounts of filler had been applied. To cap it all paint was starting to flake off the beads on some of them too. The supplier was once again none too helpful and offered us the chance to pay them £400 for which they would send some more openers, but not address any of the other issues citing that no other customers had these problems… sigh! We are now in a legal dispute with the supplier and in the meantime ordered replacement windows from another supplier (MB Woodcraft in Preston, Lancashire) partly as we could never trust more issues might not arise with the originals (even if we got them 'fixed') and partly as due to part of our dispute the original supplier might be in their rights to ask for them to be returned.
This leaves us in a pretty difficult position as we had very expensive scaffolding round the mill when we installed them last time that made the job fairly easy, but this is obviously no longer there so changing them over is going to be very difficult without having the building re-scaffolded, but there is no money in the budget for that. The solution, we think, is a cherry picker, but I confess I’m not looking forward to that one bit. This then threw up another problem, that being that we cannot get a cherry picker in above the new roof to change the second floor south facing window. The obvious solution to this was to replace this window now while we could access it from the roof and to do this before we put the slates on so that is what we did. At the same time we took the opportunity to alter the sill design as although the slate sills we built are lovely they are providing a wonderful perch for much of the local bird population which is very noisy for any occupants of those rooms in the mill. As such we came up with the idea for a 45 degree sill (such that the birds could not sit on it) made out of cement board and lead covered to give it an attractive appearance. This gave us one issue in that we needed to be sure it could never slip off the building (it could kill someone quite easily if this were to happen) so just bedding it on mortar was not going to work. The solution we came up with was to screw the top of the board to the brickwork and then cover these screws with a lead dressing attached to the bottom of the window. The following diagram shows this idea in a schematic.

With this all being a bit of an experiment we decided to crack on and therefore removed the window, re-shaped the bricks under it to allow the 45 degree sill board to be installed, cut the sill board out of cement board, covered it with code 4 lead and installed it securing it with three concrete screws. The new window was then installed with a neat lead dressing attached to the bottom of it and it was then sealed with low modulus silicon around the sides and top and lead sealed across the bottom where it meets the lead dressing. When we stood back we were rather pleased with this as both a solution to the bird issues and an aesthetically pleasing design detail.
The new window and sill being installed and the finished article.
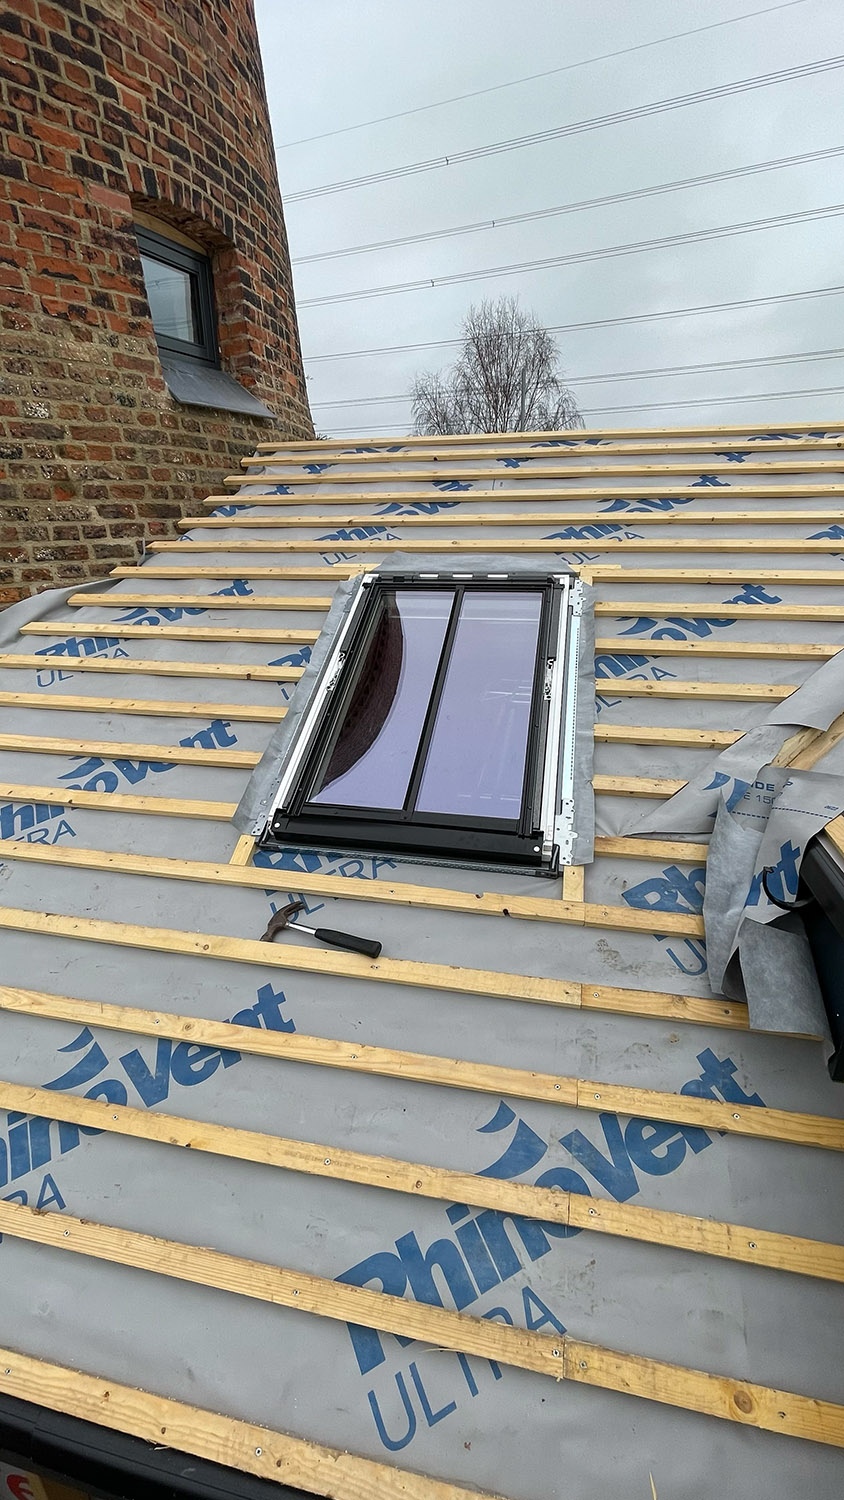
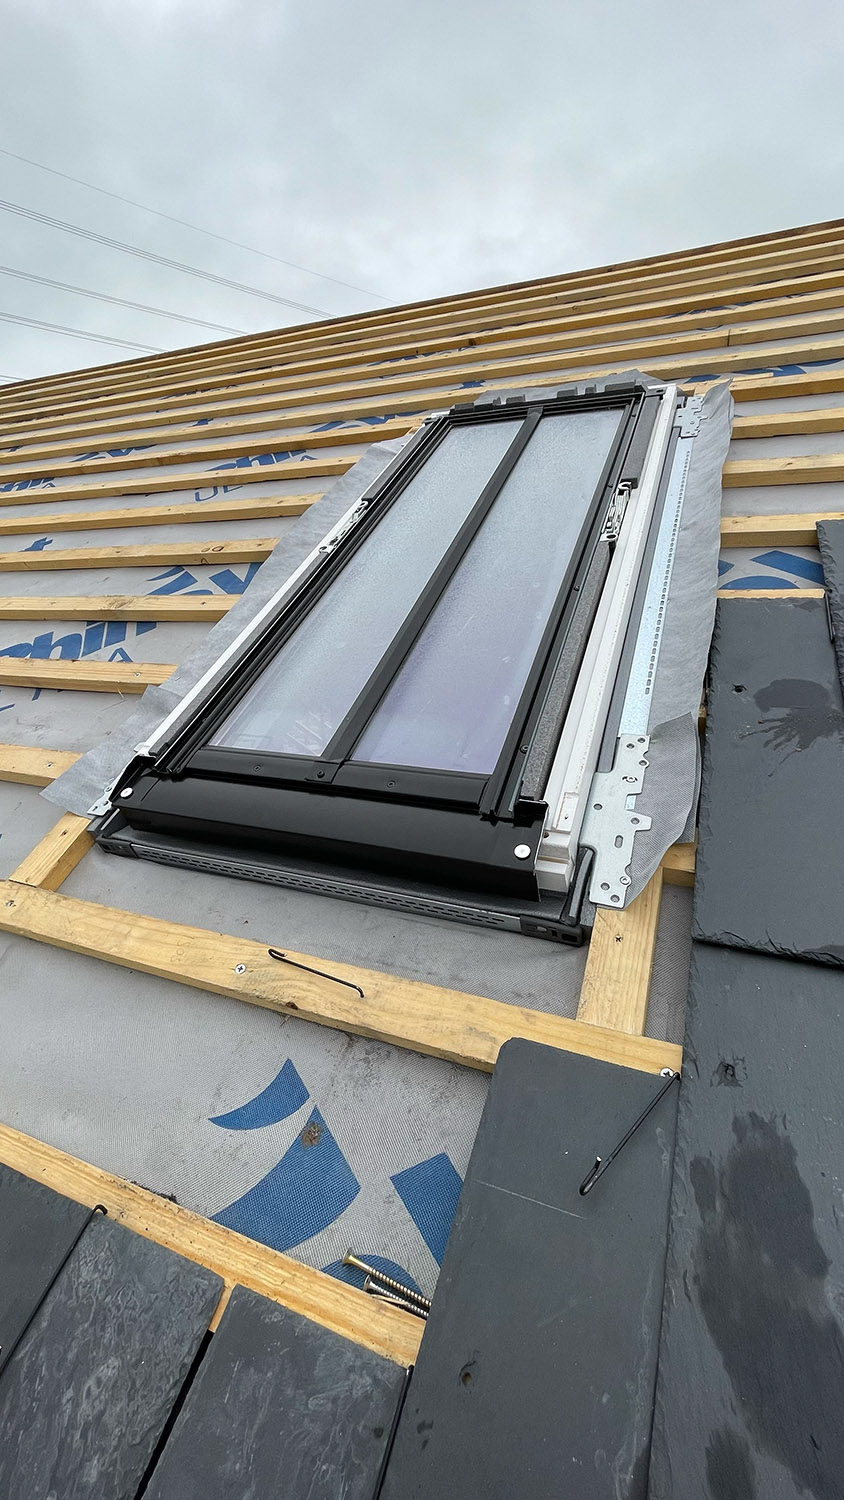
Once we had the new window in place we turned our attention back to the slating of the roof so now it was time to focus on installing the three remaining Velux windows prior to preparing and slating the valleys. The battens and membrane were cut away from the openings and the apertures were dressed ready to accept the windows which were then installed and levelled before being firmly screwed into position.
The Velux windows installed.
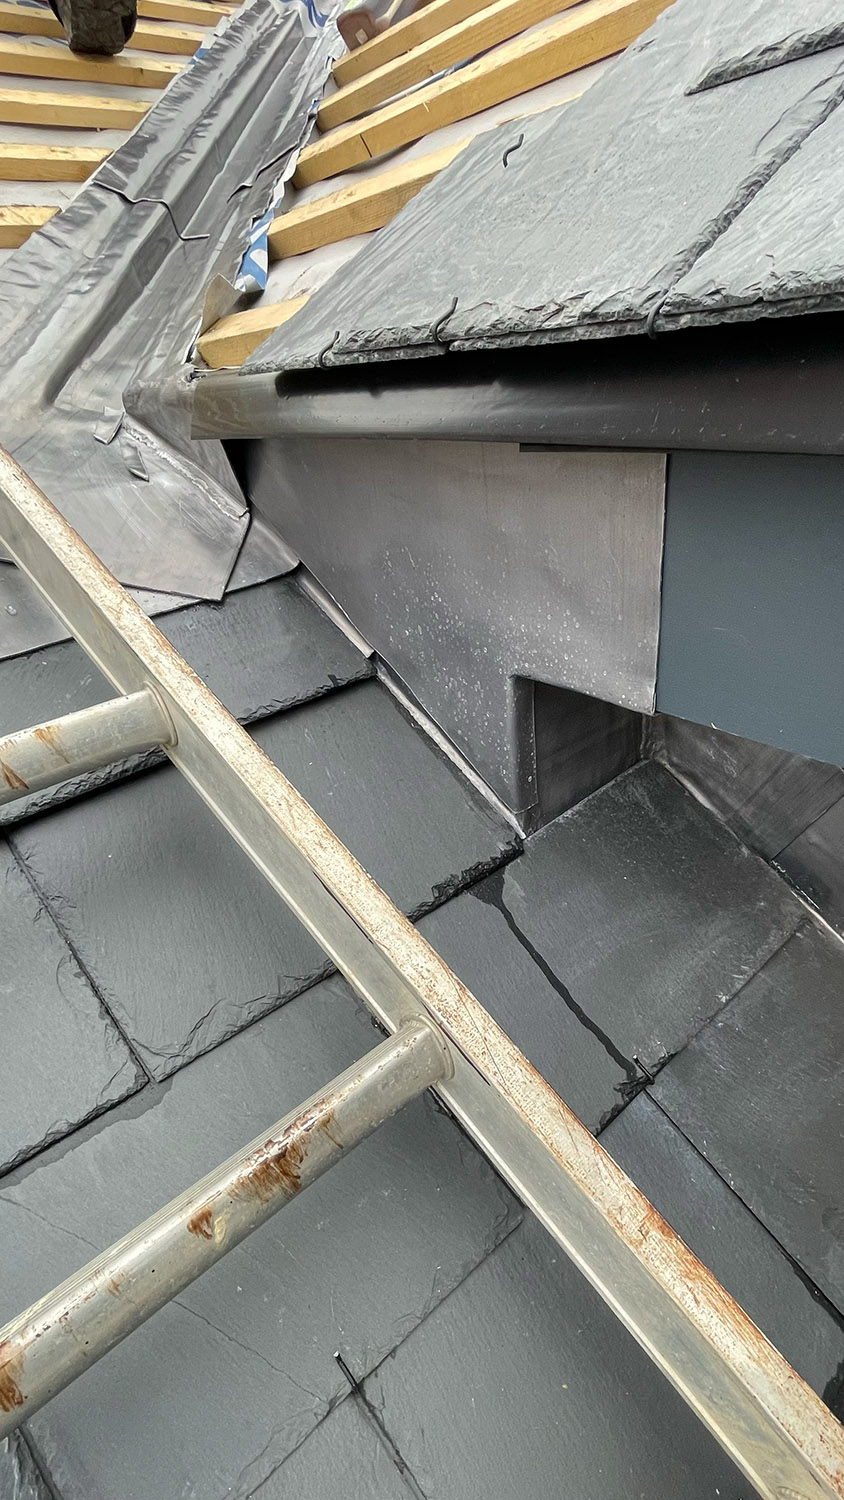
Both sides of the lower roof were then flashed with code 4 lead at both ends (against the new building and the mill) and slated up to where the higher roof intersected them. Focusing on the west side first a large code 5 lead soaker was laid at the bottom of the valley and the valley lead (also code 5) was then installed in 1.2m sections with a 150mm overlap and set so as to run onto this large soaker.
Valley lead and flashings being installed.
Then it was a matter of painstakingly cutting slates to run up the side of the first valley while slating out the rest of that part of the roof and installing the Velux flashings around each window as we went. As you can see from the pictures the cold snap that arrived in January 2023 was in full swing and boy was it cold spending a day after day up on the roof, but copious amounts of hot tea and coffee just about saw us through luckily.
Work then continued on the second valley on the east side of the building mirroring exactly what had been done on the first valley after which the slating was completed on the main building to the east gable. With all the slates in place two jobs remained, the ridge and the flashing round the mill. We started tackling the latter first cutting a channel in the mill’s brickwork and then making code 4 lead flashings in 700mm sections (so as to be able to bend them round the mill) that were inserted into the channel and wedged with lead wedges before being beaten into the correct position.
The lead flashing being installed.


Commentaires