The roof was progressing well even if we were now working stupidly long hours on it due to needing to have it ready for the lead contractors to come and top it off. They had one date available (22/10/2021) and if we missed it then they could not come back until January 2022 at the earliest so we needed to ensure it was ready for them. While the construction of the roof itself was not particularly difficult the fact it was on top of 5 lifts of scaffold just added to the time it was taking. For one everything had to be moved up and down the scaffold each day and for another if we found we needed another tool or had forgotten something whilst on the ground someone had to go down the ladders, retrieve said item and climb all the way back up. When you’ve done that about 100 times a day it gets wearing and is of course time consuming... you start to wonder if it will ever get done. The fortunate thing we had was the weather was on our side with little rain and nice mild temperatures which considering we were getting towards the end of October was very lucky.
Next task in the process was the installation of the Alutrix 600 vapour control layer. This was installed on the OSB deck we had just put down and is self adhesive so just sticks to the OSB, but not before the surface is coated with FG35 primer to prepare it for the best adhesion. Similarly we primed the first 150mm of the walls with the same as we wanted to lip the barrier up to create a complete seal across the OSB and onto the walls. The vapour barrier comes on rolls and you simply cut pieces to size, peel off the backing as you lay it and smooth it out as you go. A seam roller is used to ensure every seam is fully bonded and ultimately you have a completely stable and sealed vapour control layer.
The vapour control barrier being installed.
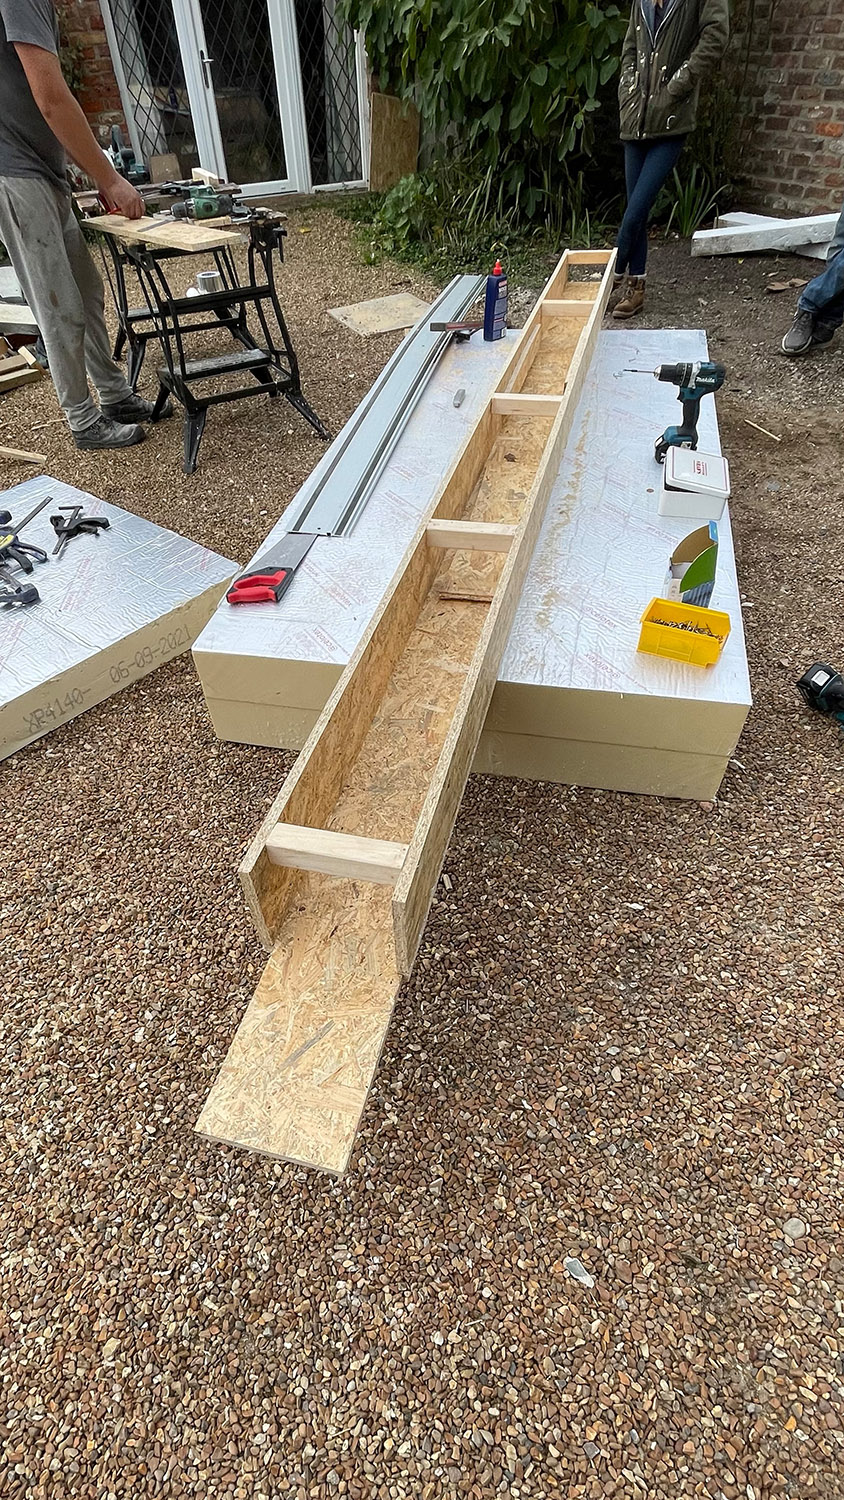
With the vapour control layer installed we could now add the insulation and the top deck of OSB upon which the lead would eventually sit. This deck would incorporate the centre trough that would be lined with lead to carry the rainwater out to the drainpipe and this would sit in a channel effectively formed in the insulation layer such that the trough was as insulated as the rest of the roof. We decided that the best way of building this was to construct the OSB trough on the ground, then winch it up to the roof and lower it into the insulation channel as a single piece before adding the rest of the deck around it.
The trough built up and ready for winching up the scaffold.
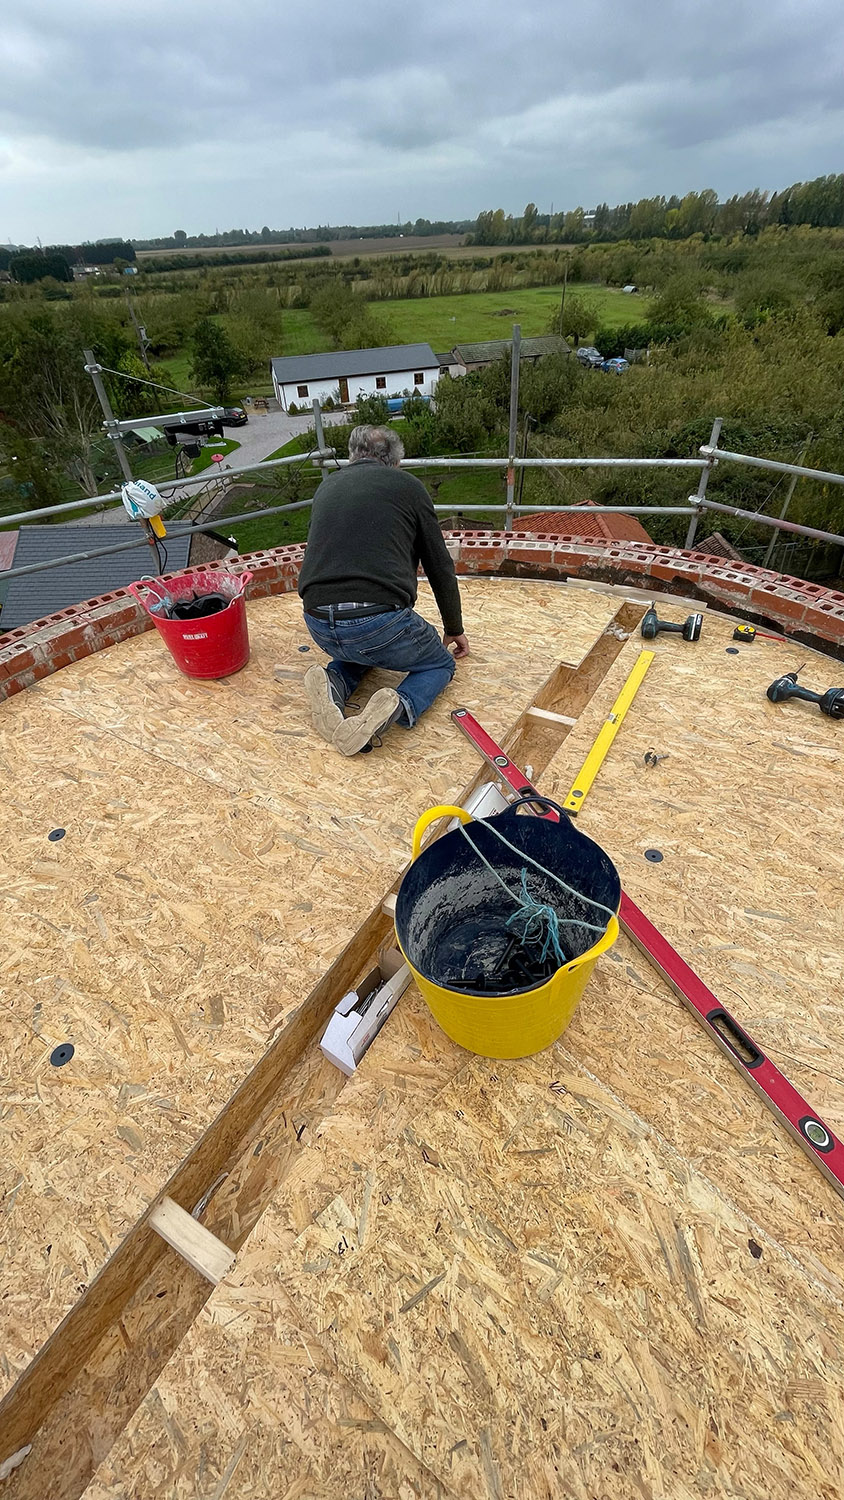
Once up on the top of the building the trough fitted straight into the insulation channel at the first time of asking (tip-top measuring and calculations there) and the remainder of the OSB deck was cut and screwed down. With 140mm of insulation under the deck the method of fixing it was slightly complicated as the screws needed to go through the insulation and bottom deck and into the roof timbers to get a decent purchase. To this end we marked out the roof timber locations on the top deck and then used specialist warm roof tube fixings to anchor it down These are plastic sleeves with large flanged washers formed on the top that are pushed through drilled holes in the OSB and insulation such that the washer sits flush with deck and then specialist screws are pushed down through the fixing and screwed in to the roof timbers.
Tube fixing schematic

This causes the screw head to be 50-75mm lower than the deck yet pulls the whole fixing down via the large plastic washer to anchor the deck and cleverly eliminates any chance of thermal bridging as a result of the screw head being nowhere near the top of the deck. To get the tube washers to sit absolutely flush with the OSB we used a hinge cutter of the right size to create 3mm recesses in the OSB in which the plastic head of the fixing could sit. In terms of the trough outlet we had already cut a suitable hole in the wall and the trough was made with an extended OSB tongue that would go through this hole and provide support for the metal tray that would line the trough and carry the waste water into the drainpipe hopper.
The top deck and trough being installed.
We finished installing the deck at 6pm the night before the contractor was due on site to do the lead work and while we hadn’t had a chance to cap the very top of the wall it transpired that the job would take the contractor two days and as luck would have it there was a weekend in between those two days meaning we had the chance to cap the top of the walls with batten and OSB3 before they returned on the Monday. They duly arrived on site as planned, lined the trough with a pre-formed tray (made to the measurements we had given them) before tackling the main part of the roof with Code 5 lead.
The lead going on.
Over the weekend we capped off the top of the wall with OSB3 (the contractor decided that the batten was not required instead preferring us to screw the OSB directly to the top of the wall) which involved cutting large sheets of OSB down into curved sections annoyingly leading to some significant wastage, but that’s sometimes the case with circular buildings I guess. On Monday the top of the walls were then capped off with lead and the entire roof patinated to prevent oxidisation.
The capped walls and the lead work completed.
The remaining task with the roof was to tidy up the outlet from the trough and this was achieved with some bespoke lead work that we did ourselves as well as the installation of a new hopper and downpipe. We would have loved to have used genuine metal downpipes, gutters and fittings but our budget doesn’t extend to that level of extravagance so instead we selected Brett Martin cast iron effect plastic gutter and downpipes. Yes they are plastic, but they look pretty good, at least from a distance, so overall we felt it was a good compromise.
The completed trough outlet and hopper/downpipe.


Comments