MAKING THE BUILDING WATERTIGHT AND STRONGER
- Chris Berry
- Dec 18, 2019
- 2 min read
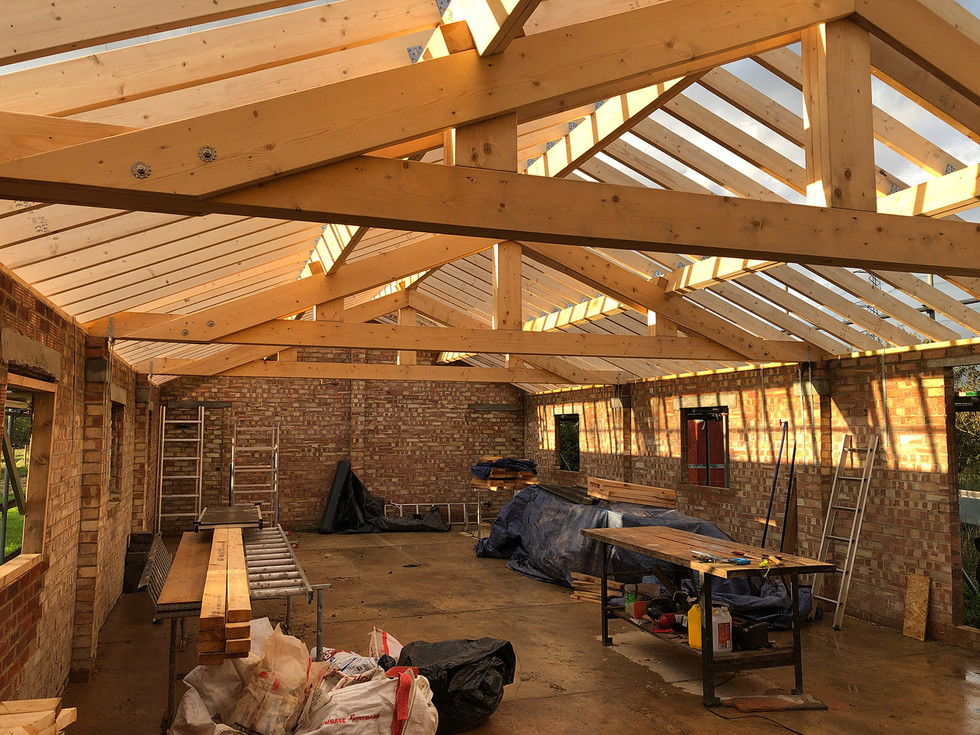
With the ridge, purlins and wall plates installed the rafters could start to go on. These are 145 x 47 C16 timbers and were placed at 400 centres to aid rigidity. For added strength metal ‘L brackets’ were fixed anchoring the rafters to the ridge and purlins and long screws were driven through the base of the rafters into the wall plate. As I said elsewhere in this blog I love a bit of over engineering and this was definitely in that category, but better safe than sorry I always think. Once these were all on the new gable wall at the south end of the building could be finished around the fascia support ‘ladder’ and a similar arrangement was added to the existing gable at the north end of the building.
Rafters being installed and gable wall completed around the ladder
The rafters were trimmed back to leave a 150mm soffit space between the wall and the fascia and the fascias (200 x 21 softwood coated with Sadolin back and front prior to installation) were affixed to the trimmed rafters and the gable support ladders. The roof membrane (Rhinovent Pro) and 25 x 50 treated battens were then installed on the rafters at the requisite spacing to give a 110mm head lap on 500mm slates (required due to the 23 degree pitch).
Fascias and membrane/battens being installed.
At this point a key issue with the building was addressed by one of the more cunning aspects of the conversion design. This was to overcome the inherent weakness of the structure due to the walls being a single skin of brick meaning they were not especially strong, especially in terms of lateral load. To combat this 100 x 47 C16 timbers were installed against the walls and angled/wedged under each rafter inside the building to effectively build an internal timber support frame for the roof, but also to secure the brick walls to the frame adding rigidity to the overall brick skin. These fixings were undertaken using concrete screws through the timber and any packers required (as the internal timbers needed to be plumb whereas some parts of the wall were some way from being so) into the brick at 600mm spacings. Noggins and doubled horizontal and vertical timbers around the window/door apertures were then added to create a completely tied together internal frame adding the much needed strength to the building as well as providing a void into which to fix insulation.
The internal frame installed and fixed.


Comments