MORE MESS...IT'S PROGRESS THOUGH!
- Chris Berry
- Jul 3, 2022
- 4 min read
Updated: Jan 26, 2023
Before we got too giddy about finally being in the rebuilding phase there was the small matter of the drainage to deal with. While the original building and the mill itself had surface water downpipes going into ‘drains’ we were unable to trace any evidence of where they went or how they worked so planning had stated that we must install new ones which although a pain to do, does make sense as the last thing we want is flooding in the future. We knew from our work on the barn that soak-aways were a non-starter thanks to the clay level in the soil at a fairly shallow depth and therefore we needed to find an alternative solution. When we did the barn project, we had discovered that the barn waste processor discharge ran into a pipe that was laid across the entire property west to east and emptied into the wet ditch on the east boundary. Furthermore, we had installed a branch pipe to this (via a conveniently placed manhole – it was like the previous owners had already thought of this... they had actually) under the driveway when we built it. The plan therefore was to run the surface water drains into this in the same way we had done with the barn.
The foul water from the original building went into a septic tank and although it still worked the planning permission had stated that we needed a new waste processor solution due to the increased size of the dwelling or we had to prove the existing tank was of adequate size, in good order and that the drain discharge was functioning properly. As the tank was ageing and we had no real way of checking its condition or how it discharged without major excavation work we decided to pursue the new waste processor option with the discharge going into the same run off as the surface water. We had already dug the hole for this and installed 300mm of concrete in it when we did the utility building footings so it was now a matter of installing the waste processor and laying the drainage. As such, we designed a drainage schematic/plan as follows.

One issue was the height of the discharge pipe running across the land east to west in that it wasn’t as deep in the ground as we would have liked (approximately 400mm below ground level at this point). This meant that the waste processor discharge would be significantly lower than the run off pipe so we had to install a riser kit next to the tank. This sounds very grand but is simply a small interceptor tank buried in the ground sitting between the waste processor and the discharge drain, and fitted with a float switch controlled pump that effectively pumps water up into the run off drain when it reaches a certain level from the waste processor output and stops pumping when it drops again. We had wondered whether we’d need something similar for the surface water but with the mill and new build being about 1.5m higher than the outlet to the discharge pipe that we had installed under the drive we realised we had more than enough fall to take the surface water straight into the discharge pipe rather than have to install another riser.
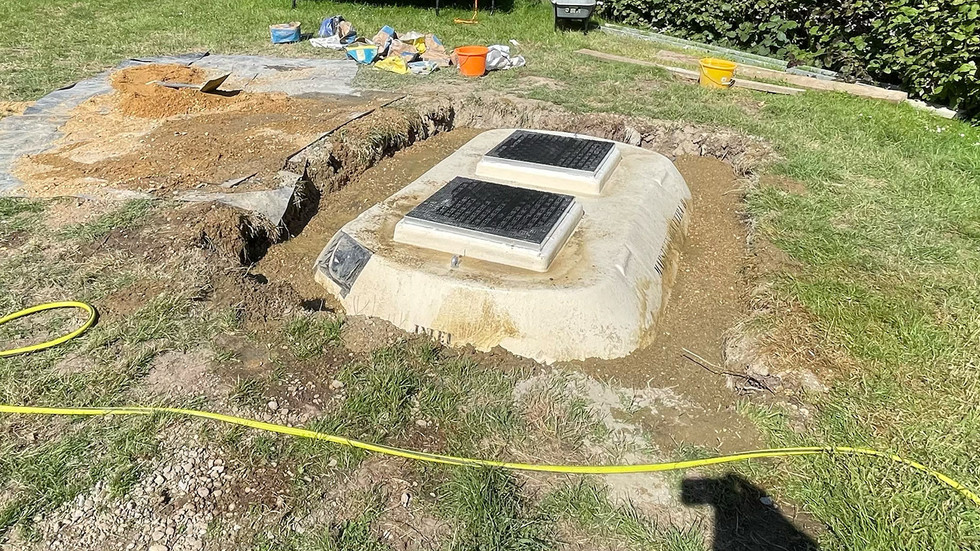
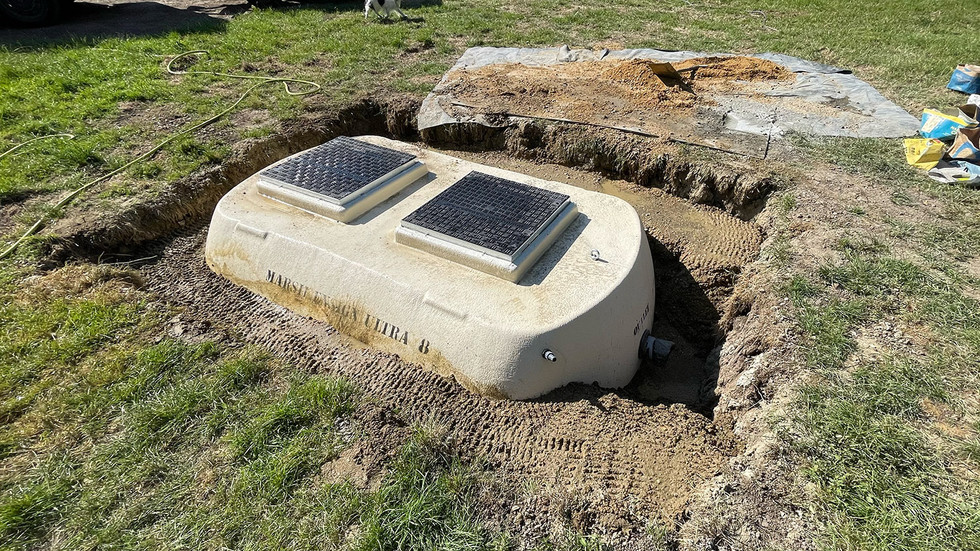
Before we started digging and laying the drains we lowered the waste processor (a Marsh Shallow Ensign) into the aforementioned hole where it sat on the concrete base we had prepared and we then spent a happy day or two carefully filling it with water a little at a time and mixing/pouring concrete in around it in stages to match the water fill level each time so that we didn’t cause the processor to ‘float up’ on the wet concrete. The inlet and outlet pipes were positioned, bunged and installed on the processor and we then left it a day or two to set.
Installing the waste processor.
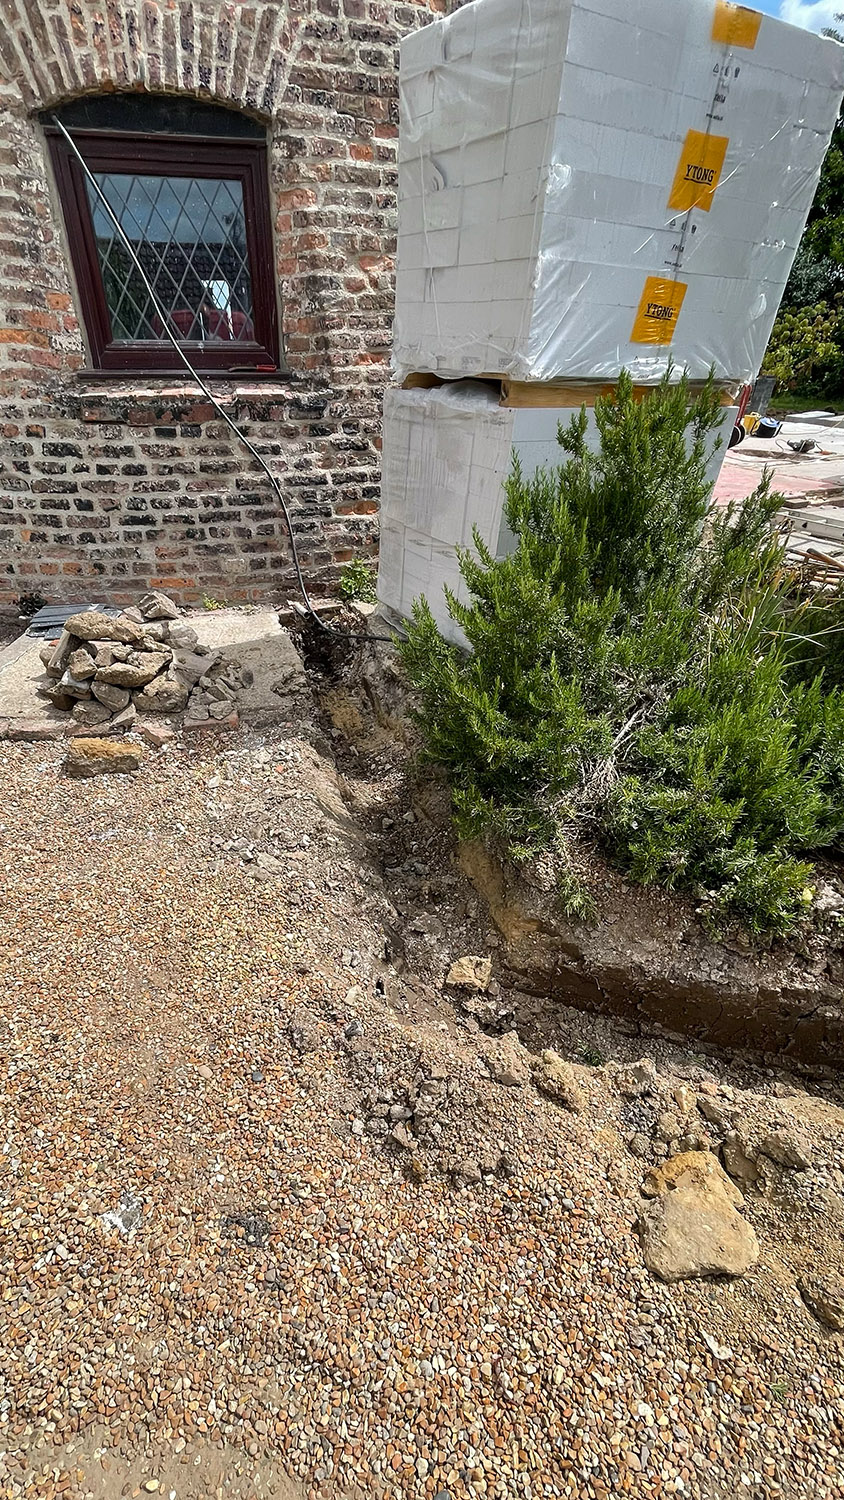
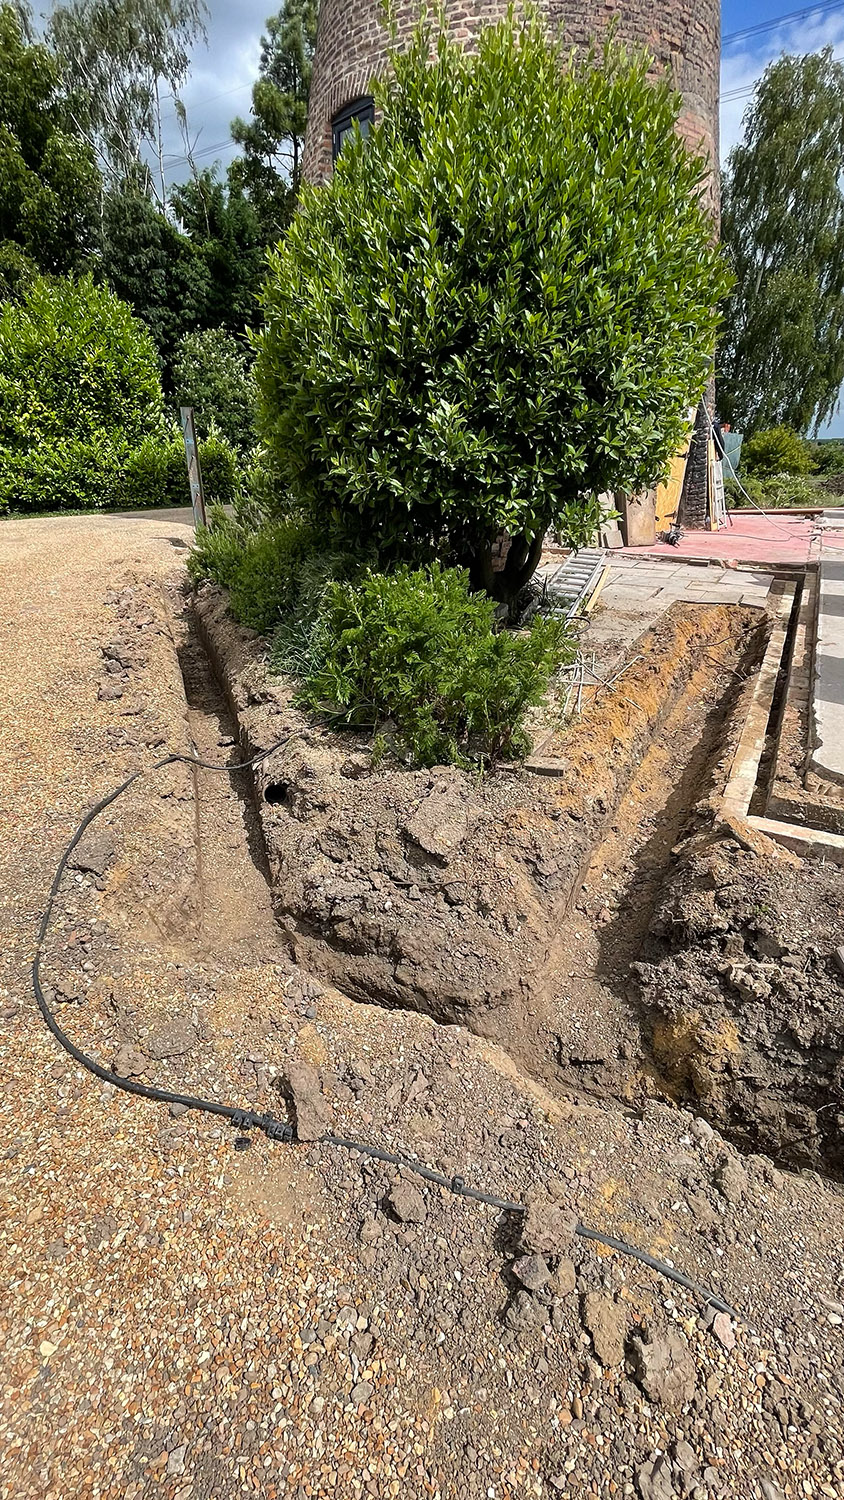
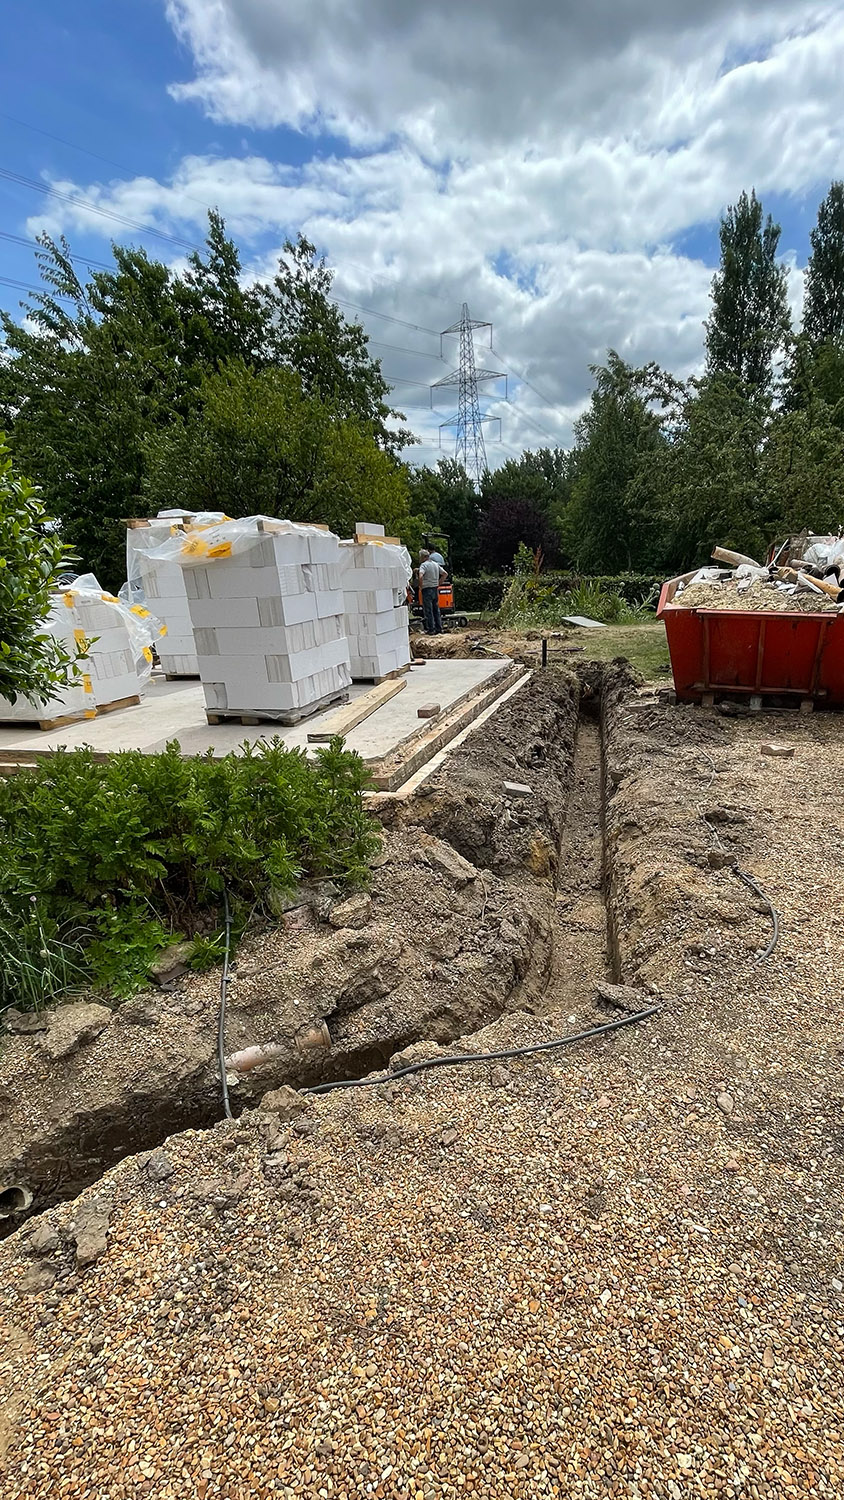
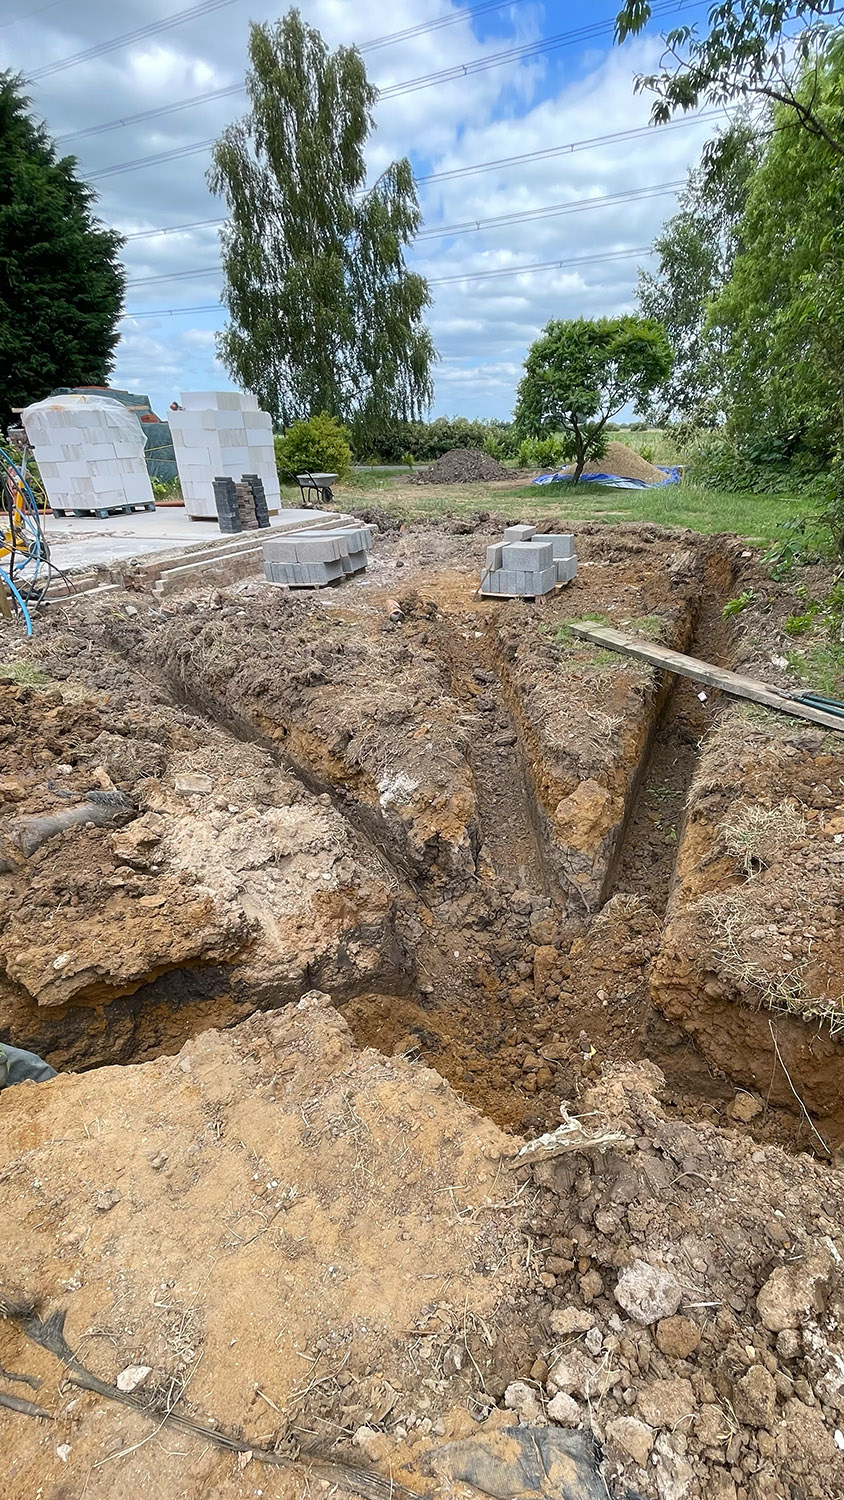
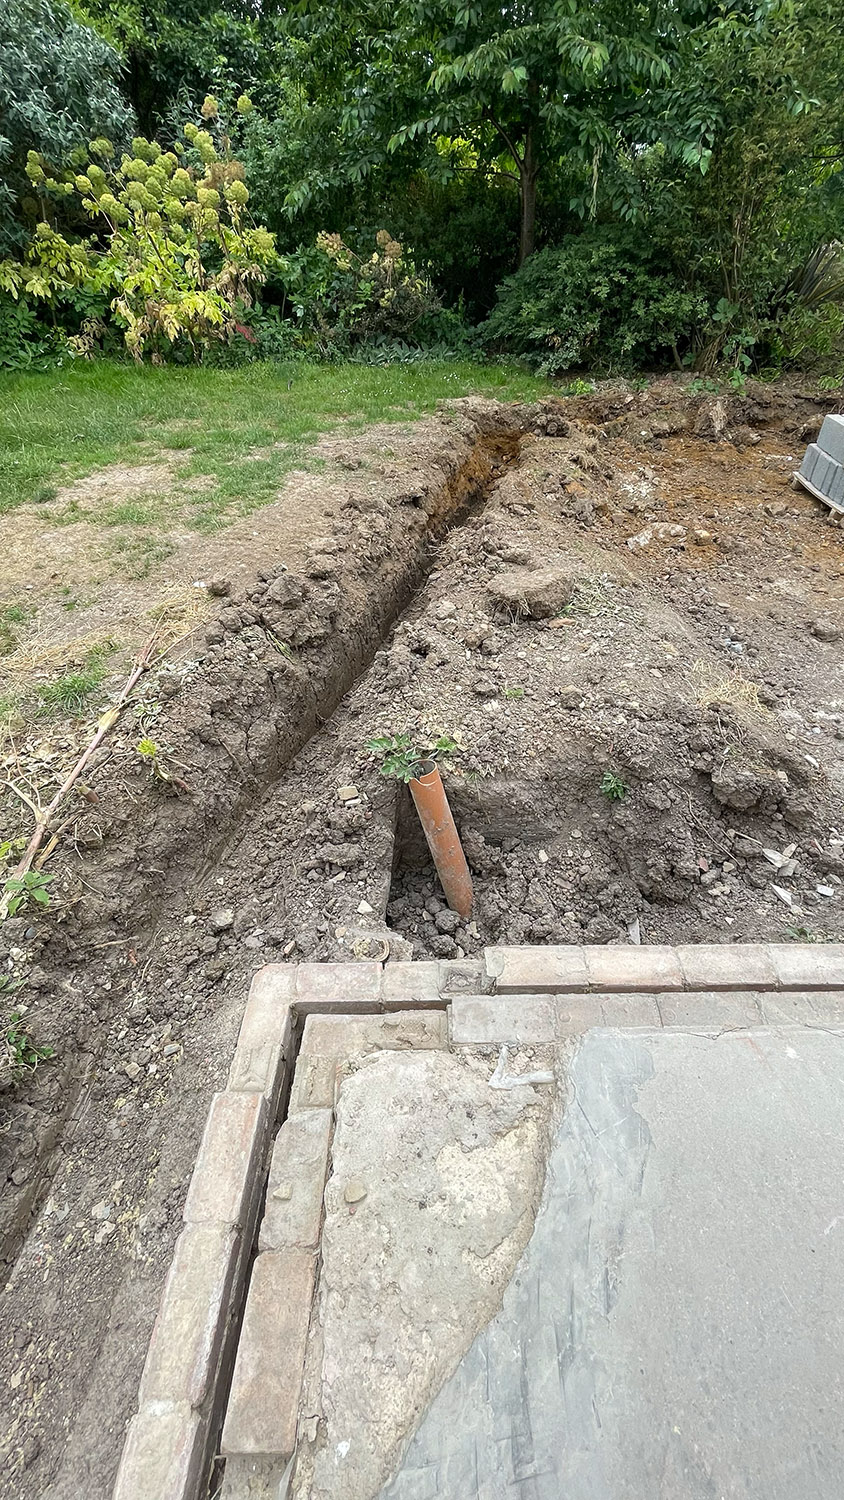
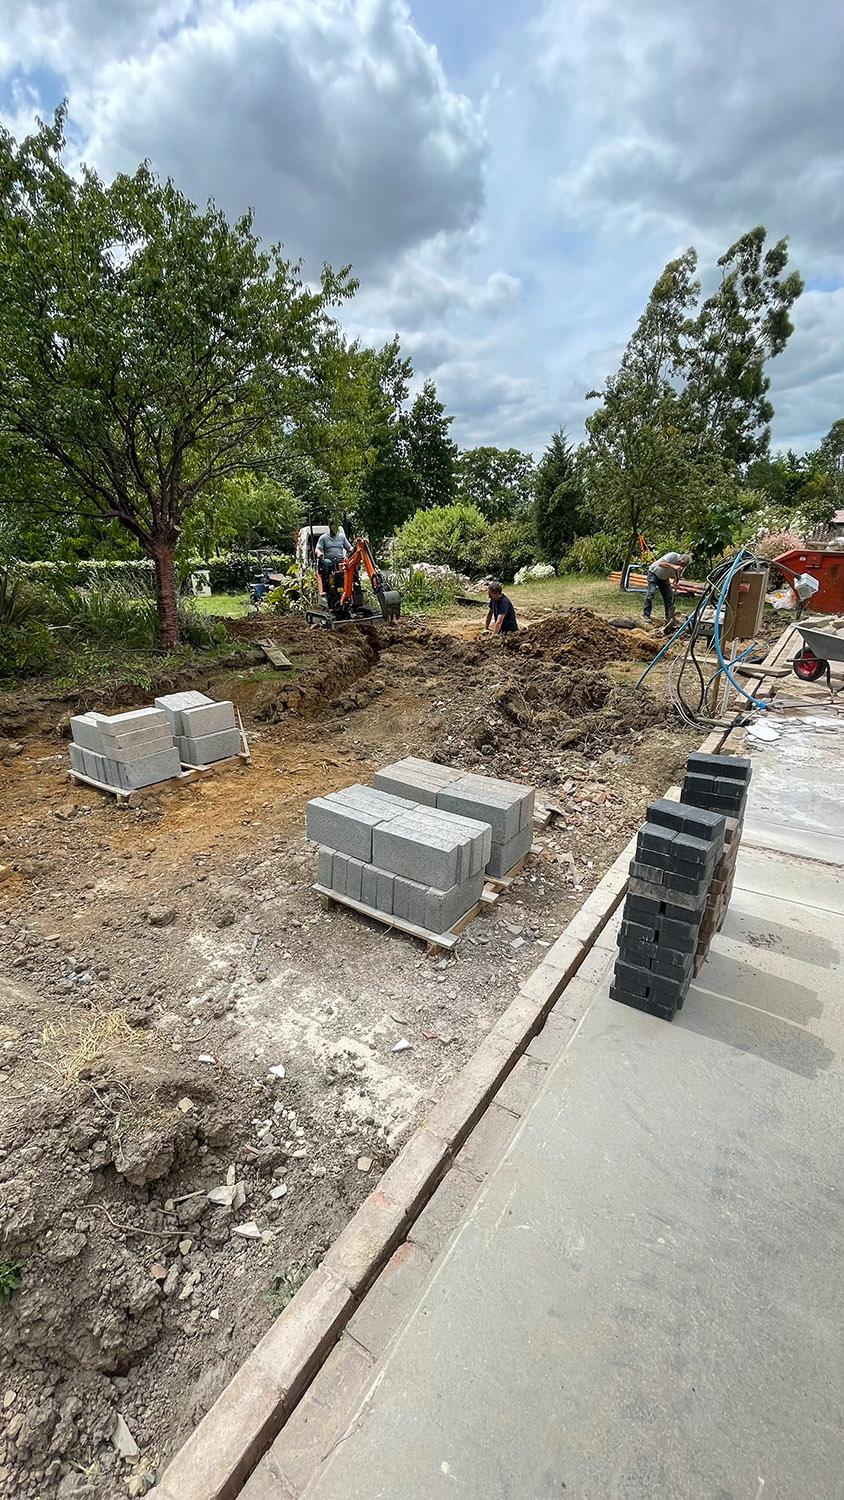
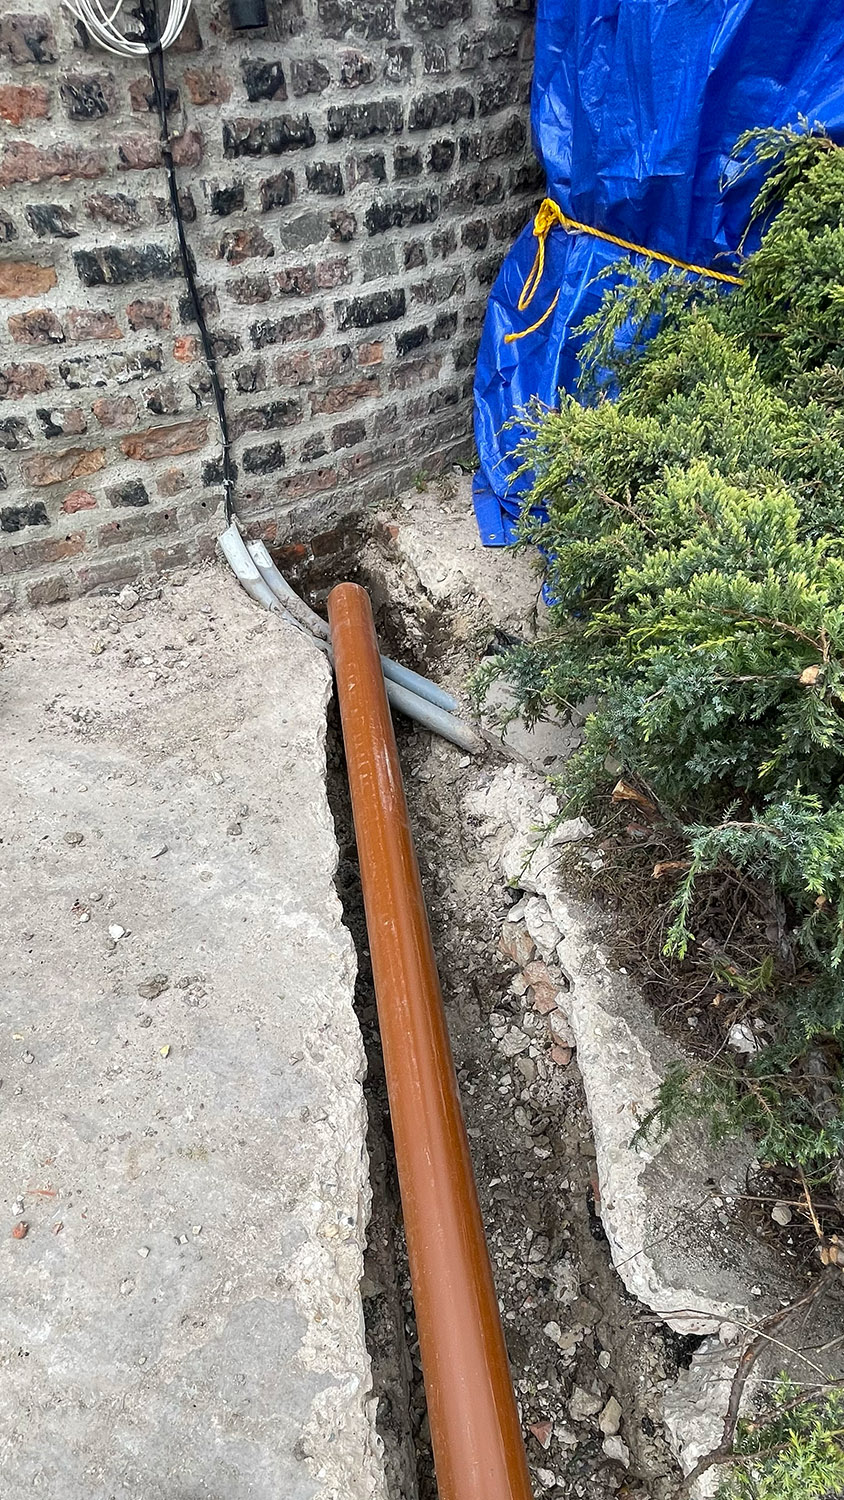
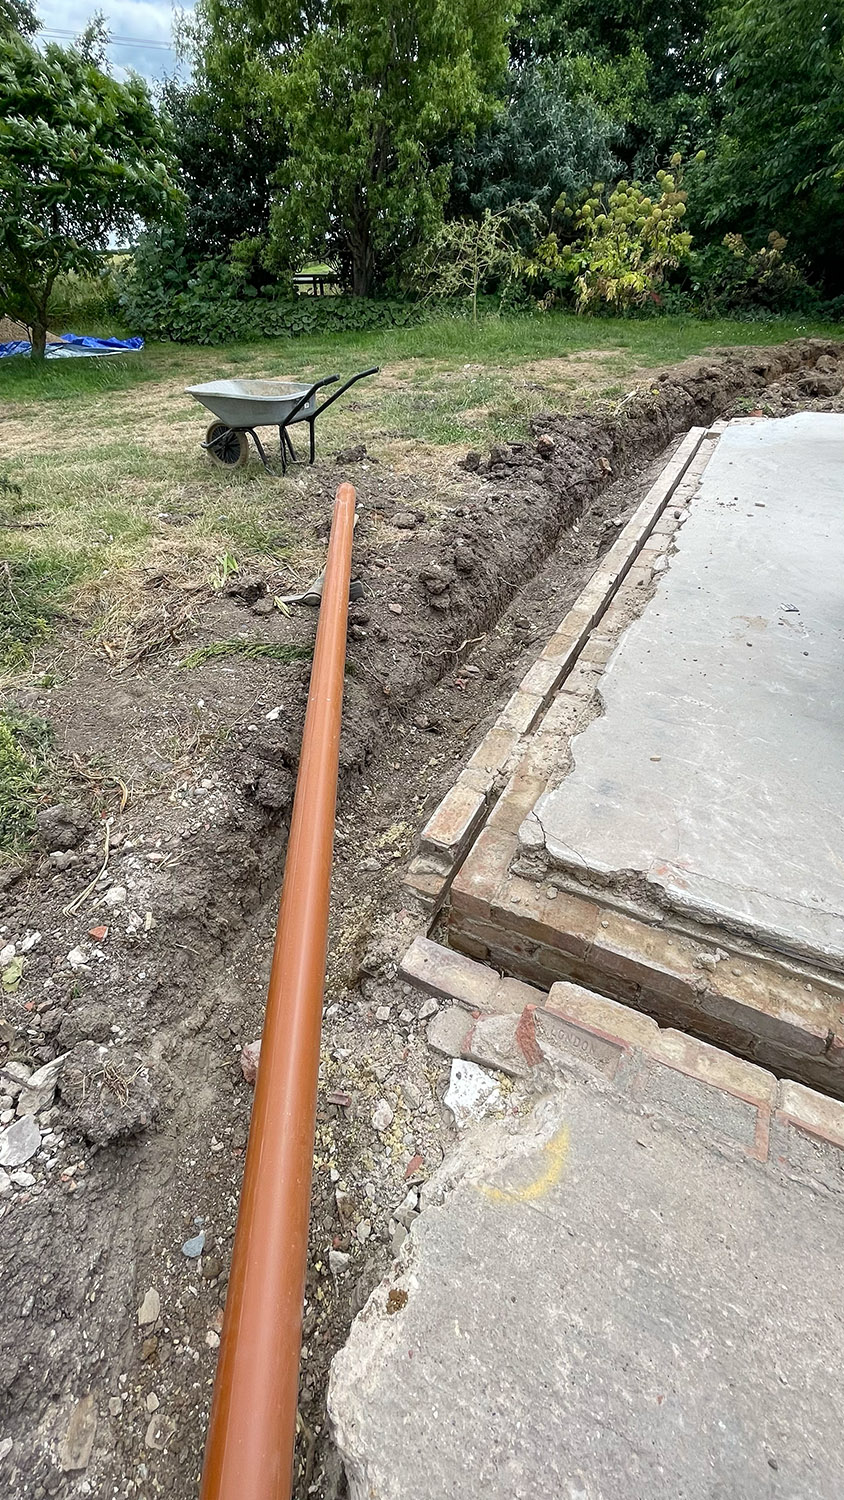
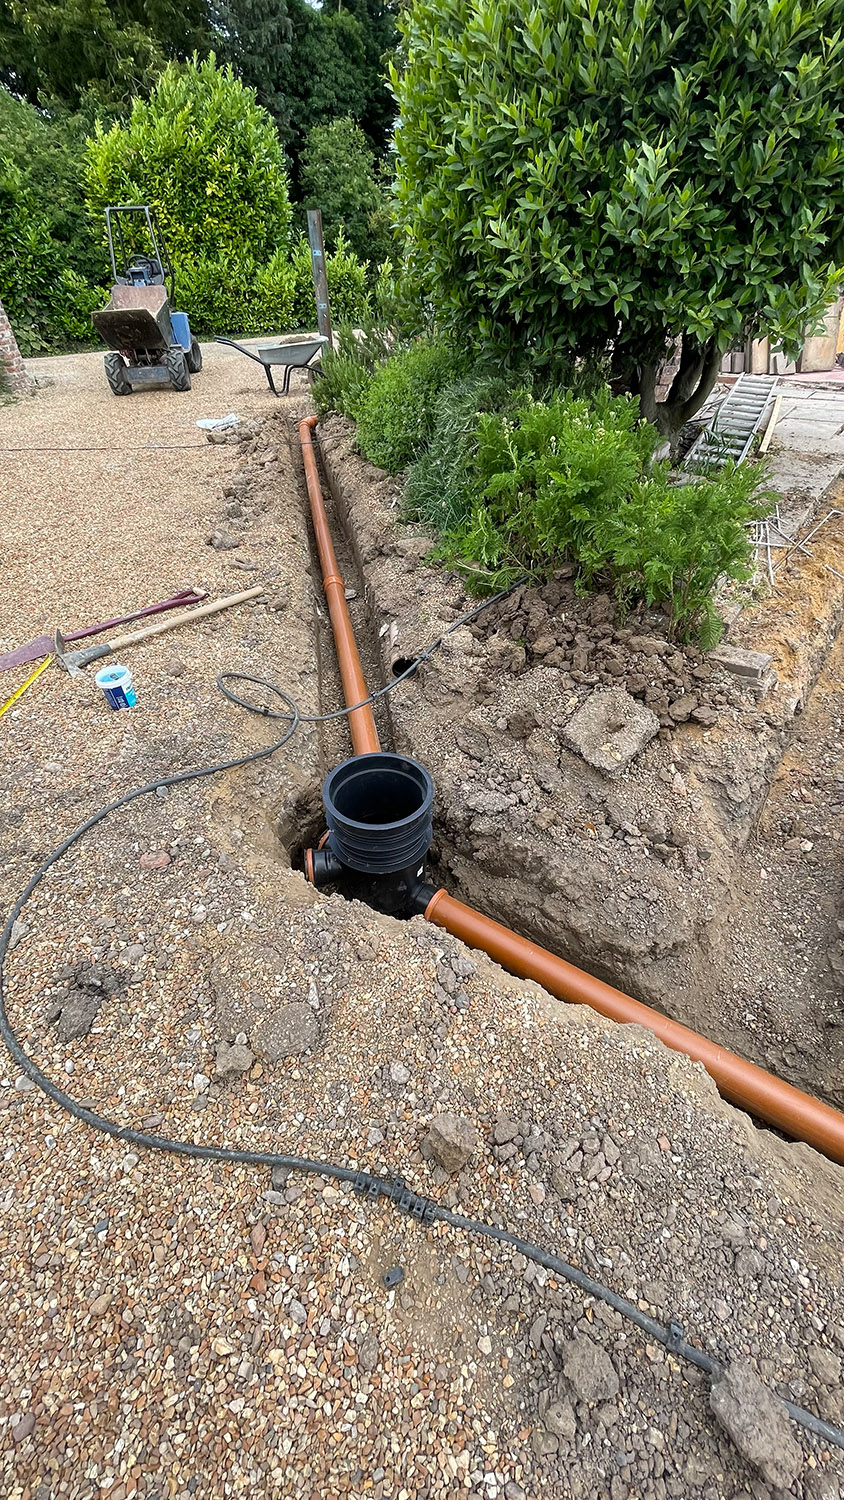
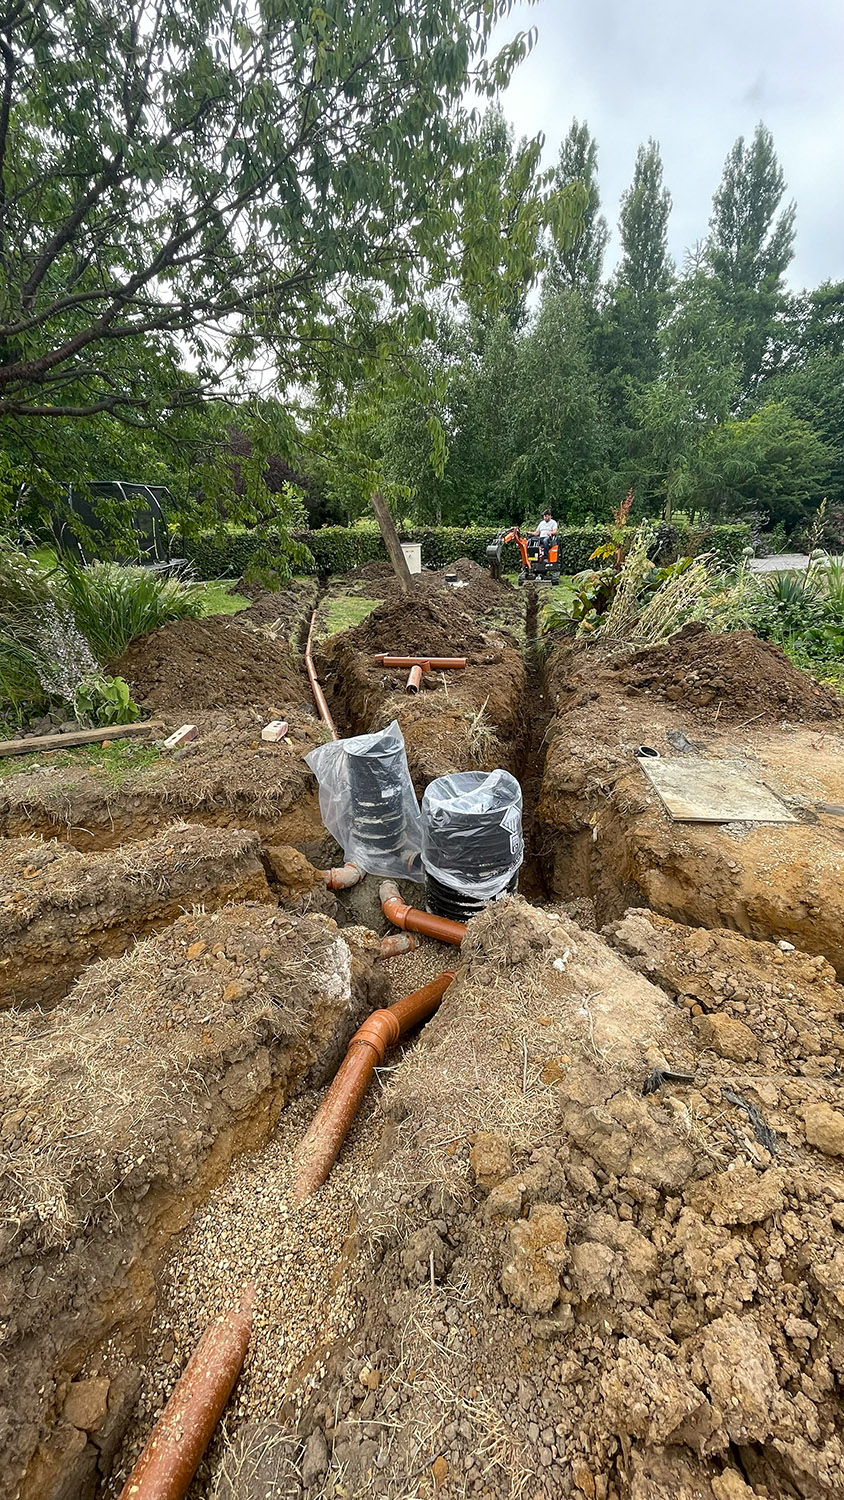
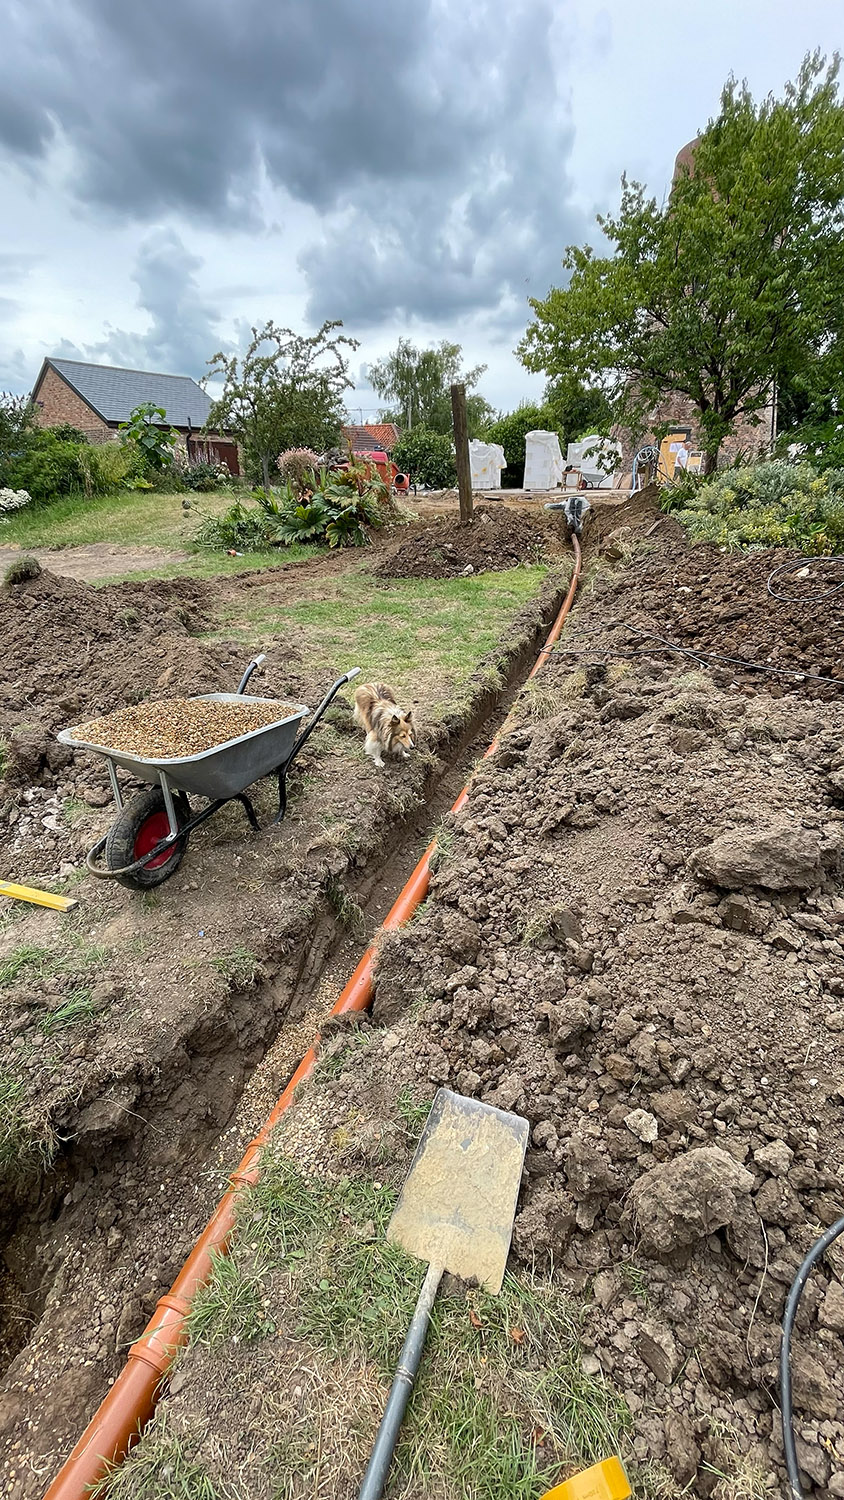
After this we dug and laid the drains as per the above plan ensuring the fall on them was within the required tolerances (1 in 40 to 1 in 110). The foul and surface water had to cross each other so we laid the foul at a nominal depth 700mm and the surface at a nominal depth of 450mm to facilitate this. The foul drain was then hooked up to the waste processor inlet via a small inspection chamber next to the waste processor. Each trench was filled with pea gravel around the pipework and all inspection chambers and outlets bunged and sealed to prevent the ingress of dirt before the trenches were backfilled with soil.
Drainage trenches being dug.
Drains being installed.
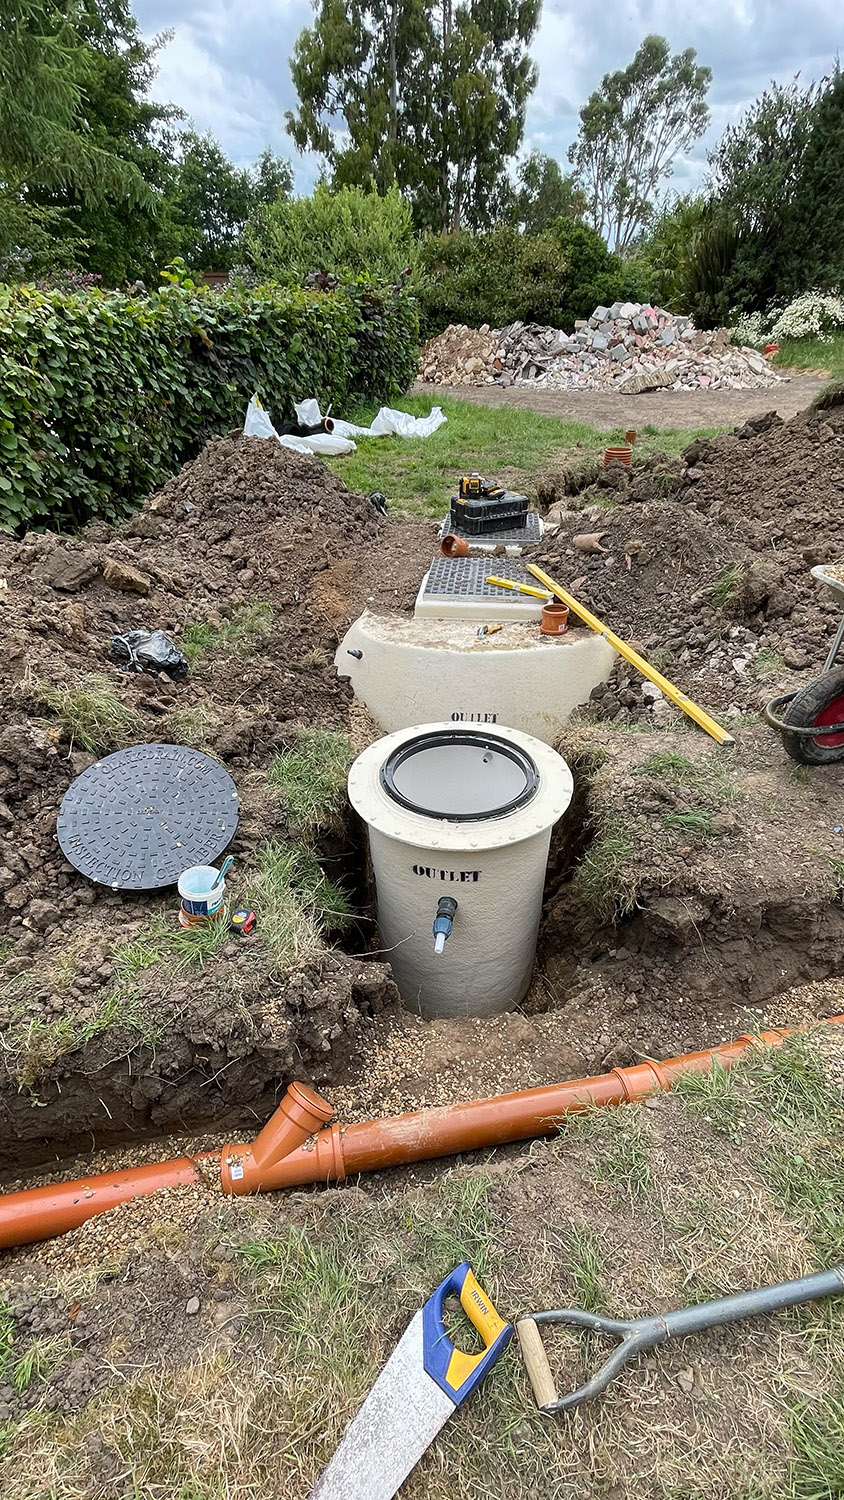
The riser was installed next to the waste processor and the pipe work connected from the waste processor discharge to the riser and from the pumped outlet on the riser into a swept ‘T piece’ in the 110 surface water drain going under the drive.
The riser and associated pipework.
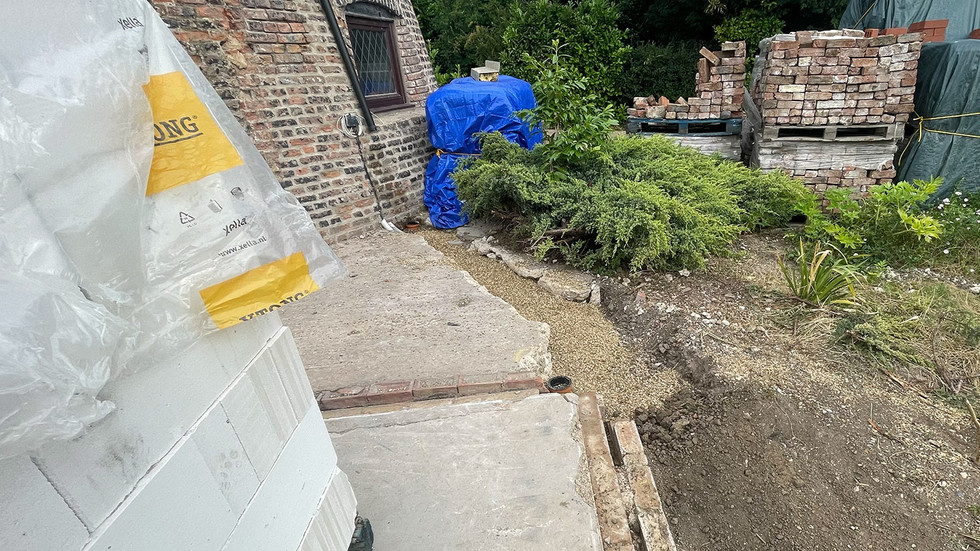
Finally, the ground was made good and levelled with the grading bucket on the digger before being raked.

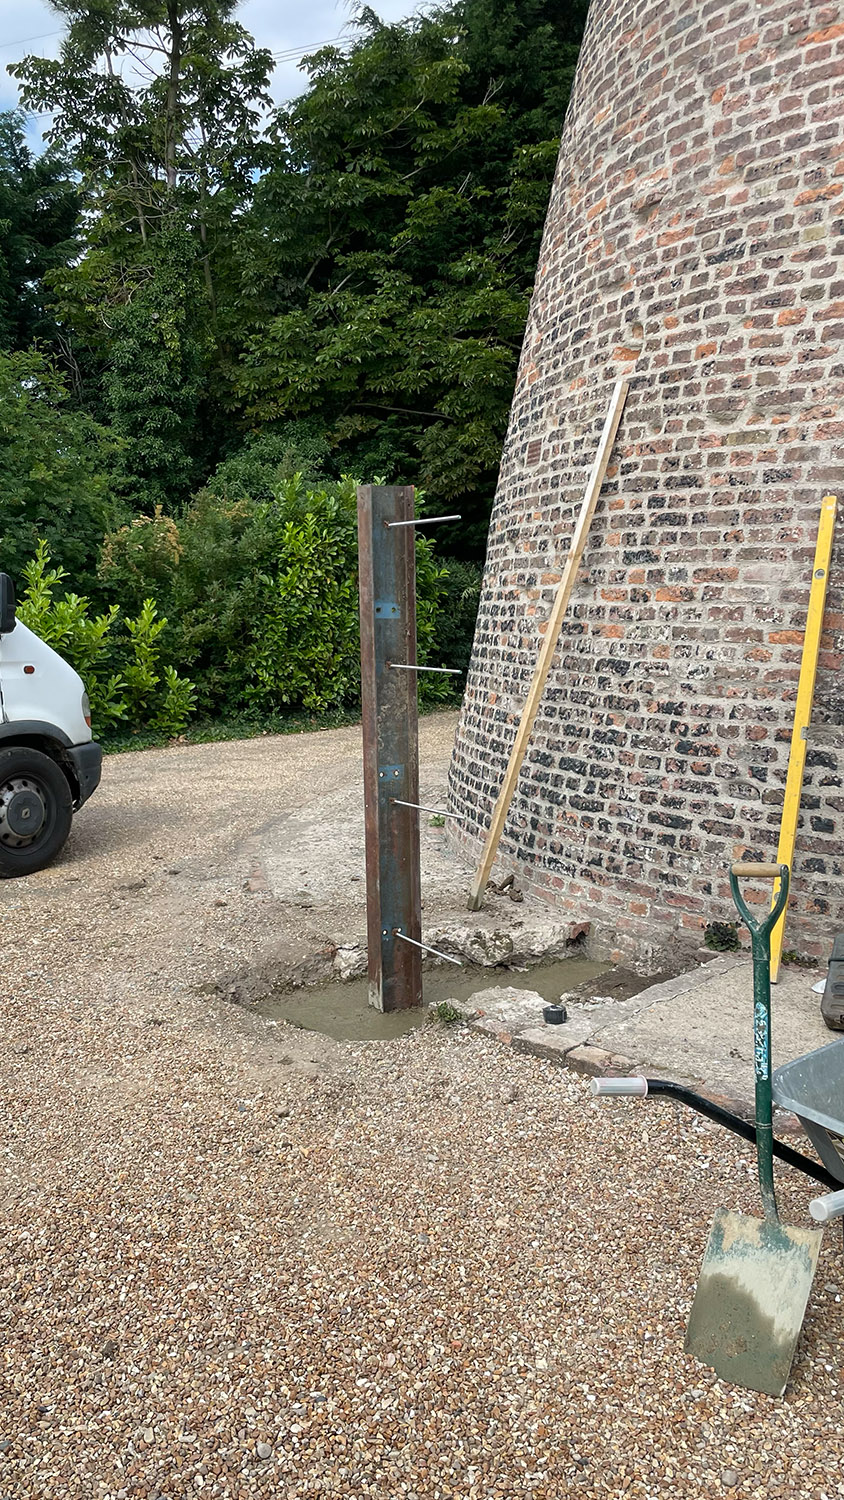
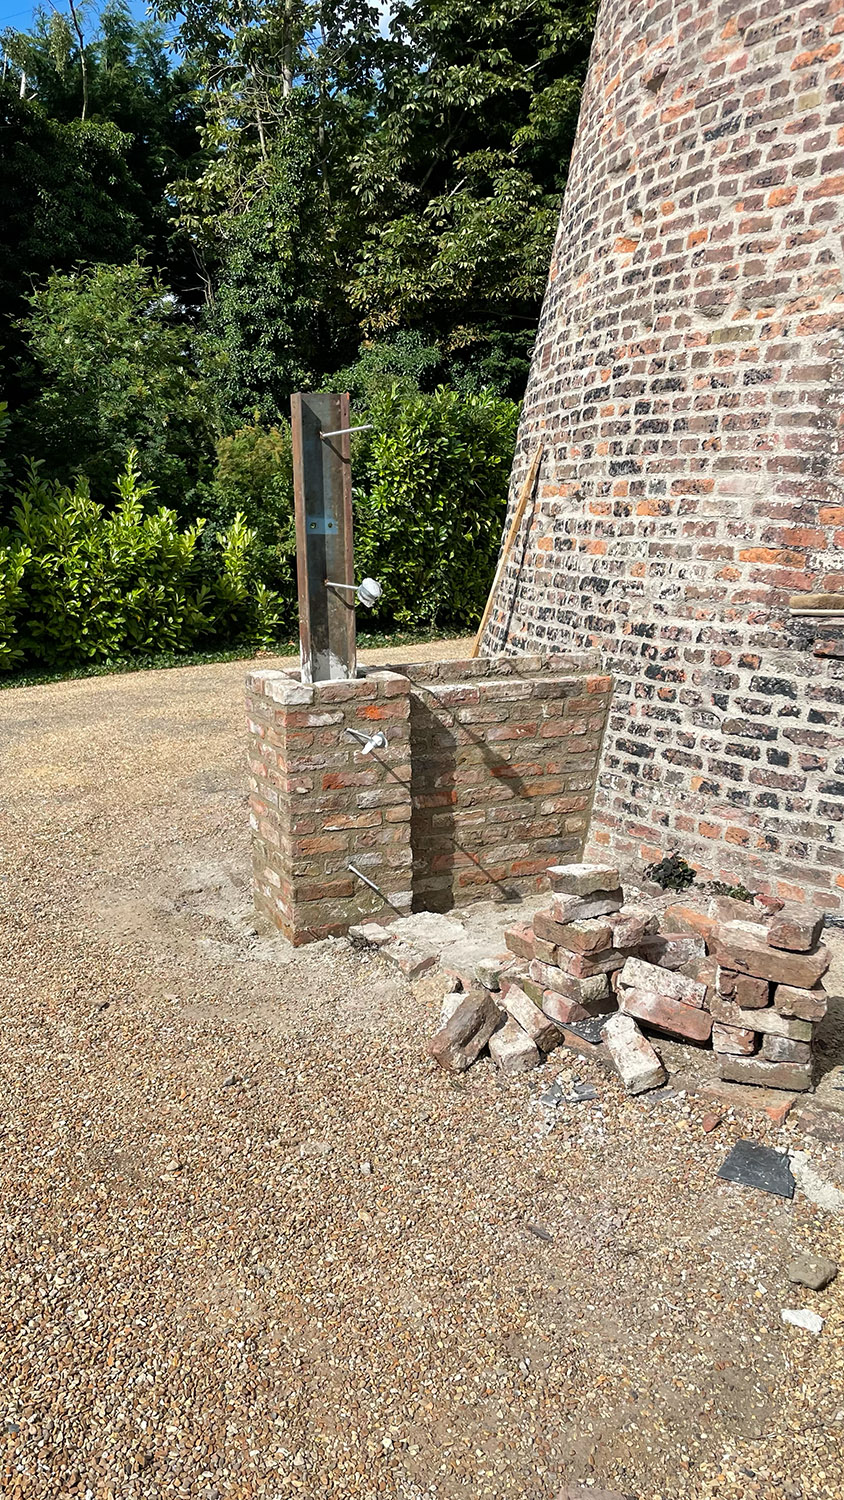
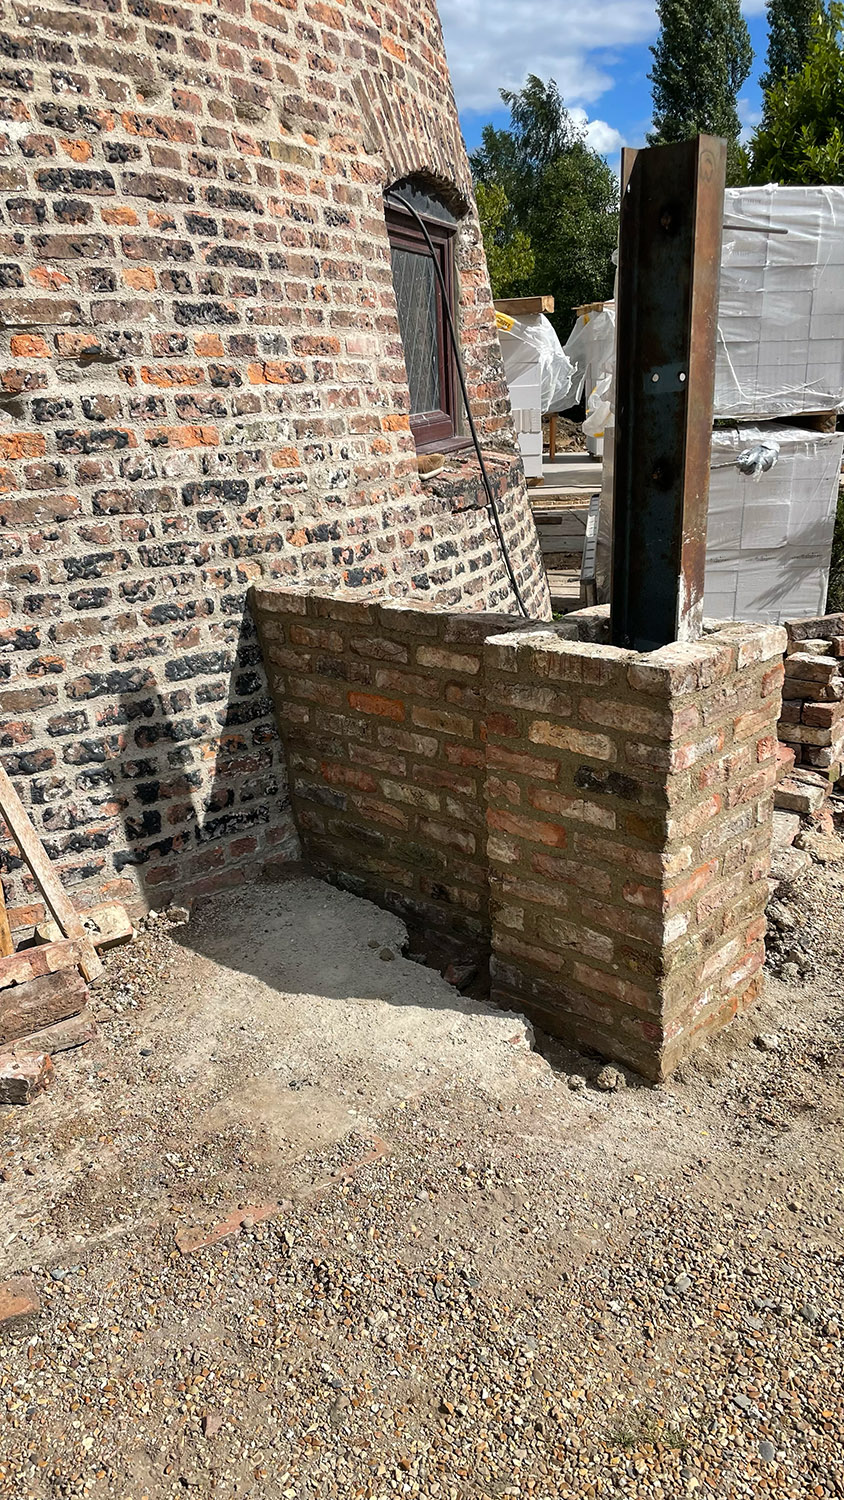
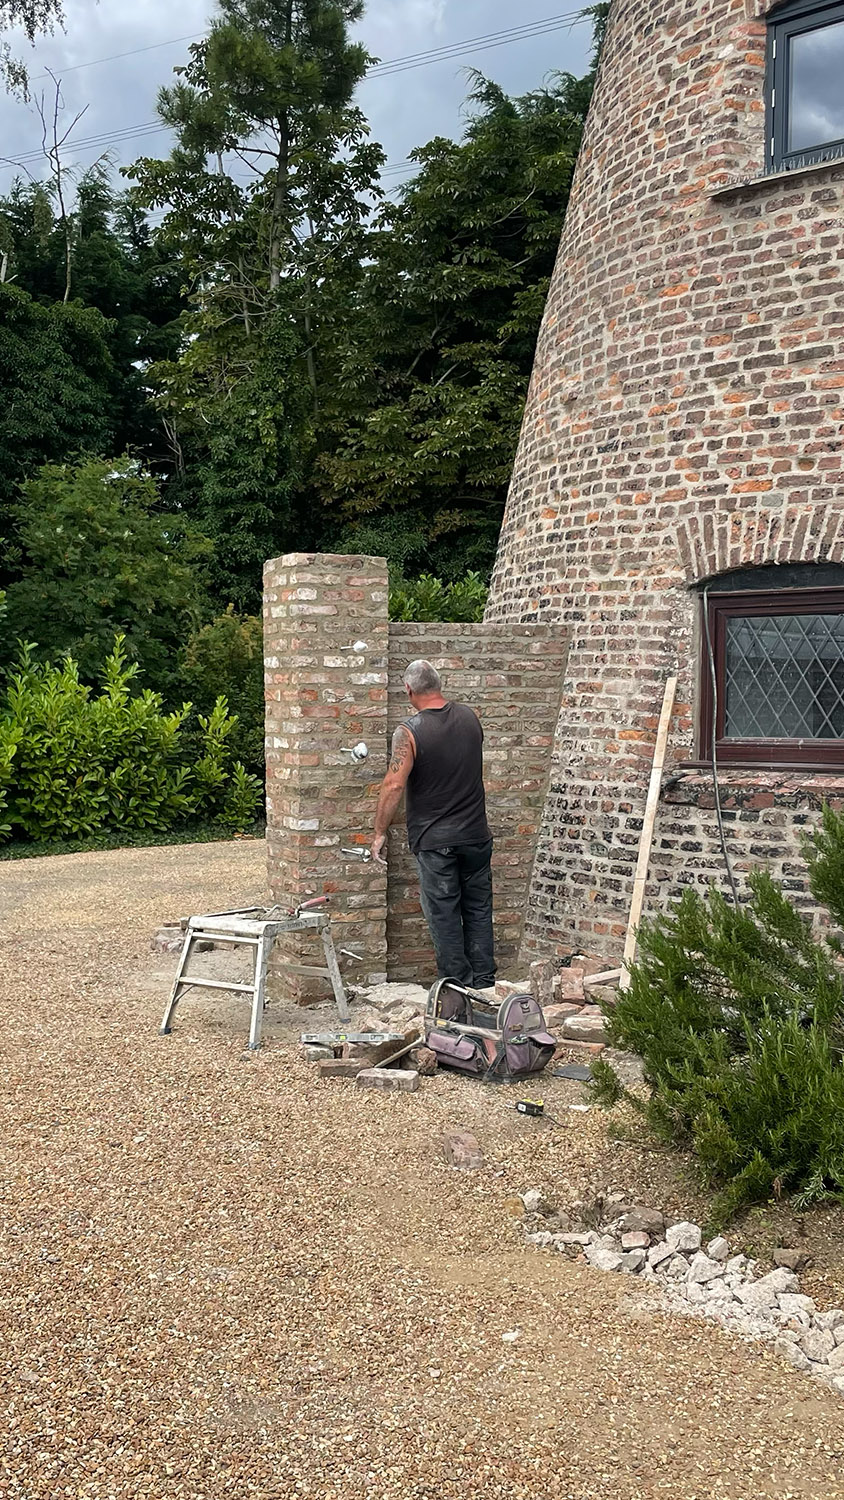
While all this was going on the second courtyard gatepost that was to be attached to the mill was started. This could not be built at the same time as the other one that was on the end of the new courtyard wall as the scaffolding round the mill was in the way when it was built. The construction for the new post was exactly the same as the first one with a girder set in concrete in the ground and then the bricks built around it to give it the strength required to bear the large gates.
The gatepost being built up.
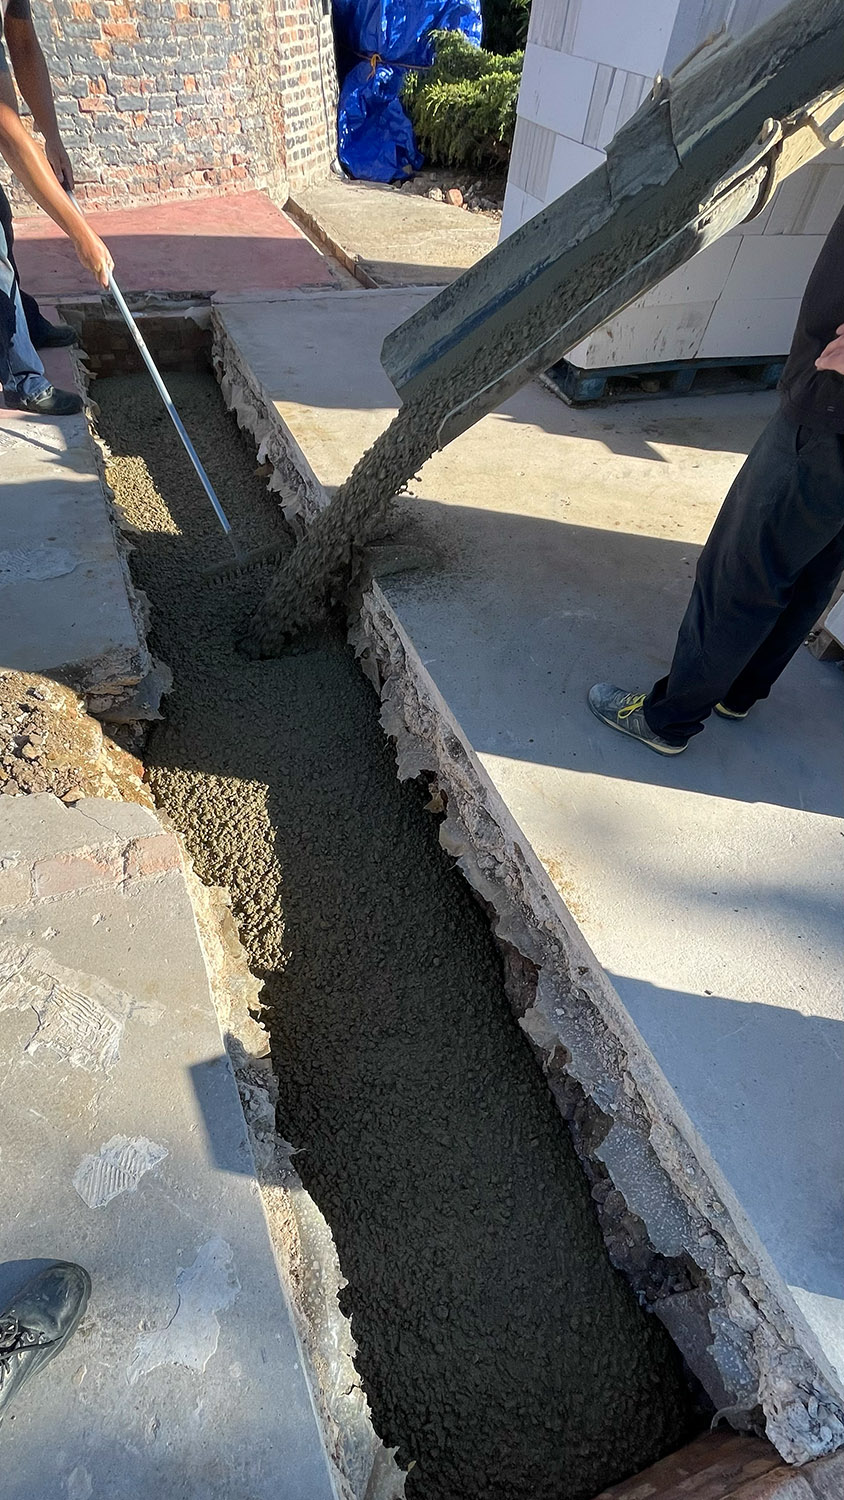
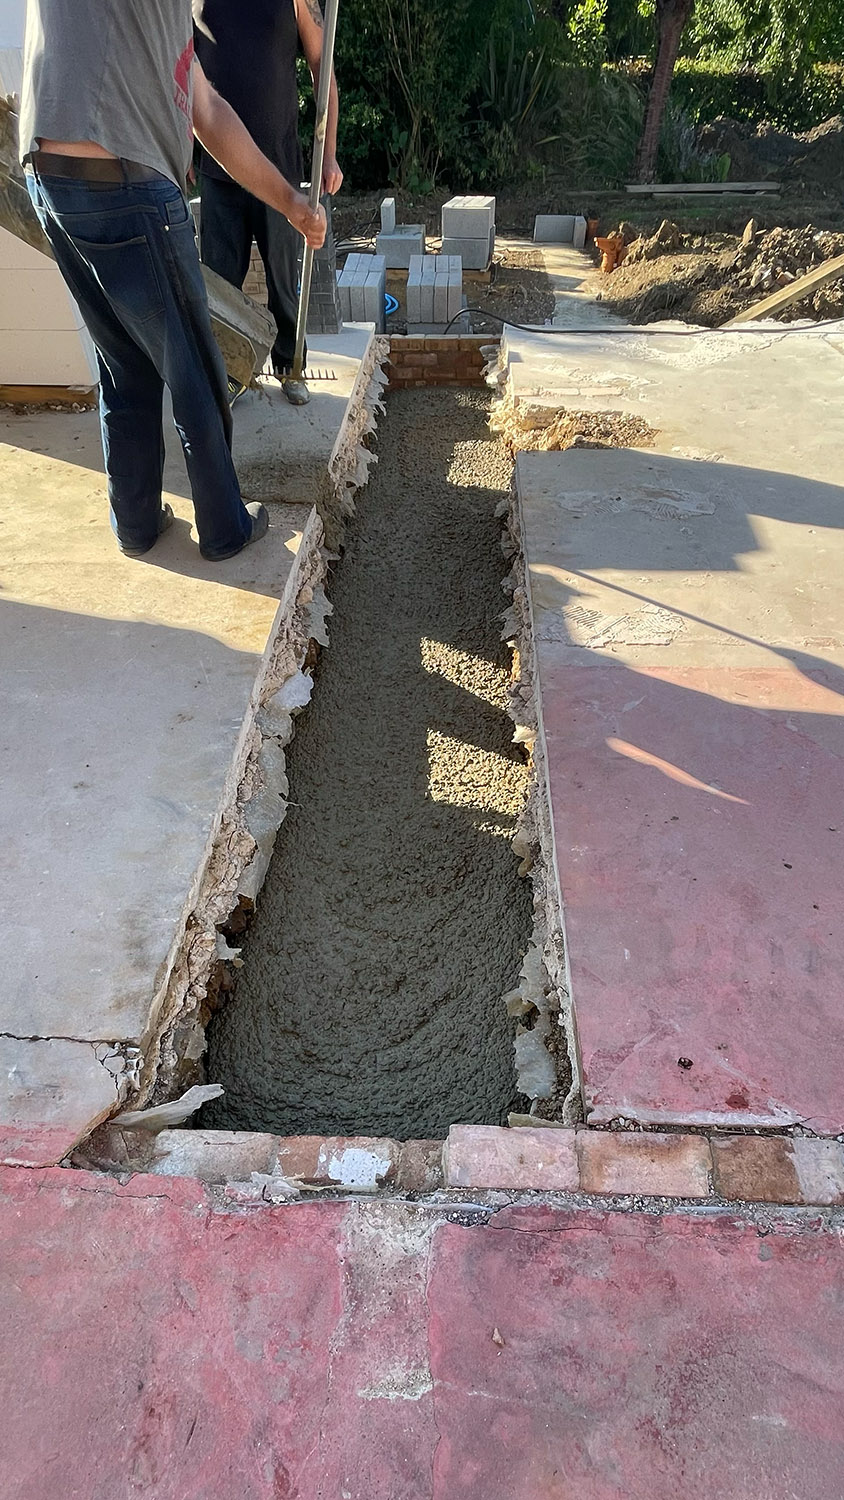
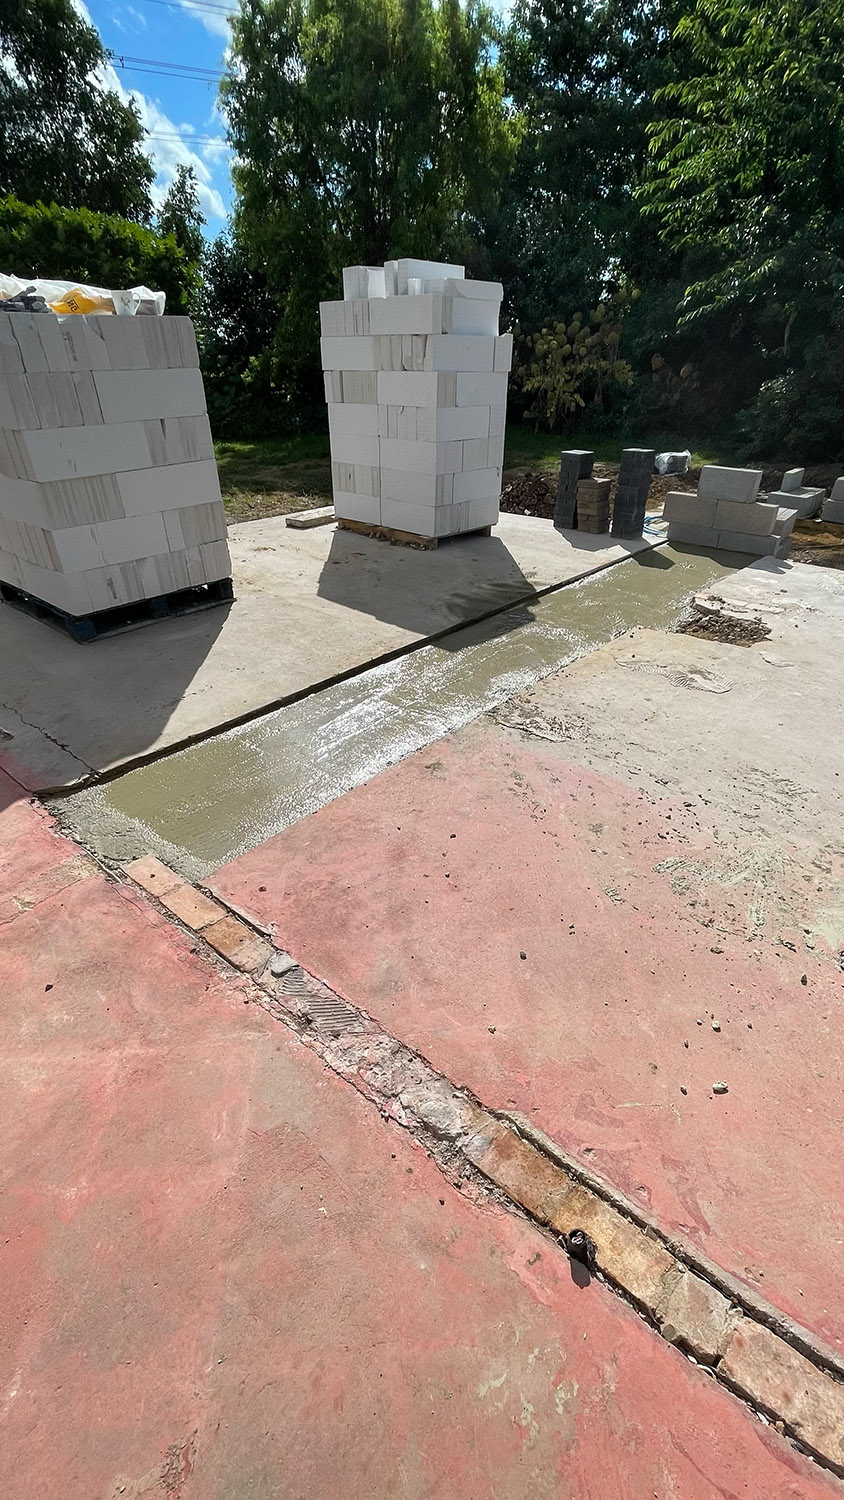
Back at the start of this project one of the tests we undertook was to drill down next to the two internal brick walls to find out if they had footings or not as we wanted to rebuild internal load bearing walls on top of these in concrete block. This revealed that the one most towards the west of the property (between the hall and the living room) that had originally had the fireplace/chimney on it did have a footing, but the other one (between the original front bedroom and the hall) didn’t, it was just built on the concrete floor slab. We needed a footing so we used a concrete cutter to cut away the floor slab to a width of 600mm and dug out 1.2m of soil/clay. We then filled this with ready mix concrete to provide the footing we needed.
Internal wall footing being poured.





























Comments