ROOFING AND BOARDING
- Chris Berry
- Jan 3, 2019
- 2 min read
Updated: Jan 2, 2023
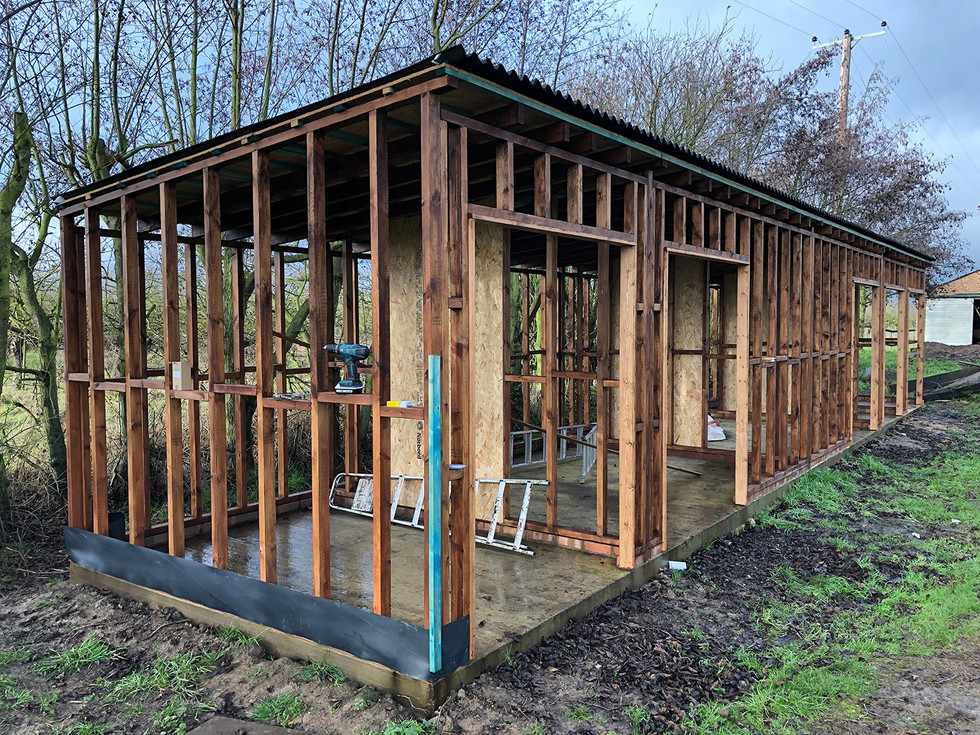
Before any of the frames were installed they were coated with Sadolin on any surface that would no longer be accessible once they were installed (all other surfaces were to be painted once the shell was erected). Once the frames were installed onto the base and screwed together (all the while ensuring they were properly square and vertical) the entire framework was bolted down to the bricks and then painted with that coat of Sadolin.
Next up the roof timbers were added and the roof installed. We used bitumised corrugated roofing from Ondulin as the primary roof material and with the shallow pitch (6 degrees) we needed to add sarking boards on which to mount the Ondulin. For this we used roofing grade 12mm OSB, but the issue with this was the thickness as screwing the Ondulin to it only gave us 12mm of board to grip the screw and of course the screws would protrude through the board. To combat this, we first overlaid the roofing timbers with 50mm x 25mm roofing batten at 300mm spacing and then screwed the OSB through these and onto the roof timbers below. Now we had 12mm of board and 25mm of batten to which to screw the Ondulin which was then mounted on the boards/battens using 70mm screws with the weatherproof caps (also made by Ondulin).
Frame erected, painted and roof being installe
The walls were then clad in shiplap each piece of which was painted with Sadolin back and front before being installed. The shiplap was held on with stainless steel screws (one per board to prevent splitting on expansion and contraction). At this point the entire building was then top coated with Sadolin to ensure it was protected from the elements.
Shiplap installed (with board alignment inspection cat).


Comments