SLATES ON, WINDOWS IN, DRAINAGE DONE
- Chris Berry
- Jan 28, 2020
- 4 min read
Updated: Jan 8, 2023
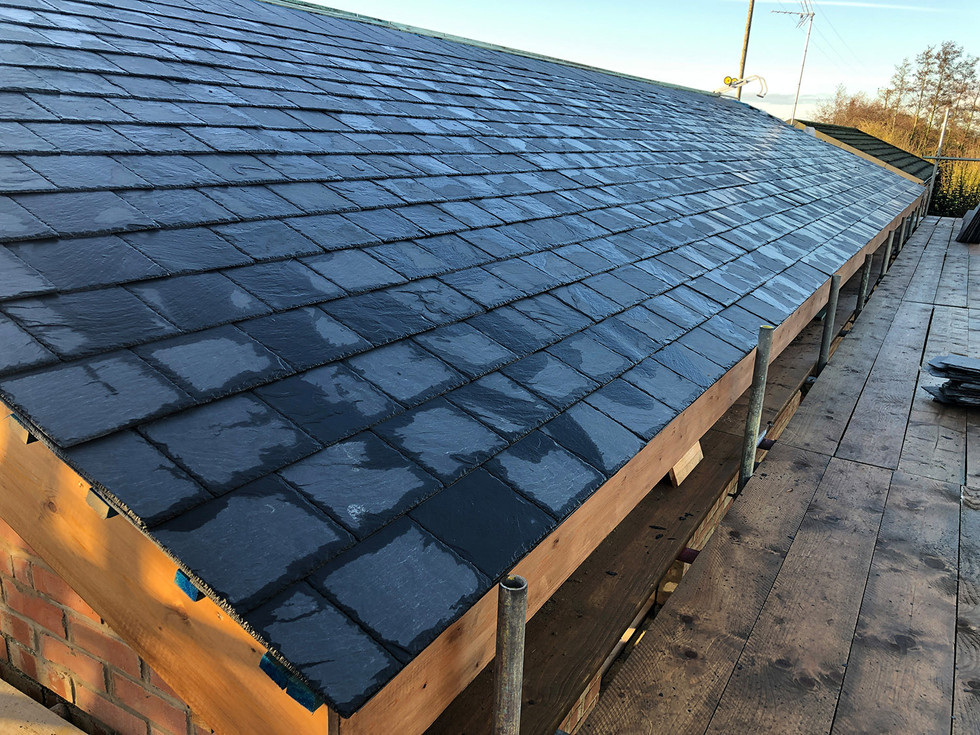
With the building now strengthened internally it was time to slate the roof, but not before installing the Velux roof window for the smaller of the two bathrooms. Provision had been made for this in the roof construction, but I’d not noticed the structural notes around the roof window insisting on doubled up rafters either side so these had to be retro fitted which was a bit fiddly, but achievable. The Velux is a conservation model (at the insistence of planning as it's in the vicinity of a listed building – the mill) which seems to me to mean it has a black bar running down the middle of the window and costs more, but there you go. Anyway the installation was relatively straight forward and it’s installed in a recessed setting (there are two options) to make it as flush with the slates as possible. After this it was simply a matter of slating the roof which, as there are no valleys or hips and the likes, was a very easy task. The slates are Spanish in origin, measure 500 x 250 and while not a premium slate they were very good and consistent in terms of thickness/finish with only a few damaged ones in the crates and this made the job a good bit easier. They were fixed with copper nails and provision made for a Manthorpe dry verge to be installed against the gable fascias as this makes for a neat finish and an easy install. The ridge was also done with a Manthorpe dry system that allows half round concrete ridge tiles to be fixed with no mortar. All the fascias were then given a second coat of Sadolin and the dry verge installed with ridge caps that perfectly fit the concrete half round ridge tile ends.
Velux roof window installed and roof slated.
With the roof now complete the scaffold could be removed and this revealed the building in its new roofed glory, a bit of a change to the old asbestos effort although to be fair that had served the building well for 50 years despite being crashed into by a tractor at some point :-) With all the internal timbers now delivered and in the building it was time to start getting the windows and doors in place as the temporary window covers on the west of the building were getting regularly blown out in the winter winds. The windows and doors are made from uPVC finished in golden oak and were supplied on a ‘customer to fit’ basis. We installed the windows and then the two sets of French doors at the end of the building, but left the front door uninstalled as this opening would still be used to bring materials and equipment in and out of the building and therefore there was a potential for damage to occur so instead, we built a temporary OSB door while the first parts of internal works took place.
Scaffold down, windows and french doors installed.
The next piece of work was to dig and install the drainage. The foul drain was already in as was the waste processor (no sewer connection here) as these were installed in 2005 when the adjacent building was converted, and it was all part of the same property. The waste processor belongs to us and is on our land, but the property next door has rights to use (as part of the sale agreement). The foul pipe runs underground along the back of the property from the adjacent dwelling and terminates in the waste processor that is installed 15m from the south elevation of our building. All we had to do was dig down to the pipe behind the building and ‘splice’ into it for our soil stack which was a very easy task as the pipe is only 600mm below the ground and the land was easy to dig (it being winter).
The rainwater drains were a little more complex as the original drains used for the building were untraceable and didn’t work anyway. Initially we thought of using a soak-away but on digging a metre square test hole and conducting a percolation test we quickly realised that the clay levels in the soil would preclude this option as the water simply did not drain away quickly enough. This made things tricky until we realised that the waste processor discharge (processed water) was routed to a drainage ditch on the east boundary of the property via a pipe that runs all the way across the land from the processor situated on the west boundary. We applied for permission to discharge into this from the Kings Lynn drainage board and they were happy for us to use it. Even better was the fact that there was already a conveniently located inspection chamber at the end of the waste processor and it even had spare ways we could utilise. As such trenches were dug by a combination of mini-digger and hand and the rainwater drains were routed via inspection chambers (installed at direction changes) to the discharge inspection chamber at the end of the waste processor.
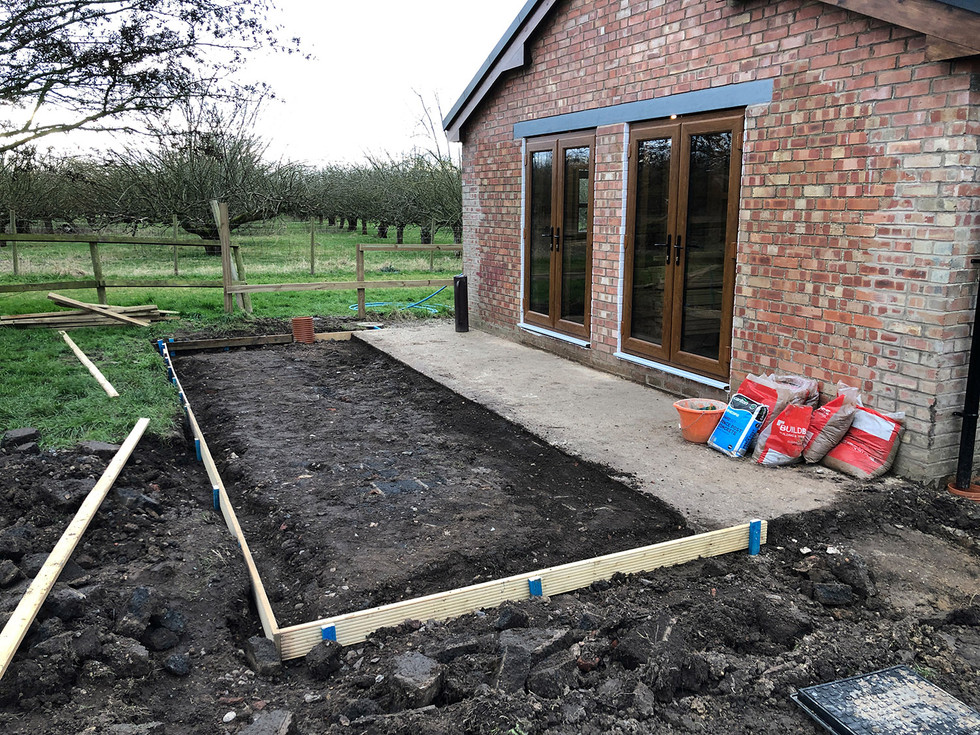
The front of the new dwelling was to have two raised flowerbeds created so part of the finishing groundworks after the drainage was installed was to level the site off in this area which was also being extended for the new car park (see the driveway project). Additionally, concrete was to be laid to extend the patio, to provide a path between the beds to the front door and to provide a solid base for the air source heat pump. Part of the groundworks were to set these out and build the necessary shuttering for the pour.
Drainage and groundworks being undertaken.


Comments