STARTING THE KITCHEN INSTALL
- Chris Berry
- Apr 11, 2022
- 5 min read
The last major job on the interior of the barn was the installation of the kitchen. In the recent past I had fitted two kitchens and on both occasions had used Ikea’s METOD range due to it having the best combination of flexibility, cost and quality (as ever this is just my opinion). However, on both occasions I had problems with their custom worktops either being damaged, late or not turning up at all or some combination of all three. However, when I looked around at other suppliers I couldn’t help but feel Ikea was the right price/quality for a holiday let.
So I designed the layout myself (it isn't complicated given the design of the barn) and set off on the 90 minute journey to Ikea in Milton Keynes. Now some people love a trip to Ikea, but to me it's a necessity rather than a highlight and I arrived at the store intending to be in and out within 90 minutes and with the idea to buy everything from them except the worktops that I would instead source separately. So some 3 hours later (I swear these places are time dilation zones) I emerged with the worktop idea having gone straight out of the window as they do a really nice concrete effect 28mm laminate worktop that is not stupidly expensive and can be made to custom sizes. So I had ordered the entire kitchen (a lovely light gloss grey) including the custom size concrete effect worktops and then find myself standing outside thinking ‘What have I done?’... twice bitten, thrice shy doesn't seem to apply.

Delivery day arrived and the truck pulled up outside, first out were the worktops... Phew, I needn’t have worried, but then the truck door was closed and the driver said goodbye... this time all I had was the worktops. Say what? A few phone calls later apologies were forthcoming and the truck returned two days later with the rest of the kitchen minus a few items that were out of stock. Getting these proved a bit of a task as did replacing three doors that arrived damaged, but eventually everything was here and we were ready to start
The first kitchen task was to install the over hob extractor. We’d chosen a Russell Hobbs RHGCH601SS 60cm glass and stainless steel chimney style hood as it had good reviews and the technical details of the ducting allowed a low exit point which was important as the barn walls at the base of the vaulted ceiling are not high (2.28m) and outside there is an even lower soffit that needs to be approximately 75mm clear of the extractor terminal. When the walls were built up a frame was installed for the extractor such that it would have something significant to screw to behind the plasterboard. A 100mm hole was also pre-drilled and plastered around so the installation of the extractor in terms of hanging it on the wall was relatively simple. However, I hadn’t bargained on the outlet duct on the unit being 150mm rather than 100mm (because despite reading the manual cover to cover I failed to notice this specification figure – doh!). To combat this some Manrose reducers were purchased, trimmed with the mini-grinder and solvent welded to make a reducer that would still fit low enough to get a 90 degree bend into the outlet hole. Once this was done the ducting was assembled, the terminal was installed on the exterior wall and the cosmetics of the unit and wiring were taken care of inside.
The cooker hood being fitted and showing the ‘custom built’ double reducer.
Simultaneously with this being undertaken the kitchen units were assembled and test fitted. This gave rise to a couple of connected problems that I had already anticipated due to the building dimensions/layout of the plumbing. Firstly, the pillar on the wall needed to have the units modified to go round it and secondly the waste pipe for the sink was in a less than ideal place right on the junction of two units. If we moved the units to get round the waste pipe placing, then the hob might end up too close to the pillar and the very corner of the hob base unit might need removing to go round the pillar which would be very difficult to do neatly. If we didn’t move the units, we probably needed to move the waste pipe. We’d already adjusted the corner unit to be a bit shorter which you can do as the Ikea system is way too generous with the corner fillets unless you have drawers in one of the corner cabinets (as these can foul the handles of the units in the other plane) so we were on the limit of what could be fitted here.
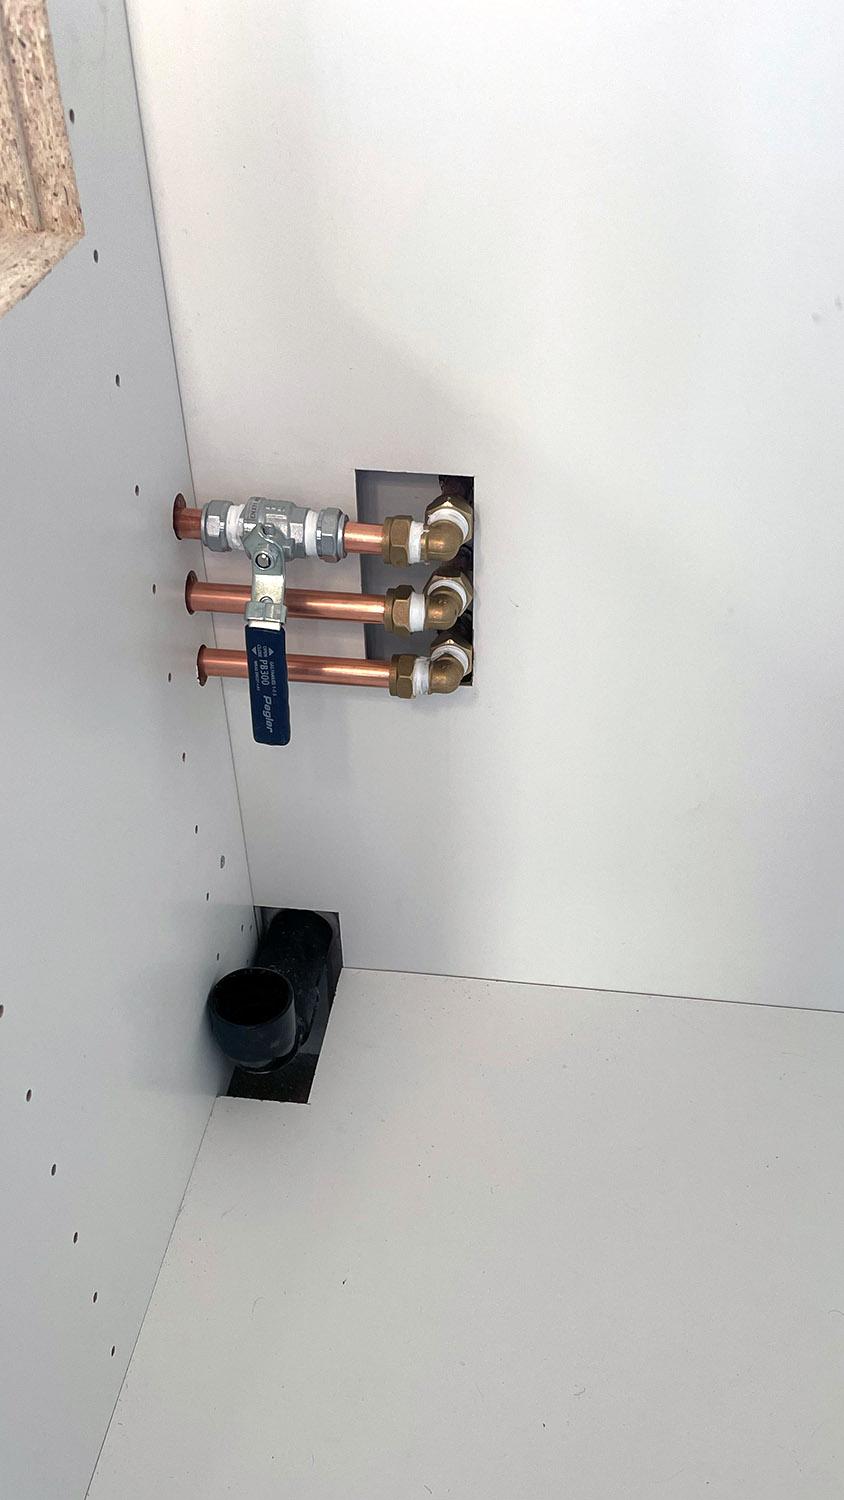
However, copious amounts of measuring and test fitting eventually convinced me that we could just about squeeze the hob unit in without moving the waste pipe more than a few millimetres (and we could get that without major work i.e. just making the hole through the wall a bit bigger on one side), but it was tight and might still need the hob moving as far right in the base unit as possible so as not to foul any eventual tiles on the pillar. A further issue and one that was unavoidable if we wanted corner cupboard storage was that the sink needed to be in the middle of two units so a suitable cut out was made in the unit sides and lined with aluminium ‘L’ trim to cover over the bare chipboard. The same trimming was done where the waste and plumbing came in as some cupboard floor had to be cut away. All these issues were dealt with and we installed the base units along the long wall first and then the worktop which was subsequently cut out for the sink and hob.
Base units being installed (the cat isn’t helping of course).
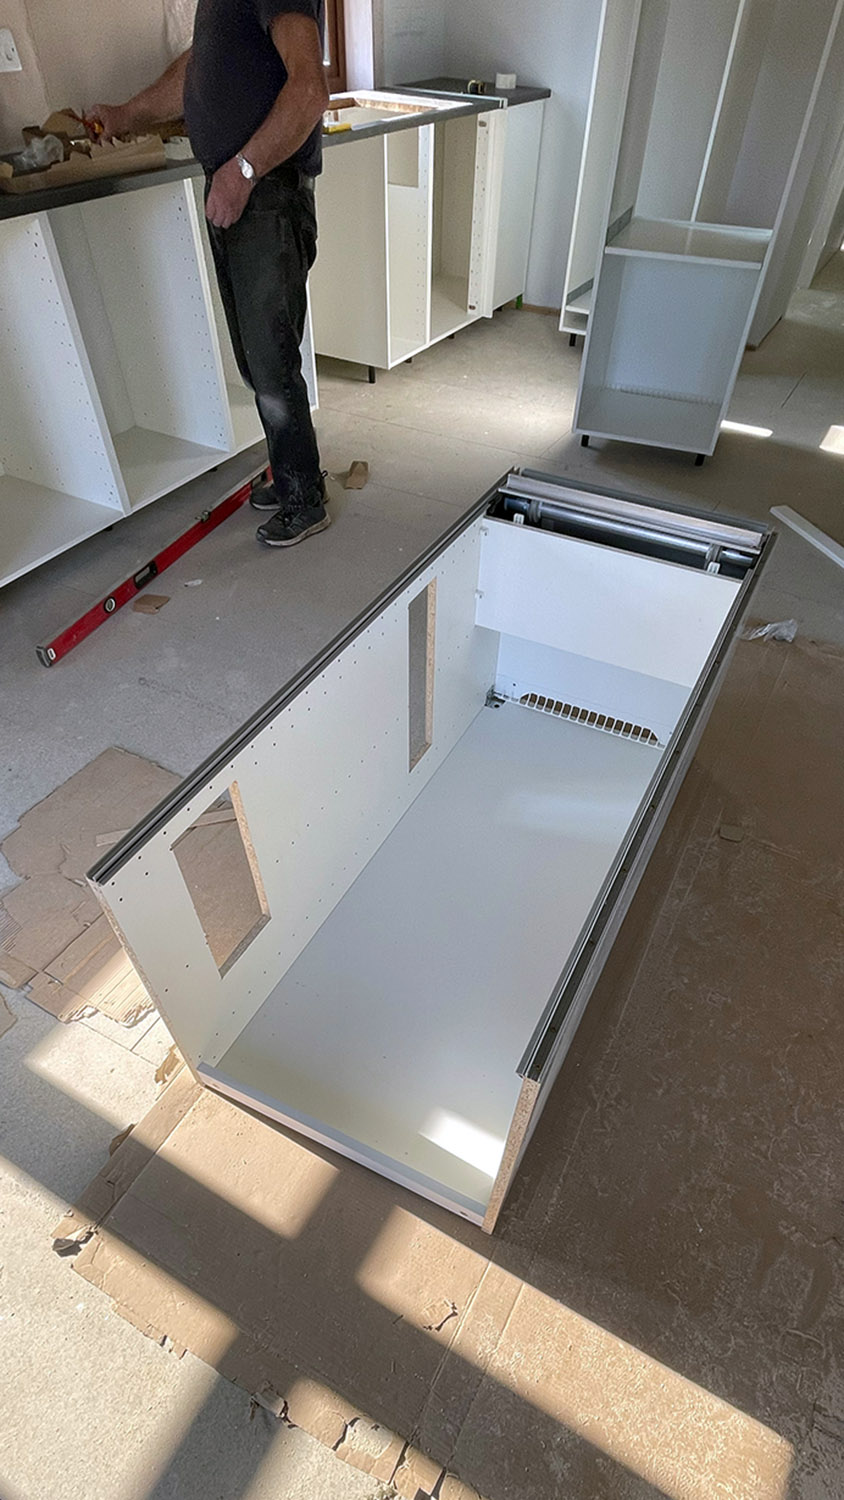
The tall units for the oven, microwave and fridge/freezer were then built and test positioned on the other wall which was simple enough, but that left a void next to the sink that needed a unit for which my ideal solution would be a full height unit from the worktop with a roller door on it. Unfortunately Ikea don’t make a unit for this type of space and no longer do roller doors, however with a bit of research I worked out that if we cut down and inverted a 1½ oven unit and installed a Tambor shutter from East Coast Kitchens in it then, with some suitable trim panel either side it would be indistinguishable from the rest of the kitchen so that is what we did. The idea was to store the kettle/toaster etc. in this unit and just be able to pull the door down when they’re not in use. The unit needed cut outs for sockets for these (and the kitchen appliance isolators) so again these were trimmed with aluminium to neaten them up.
Tall units and custom roller door unit being built up and installed.


Comments