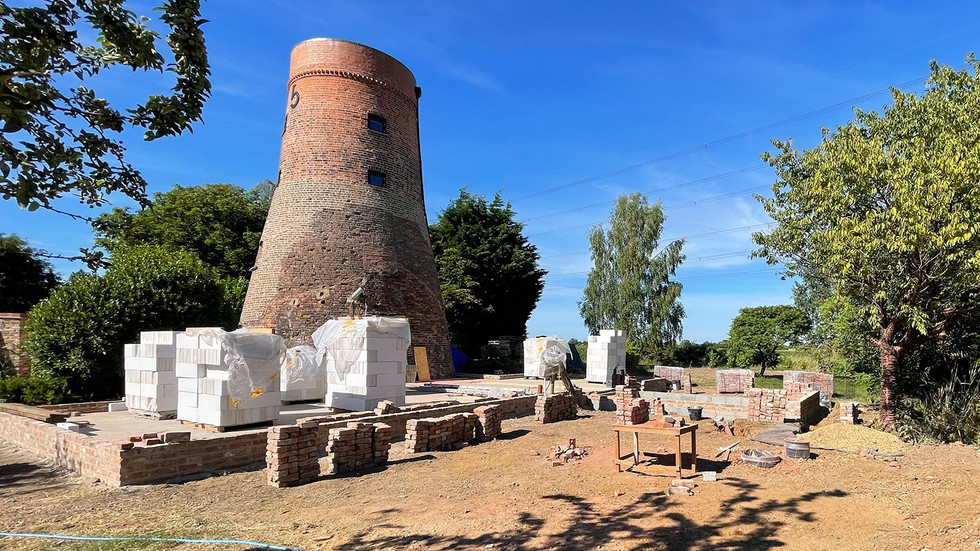
After all the demolition, concrete, drains and, of course, the mess, we were at last ready to start building the new part of the house back up again. The external skin was being built in reclaimed brick to match the mill itself (with traditional lime mortar) and the inner skin was going up in 600 x 225 x 100mm aerated concrete blocks (made by YTong) with modern sand/cement mortar. Where we were building on existing footings the cavity was restricted to 75mm width and we were filling this with Knauf Dritherm 37 Glass Mineral Wool Cavity Slab Insulation. On the new utility building the cavity was 100mm wide (to meet modern building regulations) and again this was to be filled with same cavity slab insulation, but 100mm thickness this time.
The first task was to get all the external and internal walls up to the height of the damp proof course. The bricklaying itself was relatively quick, but what took the time was the moving of all the bricks (known as loading out in the trade apparently) and the need for every second course of the external skin to be made out of half bricks. The reason for this is that the brickwork on the mill is laid in what is known as English bond where every second course is a course of headers to tie the walls together whereas a more common bond these days is the stretcher bond whereby each skin is laid independently from the other and tied with wall ties. See the diagram below for an illustration of these two different bonds.

To make the brickwork on the new building mimic that of the mill we wanted to lay the bricks in an English bond, but as there is a cavity and the inside skin is block the bricks couldn’t go through the wall as per a standard English bond and therefore we decided to cut masses of bricks in half and use them in every other course to mimic an English bond. This meant we needed to cut about 4000 bricks neatly in half (neatly so the insulation could go down the back of them with no snagging issues) and therefore we brought in a bench mounted chop saw with a stone cutting blade in order to undertake this process. The other impact of this was it slightly slowed down the brickwork as effectively each half brick is laid as a brick in its own right, but for the right aesthetic it was worth it.
The brickwork just starting to take shape.
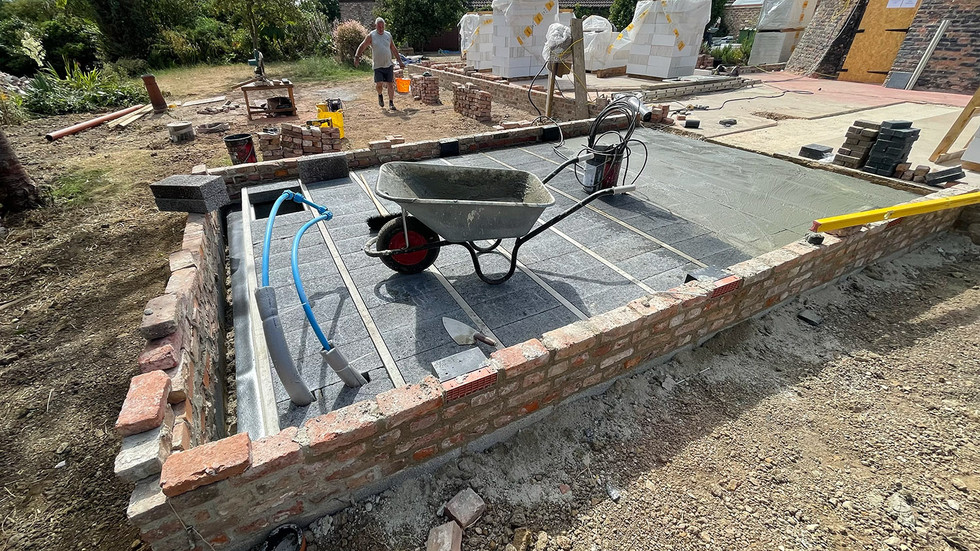
Once the brickwork was up to the damp proof course we needed to build the floor in the new utility building as this was completely new and had no floor slab etc. This was done using the block and beam method where pre-stressed concrete beams are placed across the width of the building sat on the internal skin and blocks are then laid between them to form the floor. Holes are left for cables and water pipes and once the block install is complete a sand/cement slurry is poured over the floor and swept into every crevice. Once this has set the floor becomes incredibly strong as it can no longer flex at all.
The block and beam floor being installed.
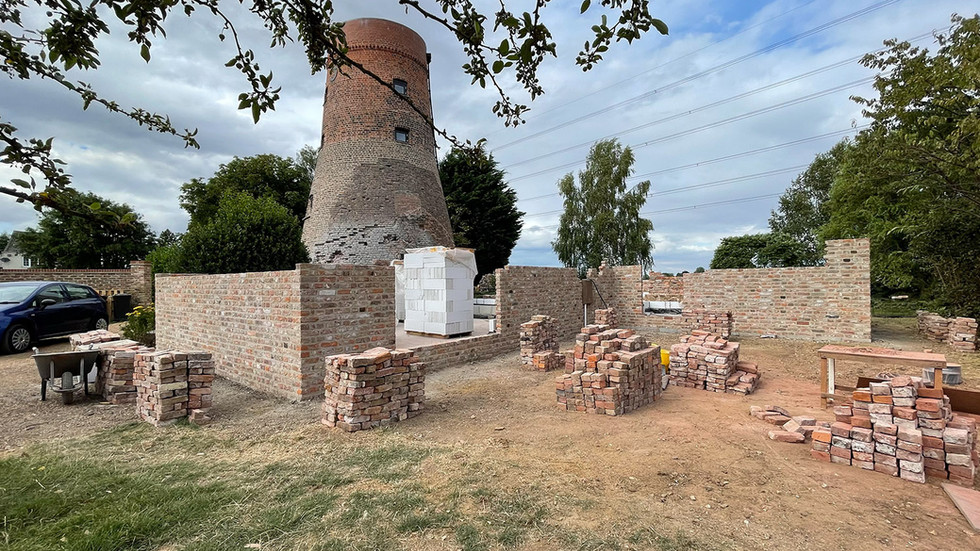
After this it was onwards and upwards with both the external double skin walls and the internal single skin concrete block walls all of which were at first built up to window sill height with careful levelling to ensure the windows would all be level with each other.
The walls being built up with some aerial views from the mill tower.
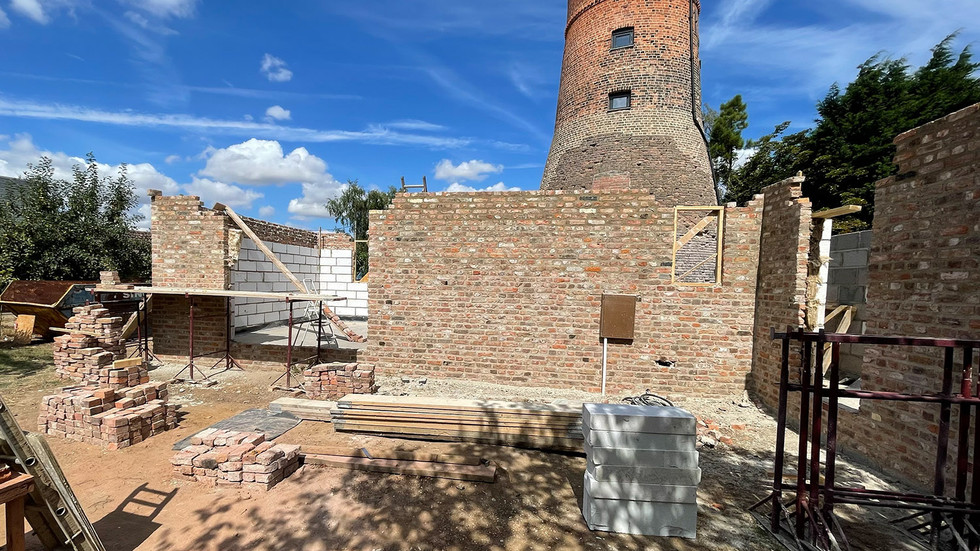
After this the window apertures were carefully marked out and the walls taken up to lintel height with all the window and door openings made ready for the lintels to be installed.
The walls going ever upwards.


Comments