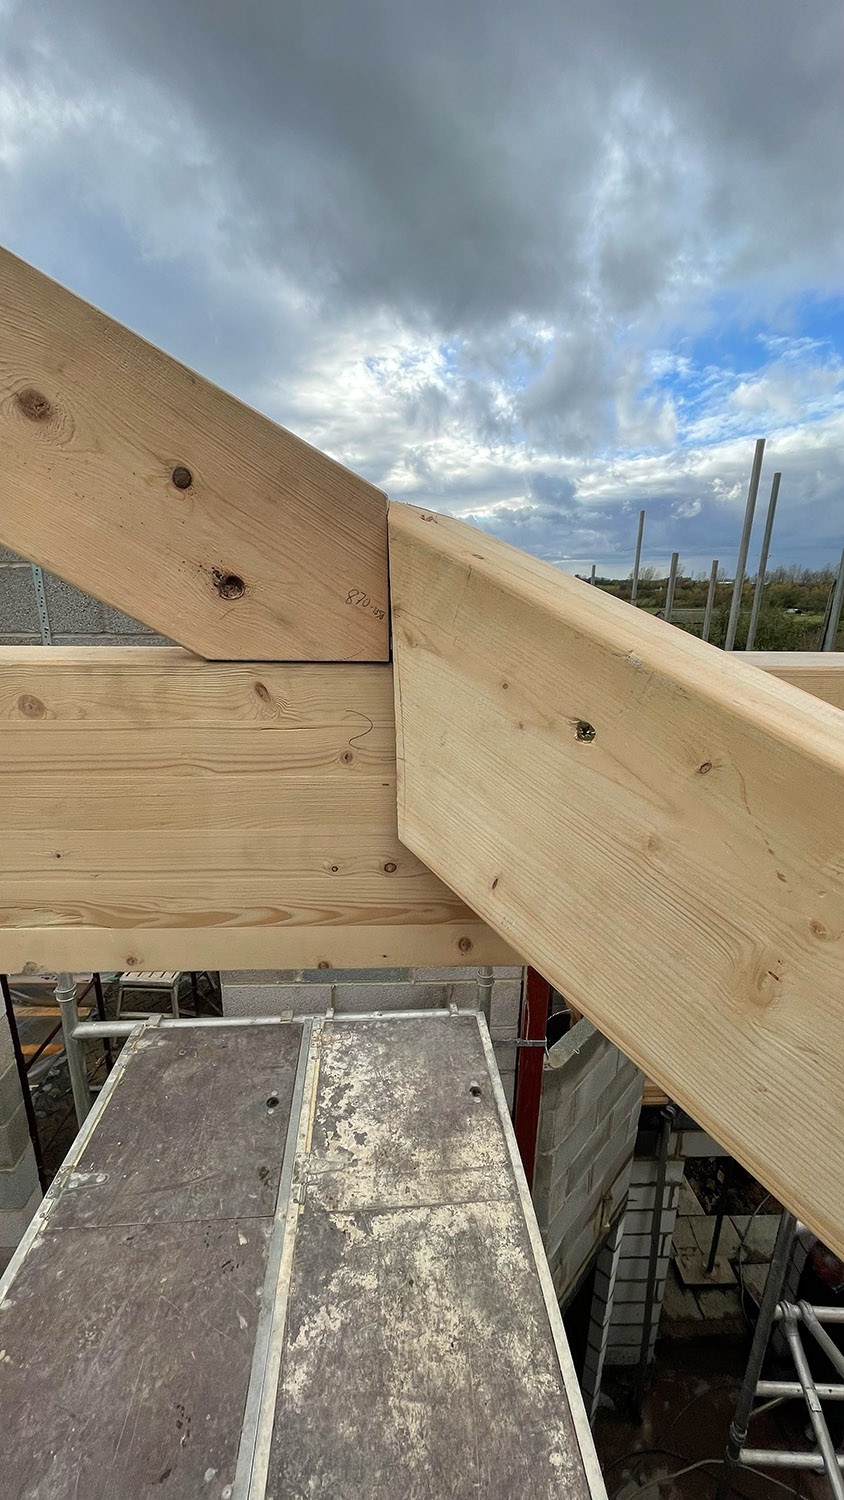
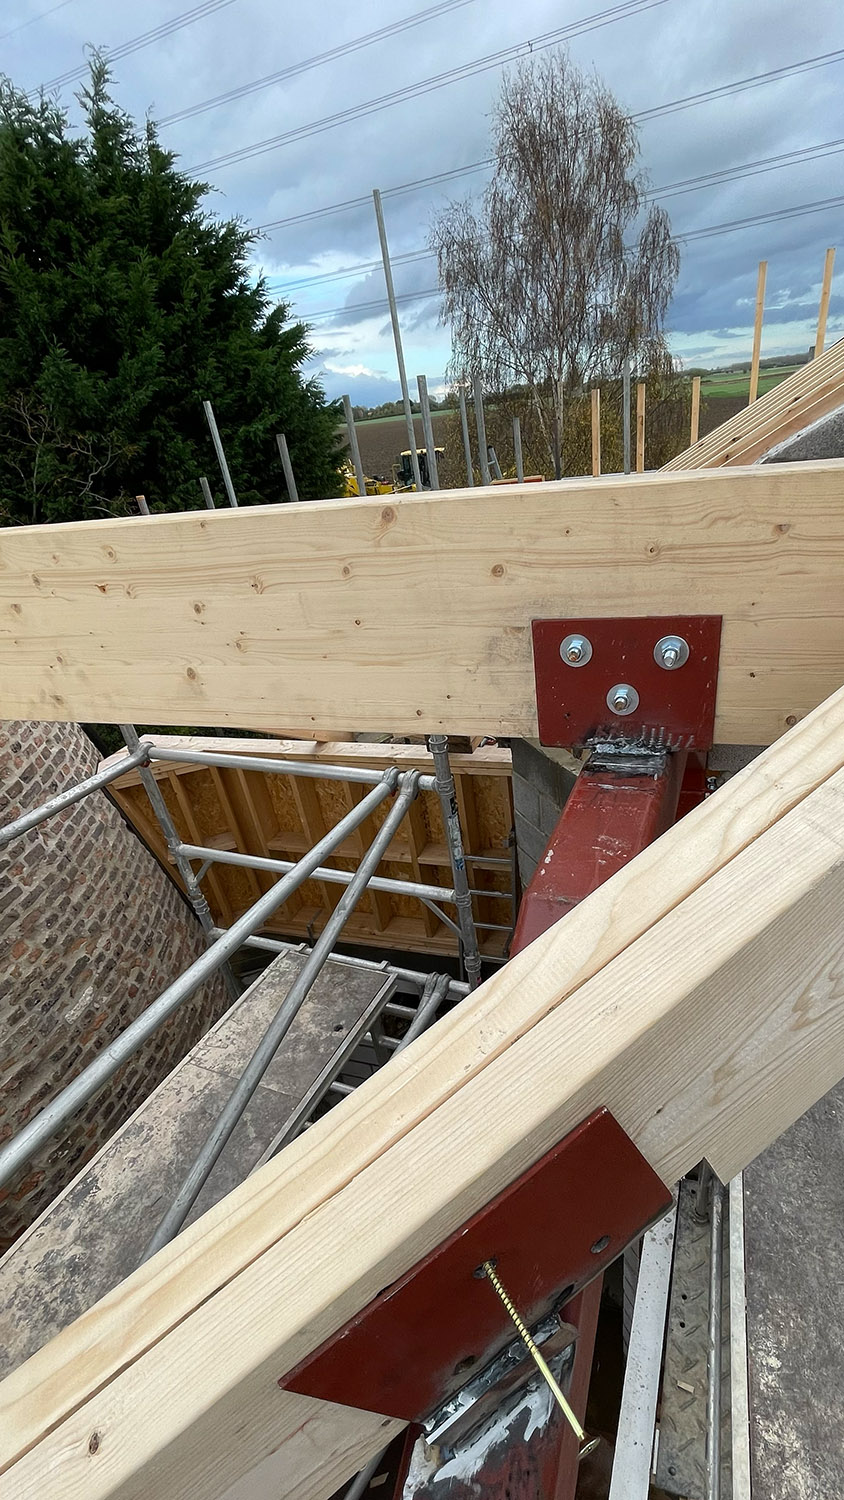
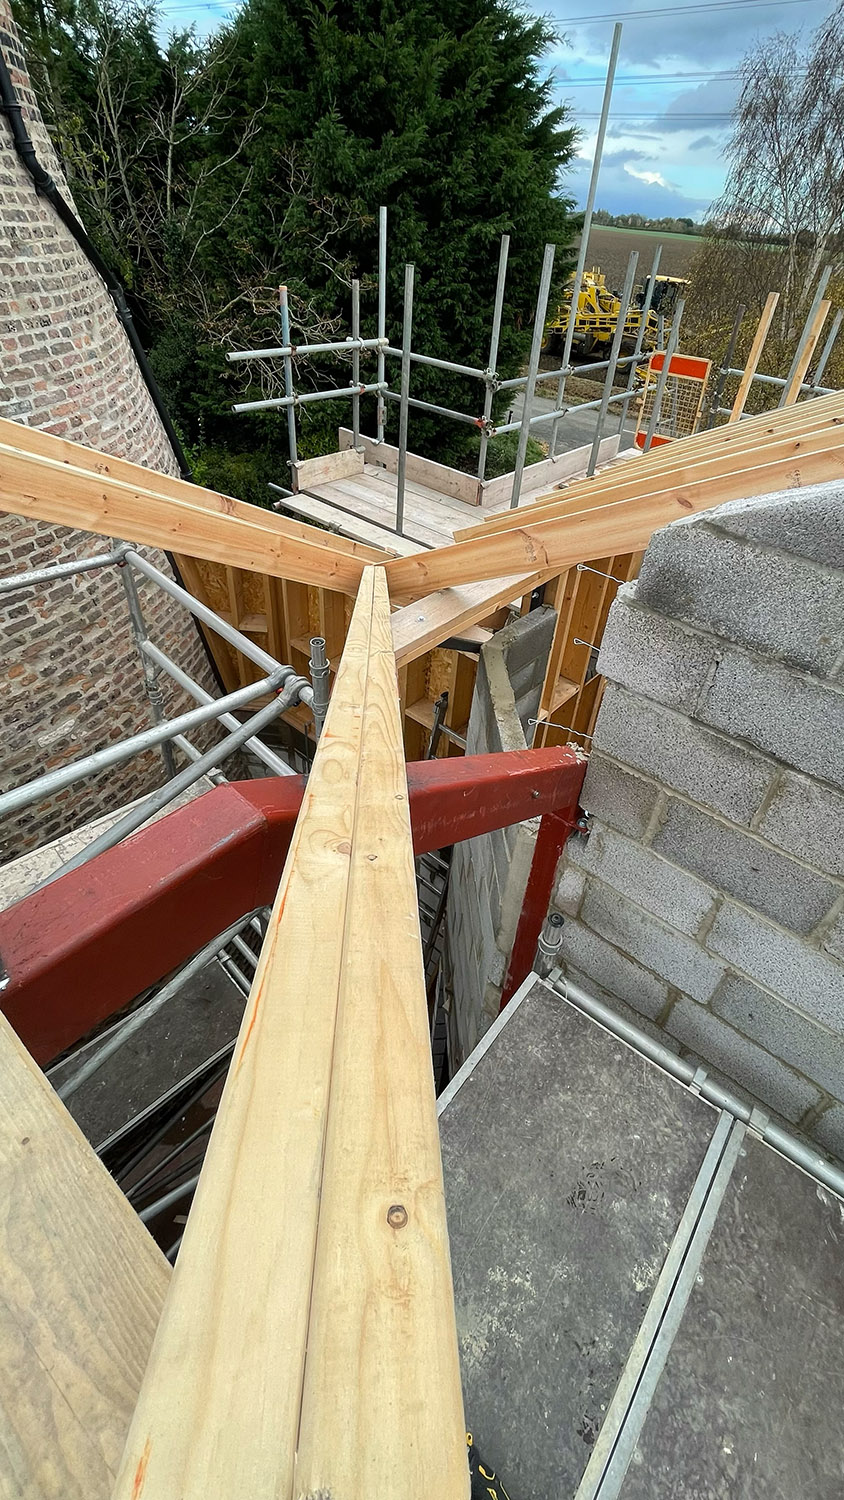
Now we were into the fiddly timber work on the roof in terms of the valleys and framing round the mill itself. The valley bearers were to be formed from two 220mm x 47mm timbers screwed together and then fixed to the intersecting ridge at one end and running over the cranked beam to get their support. The bottom of the valleys would meet the overhangs from the main timber frame which we decided needed to be bracketed off the rest of the timber frame using steel brackets as otherwise they’d just be ‘floating’. There was no mention of this on the plans, but it seemed obvious that a good fixing top and bottom of the valley was essential and therefore the bottom needed at least some additional support. To accommodate this, we fabricated some brackets out of 50mm square steel section and these were bolted to the frame and the overhang to provide strength and rigidity. Next up we set about sculpting the valley timbers to fit neatly at the top on the ridge and to have a saddle to sit on the (newly strengthened) timbers at the bottom. Where they crossed the cranked beam they were bolted to a U shaped steel support which was welded to the crank in situ (one for each valley)
The valley timbers being made and installed.
With the valley support timbers in place the remaining detailed timber work on the roof was undertaken. This included fitting the rafters around the valleys, building the valley lead support timbers between these rafters, framing out around the mill, installing the Velux roof window apertures, filling in the small ‘triangles’ of wall between the intersecting roofs (because they are different heights) and bracketing the rafters to the ridge beams. Much of this work was fairly time consuming as it consists of lots of multi dimensional angle cuts and intricate fixings which require 'fine tuning' to get everything to fit exactly, but this is worth it as it pays dividends later with the roof being solid and having no fit/finish issues.
Various timber detailing work on the roof being undertaken.
Initially we decided to drain the valleys right down the lower roof and into the gutter via a custom lead tray assembly and you can see the timber design for this in the following image.

While this was a good idea in principle we soon realised how close the Velux windows were going to be to these and how little slate would therefore be between them and the valley trays meaning there was a chance of the slates being easily moved by high winds and water ingress as a result so we decided to do away with the custom lead tray set up and to slate this part of the roof letting the valley discharge water onto these slates as in a more standard arrangement usually used when differing height roofs are involved as in the below image.

With the roof timbers all now in place the fascia boards were installed. These are made from 195mm x 20mm Sapele hardwood chosen for its resistance to rot and stability as well as finish. These were all pre-painted with a coat of undercoat (Zinsser Bulls Eye 1-2-3) and two coats of anthracite (Zinsser AllCoat Exterior Satin). They are installed on the rafters using stainless steel screws and on the gable timbers using galvanised nails (that are recessed and filled).
Fascia boards undergoing installation.
Once all the fascias were on the roofing membrane and slate battens could be fitted. The battens are 200mm apart to take account of the slate spacing and are fixed to the rafters with stainless steel screws. The roof is having a total of four Velux roof windows, but we decided to put these in as we slated so that they weren’t sat unprotected from the elements for too long (as they wouldn’t have any of the flashings/weather cover strips installed).
The membrane and battens being installed.
We decided the that first part of the roof to be slated would be the long 15m run that faces south as it had no valleys to worry about. As such we duly installed the first Velux (that goes over the landing) prior to starting to put the slates on. The slates are 500mm x 250mm and are installed 200mm apart to give a headlap of 100mm which is more than enough for a 30 degree pitch. Instead of nailing them we used slate hooks that go in the centre of the slate (at the bottom) and the slate simply hooks into it with the hooks for the slates either side on the next row up providing lateral support. There are two advantages to slate hooks, they are quicker to install than nailing and they can be bent back and a slate replaced with no trouble unlike nailed slates that have to be ripped out and an ugly lead hook used to hold the replacement.
The initial roofing underway.


Comments