THE SLATES GO ON & INTERIOR WORKS
- Chris Berry
- Aug 29, 2018
- 3 min read
Updated: Jan 2, 2023
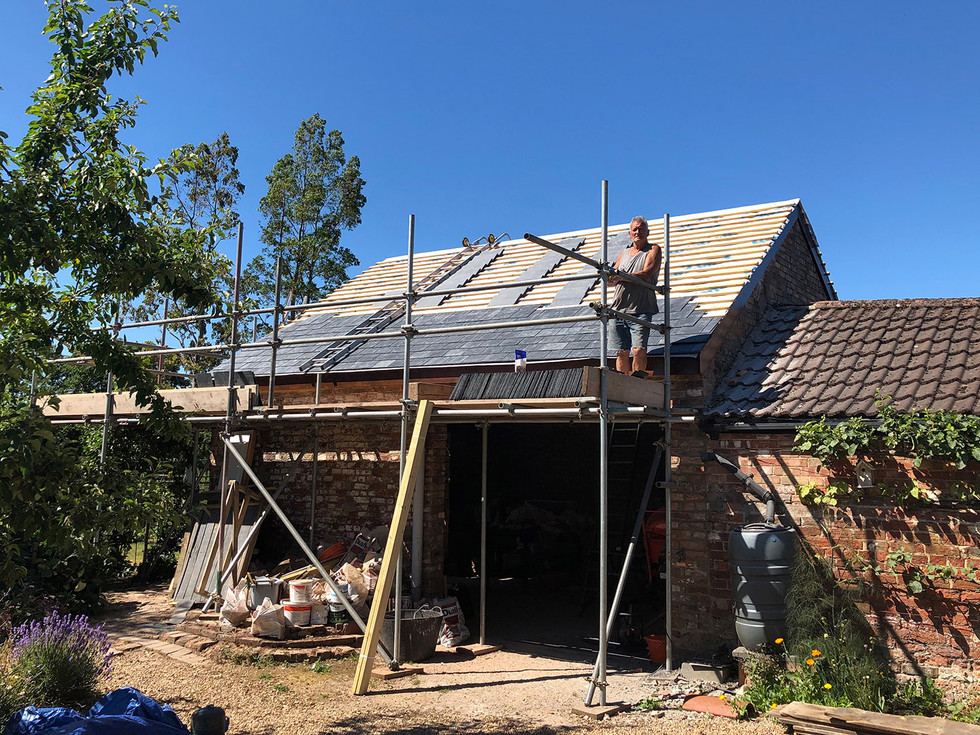
Now the timber work was complete the slates could go on. The first job was to work out the overlap and spacing of the slates (these were 500 x 250) and from there to work out where they would be positioned on the roof which in turn led to how to set out the slate battens. Once this was done the roof was covered with Rhino breathable roofing membrane and the battens screwed on at the aforementioned positions (yes I know most people would nail these, but I always prefer screws where possible… they just seem so much more secure). After this the slates could go on (these were nailed not screwed – with lovely copper nails too) with the bottom and top rows being cut accordingly to ensure the overlap was kept consistent.
After this a Manthorpe dry ridge and dry verge system was installed to make installation and maintenance easier. The Manthorpe system is well designed and installs exactly as per their instructions, but care needs to be taken around the ambient temperature when fixing the verge. The instructions say to leave a 3mm gap on the interlock for expansion, but it was scorching (well for the UK) when it was installed and when it went cold the contraction was quite considerable so they were reset on an early morning when the temperature was more typical and have been right ever since.
Slates being installed, dry ridge and verge fitted.
With the building now watertight (bar the doors) the floor was the next task to be tackled. The old concrete floor was relatively solid, but out of level and flaking in places and it was a little low as when extremely heavy rain is experienced it can build up on the driveway and come in under the doors. As such, the decision was taken to pour a new concrete floor over it to a depth of 100mm thereby raising the floor, strengthening it and levelling it off. It was decided to do this in three sections to make laying it simpler and as it was to be covered by a interlocking floor system the final finish didn’t need to be perfect. The old floor was scraped, cleaned and bonded and a frame for the centre section of the new concrete constructed. This was then poured and levelled off the frame. After this had set the frame was removed and the two outer sections poured and levelled to give a finished raised and stronger floor. As you can see from the images below it was not a moment too soon as a thunderstorm left the driveway under water, but the new floor prevented the ingress of water into the garage.
Floor being set up and laid just in time before the rains came.
After this the oil boiler was refitted to the wall where it had been rebuilt from a single skin, the new side door frame was fitted and an internal step built, the new main door frame was test fitted and the walls were painstakingly filled and given several coats of white masonry paint in order to brighten up the interior.
Internal work undertaken including filling and painting the interior wall.
Next up was the boarding out of the mezzanine floor which was done with 21mm water resistant chipboard flooring to give a solid stable support for storing all manner of ‘junk’ that people like us accumulate and end up eBaying half of a few years later!
Mezzanine floor installed.


Comentarios