DECORATING BEGINS & BATHROOMS GO IN
- Chris Berry
- Mar 23, 2022
- 7 min read
Updated: Jan 11, 2023
After another lengthy break from the project (while we undertook phase 1 of the mill project) the focus finally returned to the barn and the gallop down the home straight so as to speak. Prior to the decorating beginning the cloak cupboard and back wall of bedroom 3 (both incomplete as this was where access to the wiring had been obtained for the install of the consumer unit and heating system) were boarded and plastered. Once the plaster had dried out the second fix electrics were undertaken with all switches and sockets sourced from the Crabtree Instinct range (chosen for being good value and having proper clamping terminals that makes wiring easy and connections more reliable). Internal doors were sourced from Wickes, they are pre-primed cottage style and were all fitted to the various door openings before removal for final finishing as part of the decorating process. At the same time the MDF pre-primed architraves were cut and installed around each doorway.
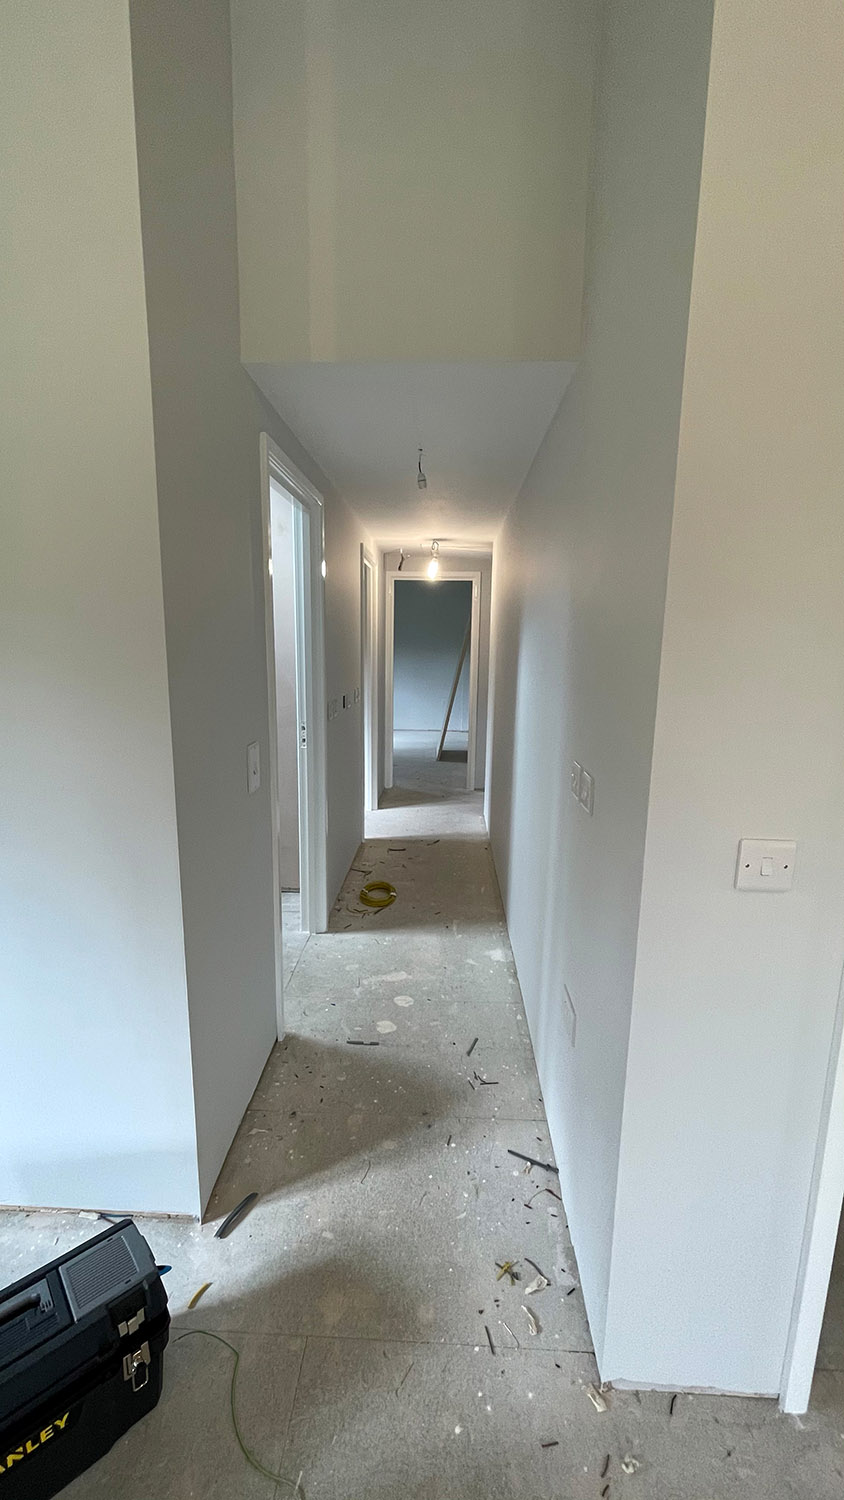
After this the job of decorating could begin, it was a heady moment as there were genuinely times when I wondered if we’d ever get to this point. We had decided on a universal colour scheme throughout with Dulux Trade white matt emulsion on the ceilings, Valspar Hempstead grey matt emulsion on the walls, Sadolin African Walnut on the exposed beams and purlins and Leyland Eggshell white on all the doors frames, skirtings etc. The decorator is one of our helpers and she is the best painter I have ever come across, the finish she generates is top class and, as a result, it wasn’t long before the building was starting to look like a proper residence rather than a project. The internal doors (once they had been painted) were re-fitted as part of the decorating process and brushed steel handles were chosen to finish them.
Decorating in progress.
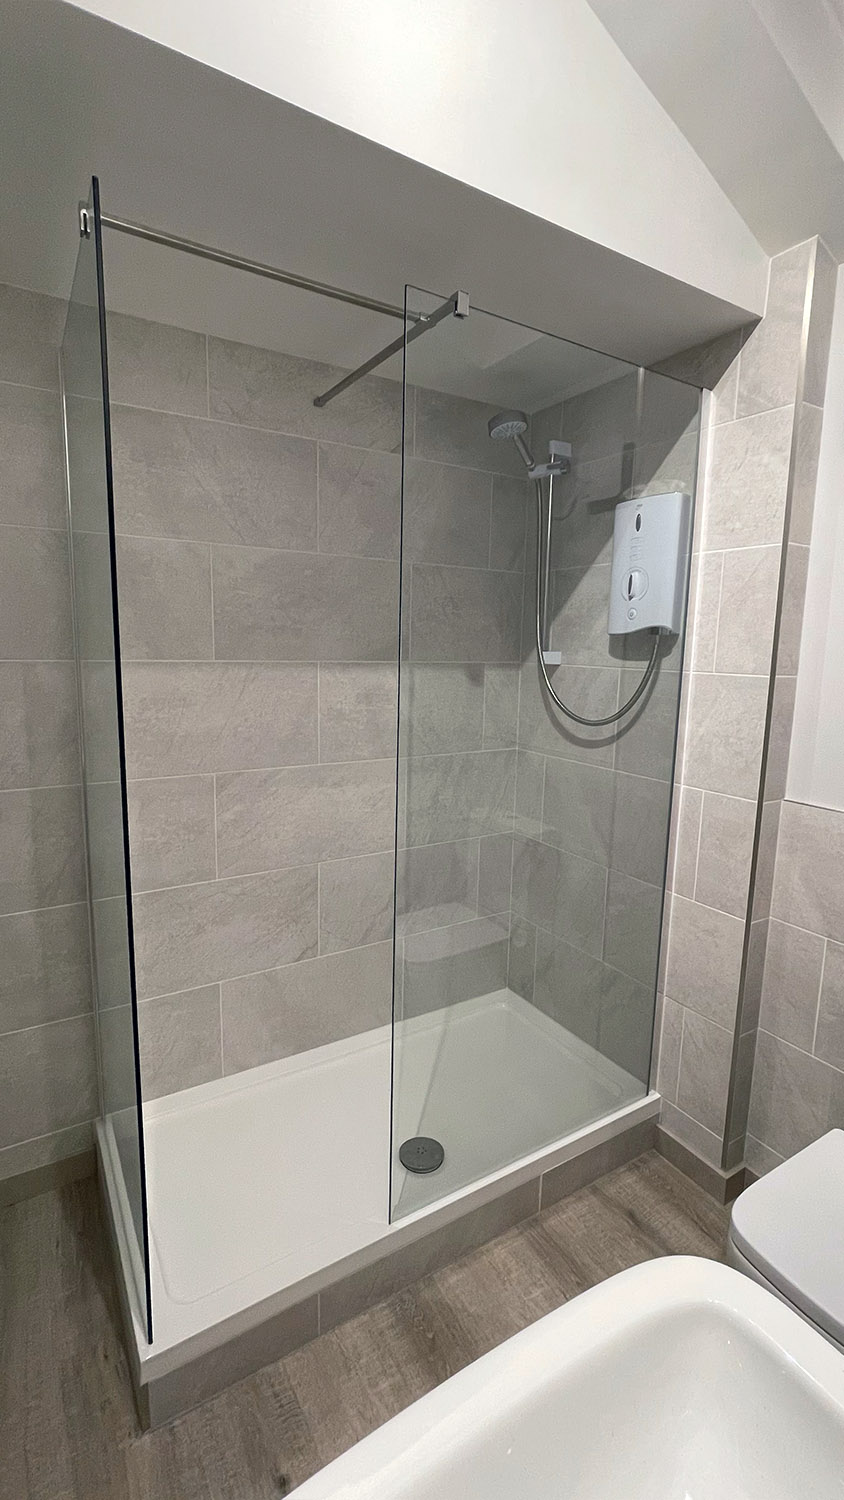
The bathrooms were tackled while the decorating was ongoing. The smaller of the two was to have a walk in electric shower (hateful things are shower doors) and a toilet and wash basin. The larger was to have a bath, toilet, wash basin and a washer/dryer. The thinking with the electric shower was, as the building is ultimately a holiday let, that to have a secondary source of warm bathroom water was a good idea as if the main system malfunctioned people could at least still shower. Similarly the washer/dryer in the larger bathroom was there to provide holiday clothes cleaning facilities for those who wanted them. We decided to put it in the bathroom as the kitchen is not huge and anyway I have never liked the idea of washing machines in food preparation areas, but that’s just another of my little peculiarities (of which there are many).
The initial job in the smaller bathroom was the installation of the shower tray which gave rise to a small problem. Due to the way we had converted the barn i.e. having what is effectively a solid floor there was no way to get waste pipes below this floor level and hence the shower tray could not sit directly on the floor. Therefore, we chose to raise it off the floor such that the waste pipe could exit the building at floor level and route to the soil stack. To do this we built a platform out of 97 x 47 timber and left a route for the waste pipe through the platform. Ply was then installed on top of the frame with a hole cut for the waste and the tray was bedded on top of this. The platform was made slightly undersized so we could flush fit a tile plinth to it.
Shower tray being installed.
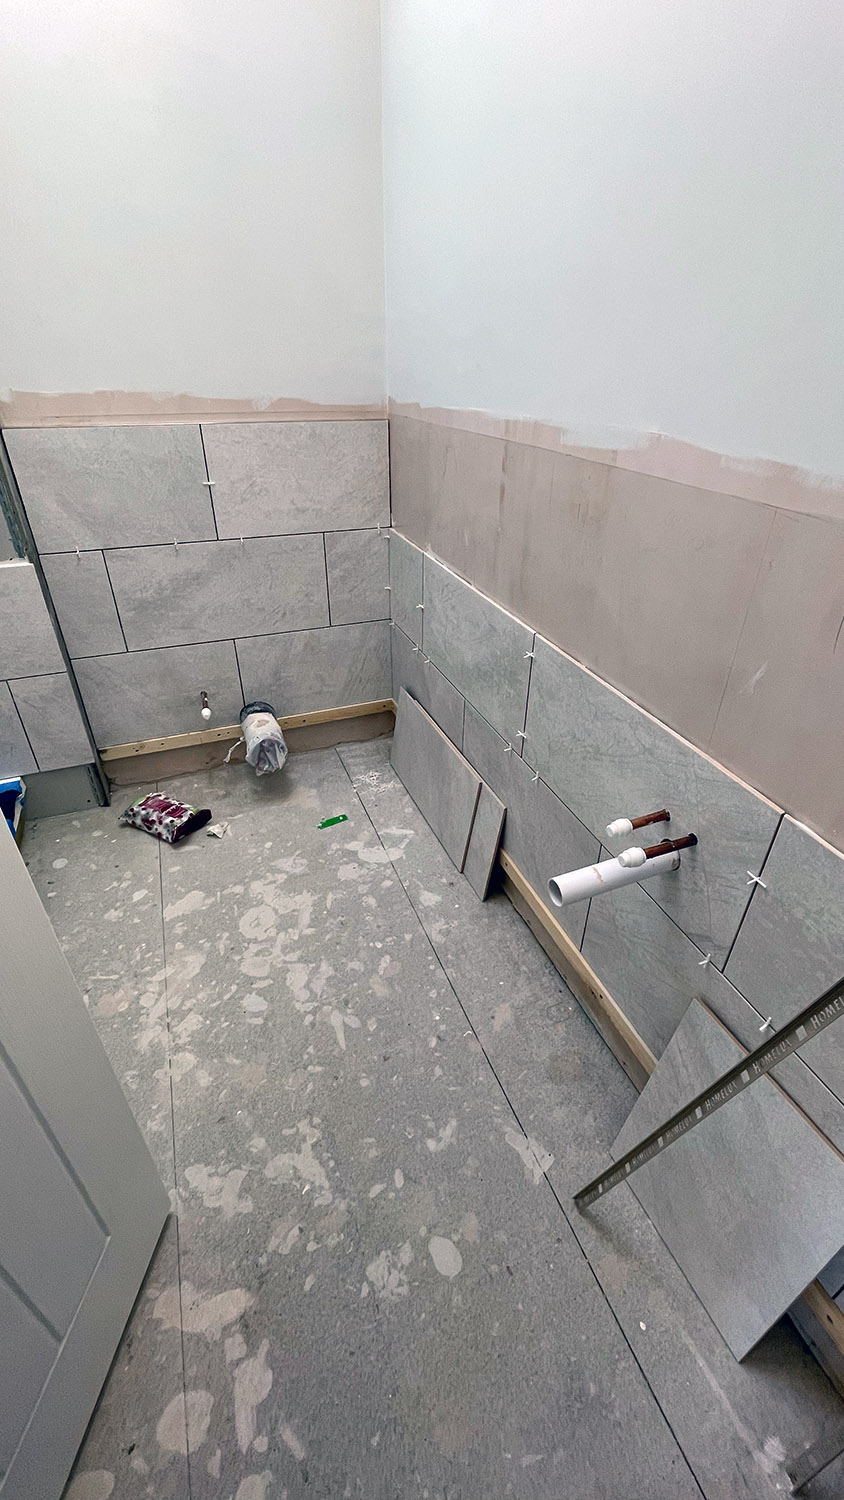
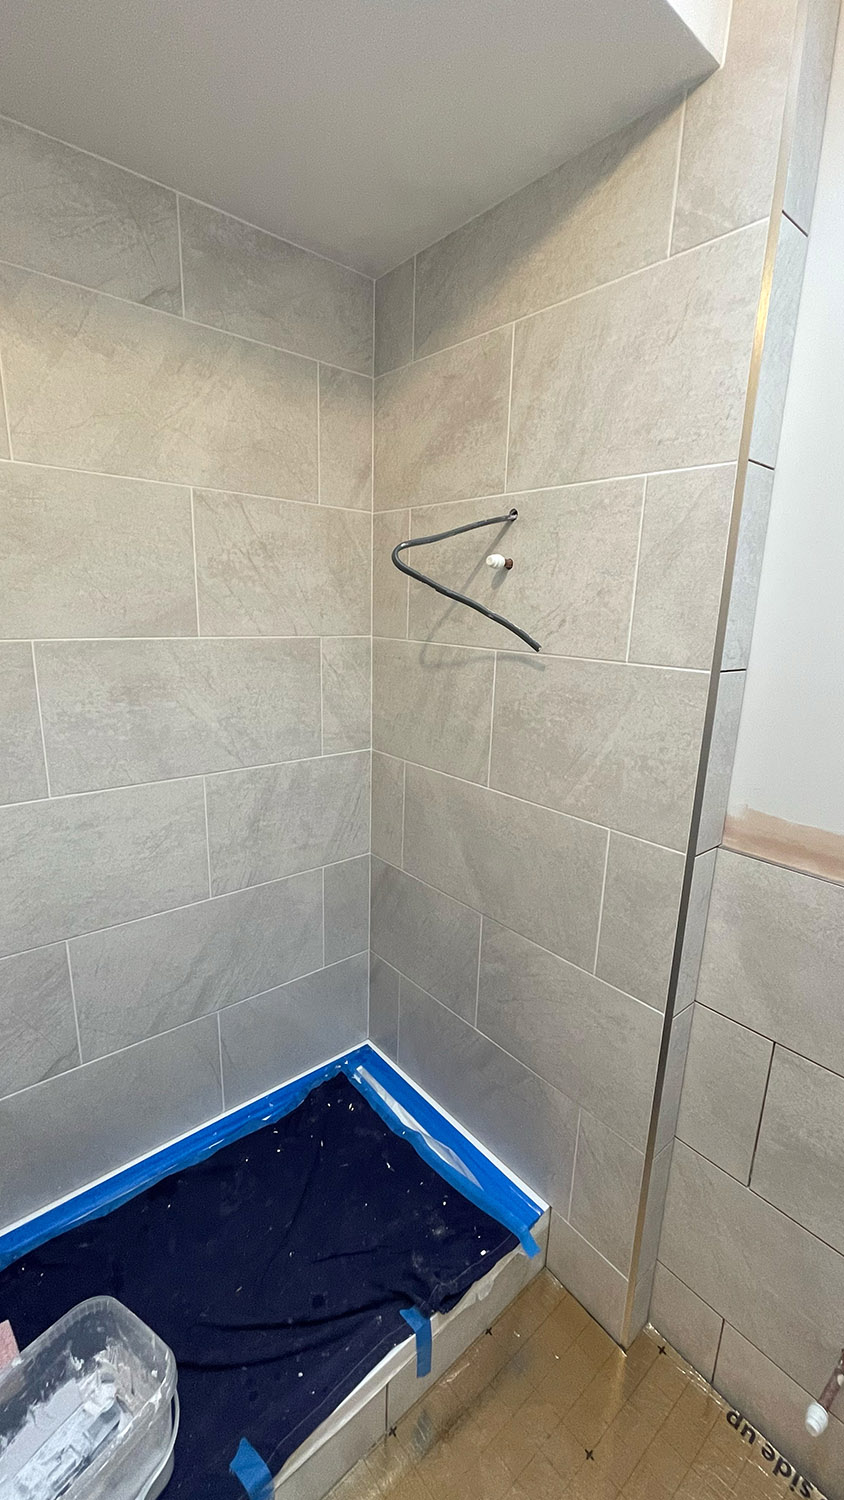
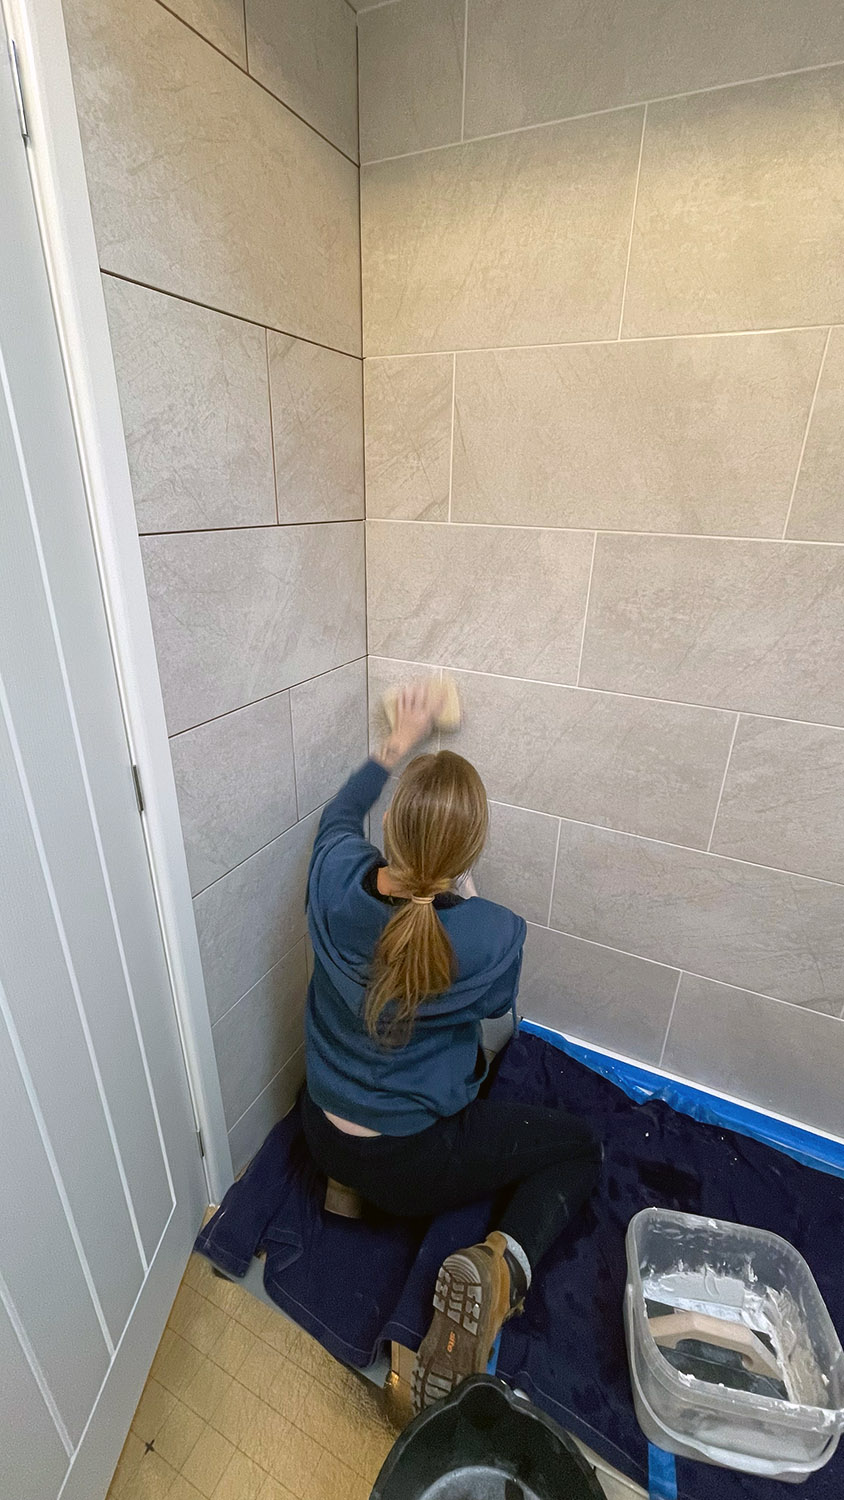
After that the tiling was the main job remaining as all the pipework had been installed at the same time as the first fix electrics with great care taken as to the positioning to give an optimum fit with the basins/toilets etc. As such, once the tiles were on fitting the sanitary ware would be a straightforward task. In in ideal world I we would have loved to have employed a tiler to undertake the bathrooms, but due to budgetary constraints we decided to do it ourselves. While I am a long way from a professional tiler I find that it if I take my time and plan the layout of the tiles carefully I can achieve a reasonable result. Having a water cutter helps and my top tiling tip is to continually check the tiles for being plumb and level as you put them on... you really can’t do this enough. In terms of the products used for the tiling the adhesive was Mapei Keraquick White Flexible Rapid Set Adhesive and the grout used is Mapei Ultracolor Plus White Flexible Grout although in the shower and over the bath we used MaiPei Kerapoxy CQ Two Part Epoxy White Grout as it is more waterproof and resists mould better. It is however harder to apply than standard grout, but the end result is worth it I feel.
The tiling in progress.
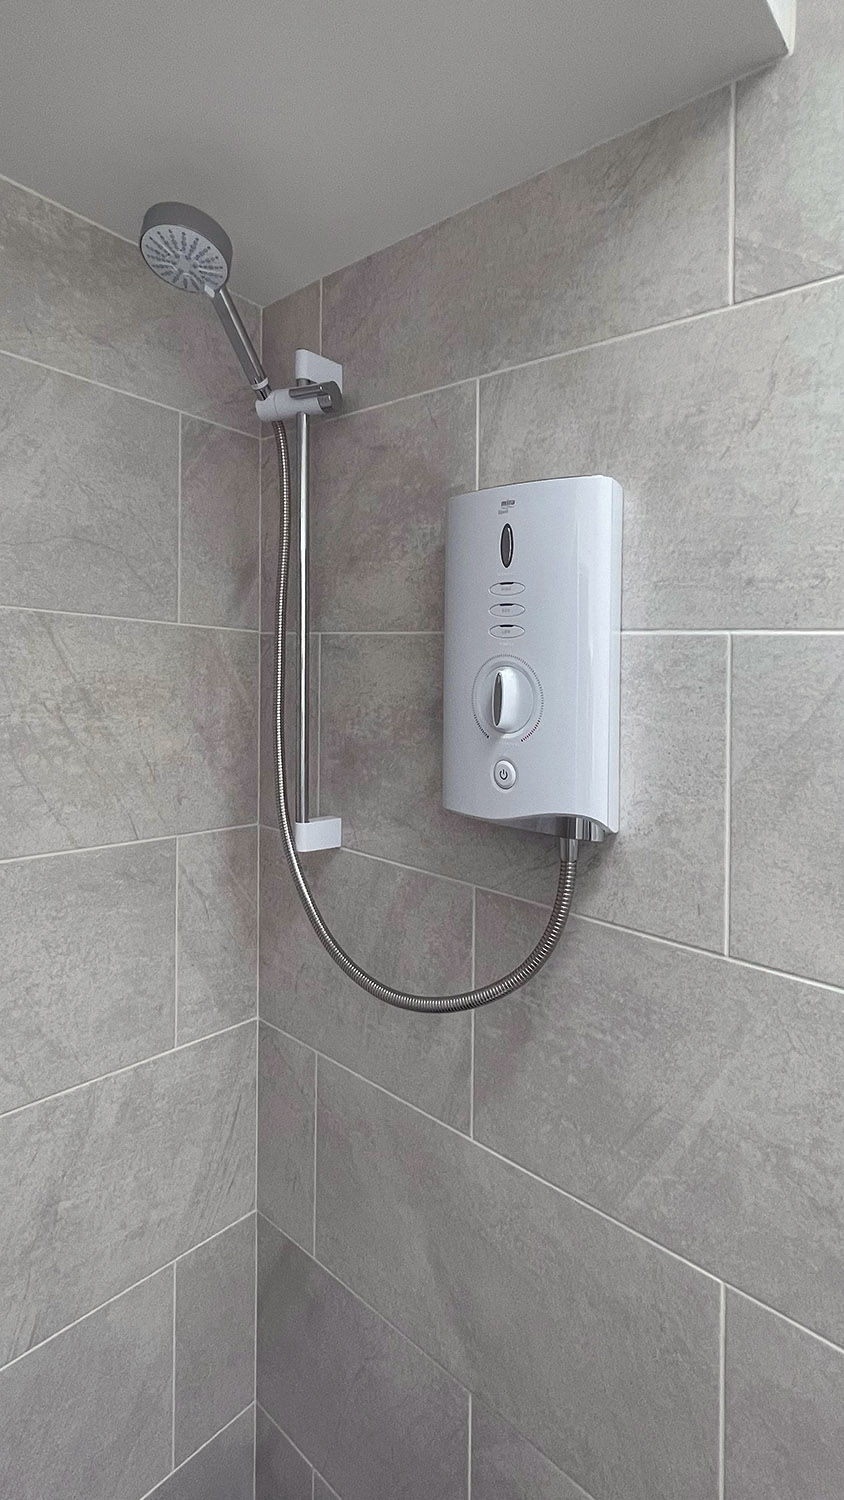
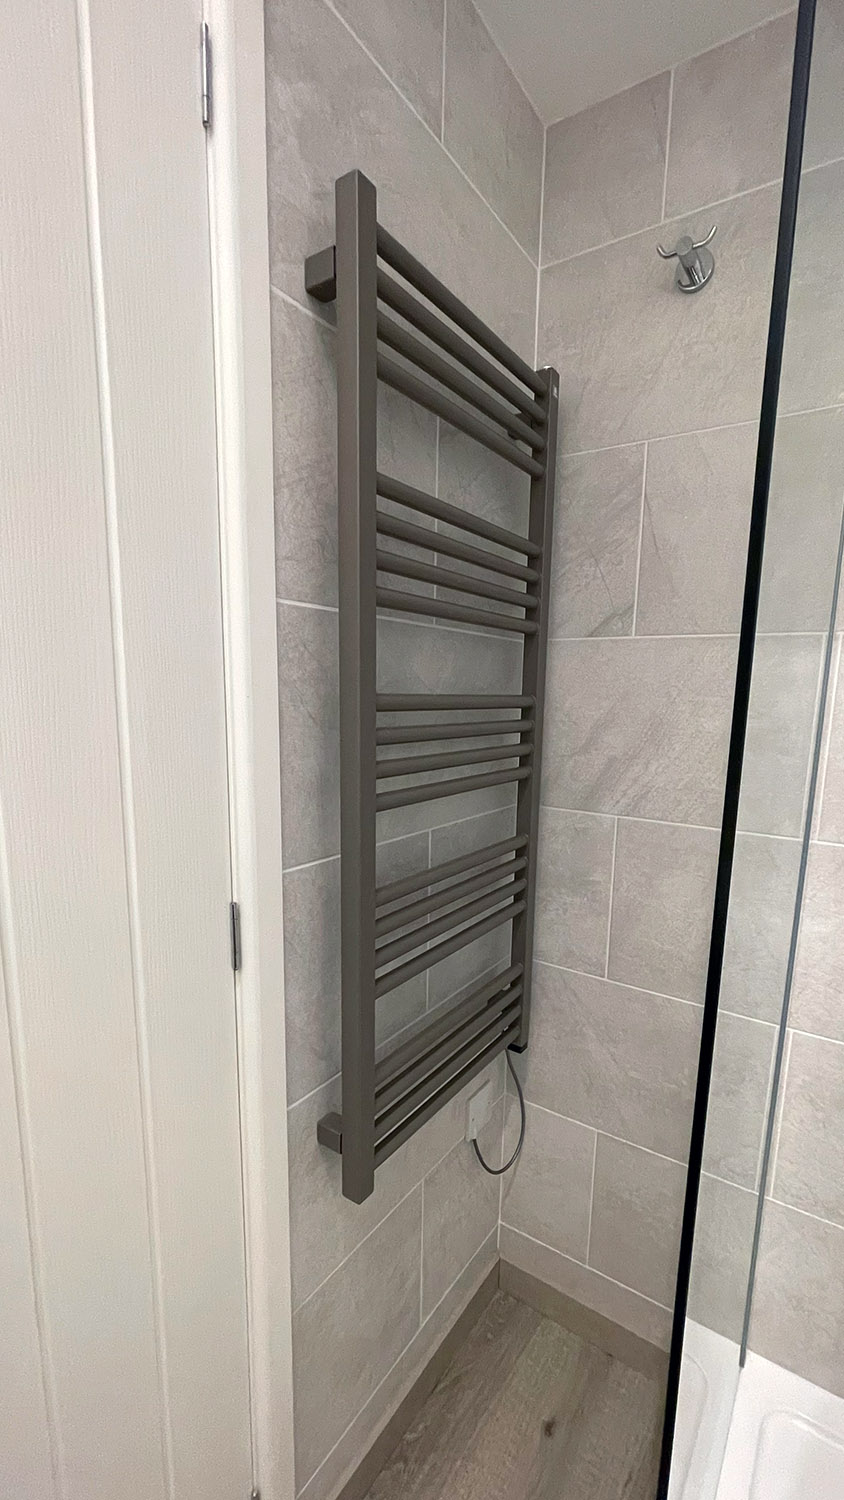
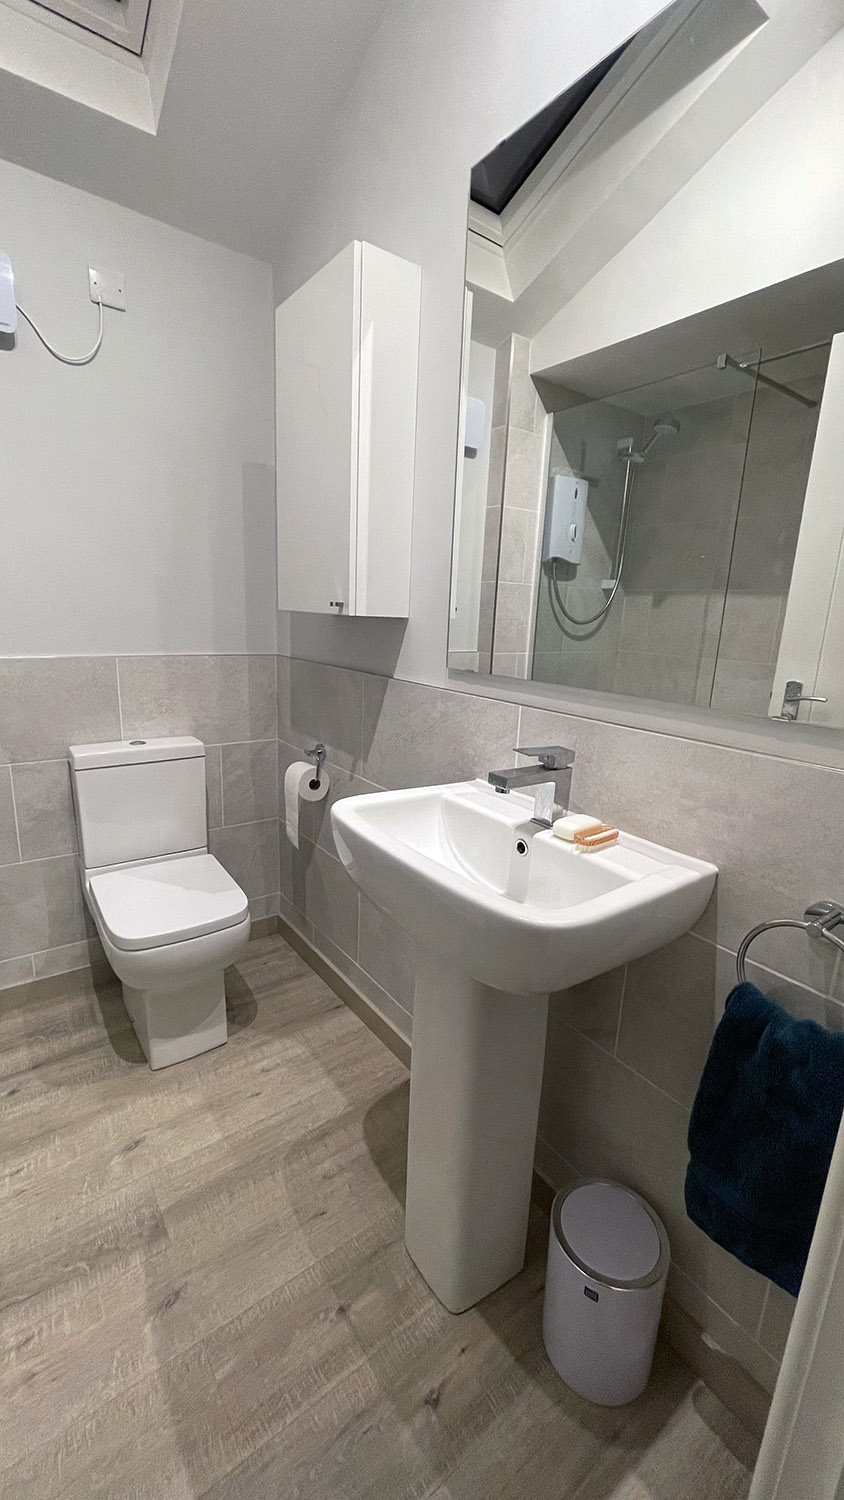
After the tiling was completed the electric shower (Mira Sport 10.5KW Airboost), shower glass, towel rail (Terma Fiona) and the sink/toilet were installed along with the mandatory extractor fan.
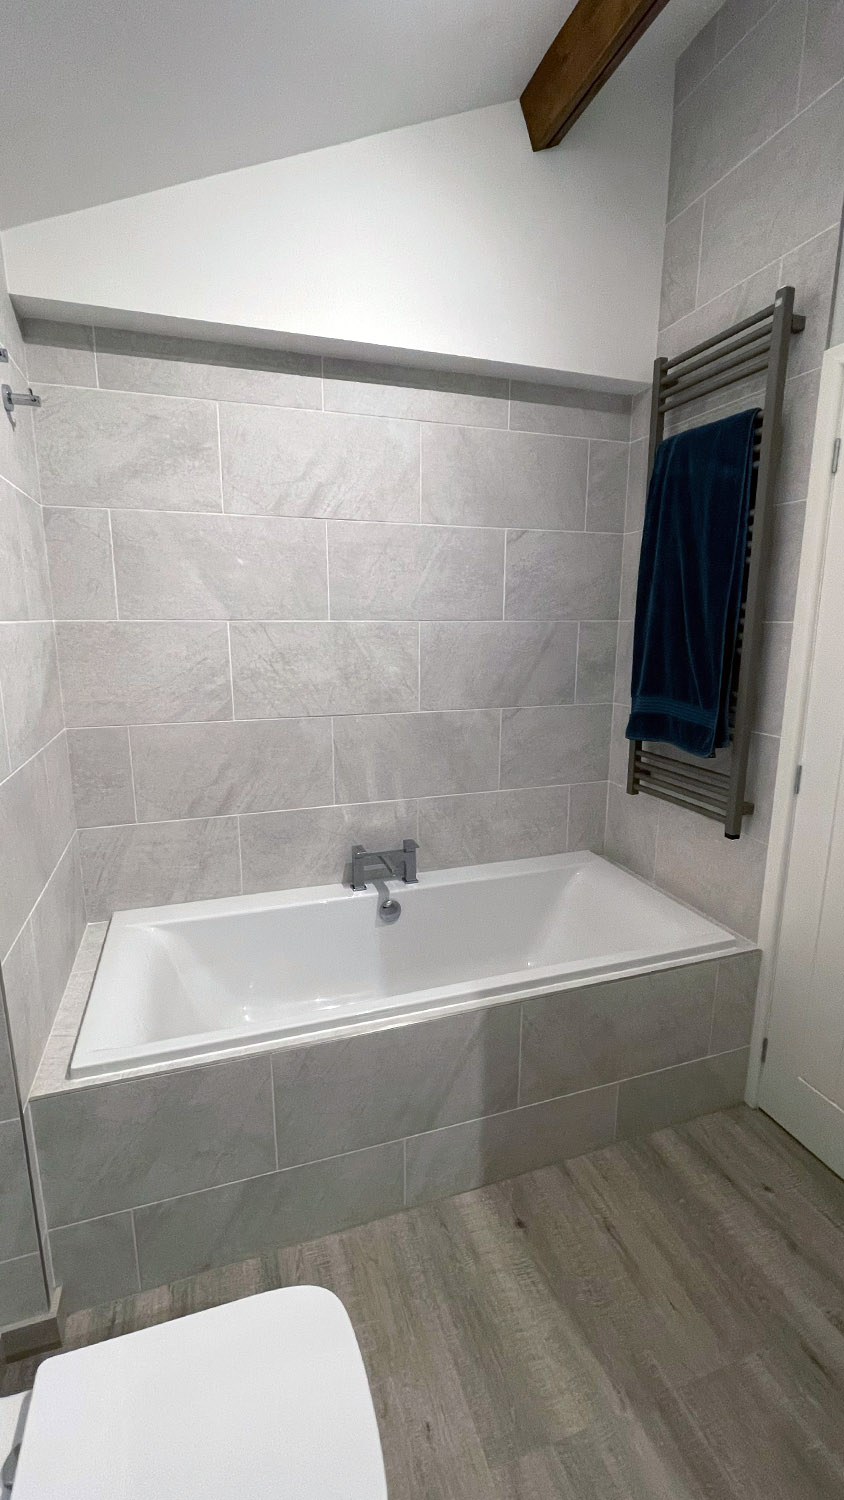
The larger bathroom was a similar operation tiling wise to the small one, but first we needed to install the bath which was an interesting proposition. I dislike plastic bath panels as they always seem to crack, move around, attract dirt and look a bit agricultural (just my opinion of course) and therefore we wanted to purchase a bath that could be built in to the bathroom with a tiled surround. This was easy enough in theory, but as is my want for perfection (seldom achieved I might add despite my best efforts) I wanted to ensure two things: when getting in and out of the bath it would be solid and not move and creak etc. like so many do, and the tiled surround would be plumb, level and altogether neat and tidy unlike many other efforts I see where a bit of forward planning or additional strengthening might have been a good idea. So, armed with all this ‘strategic knowledge’, we initially placed the bath in the ideal location, got it equi-distant between the walls and levelled it to the nth degree. We then took a series of measurements as to the height of the surround, where we could place uprights etc. so as not to have them get in the way of the plumbing or bath supports. Having done this we removed the bath and built a timber frame, topped it with some marine grade ply and carefully cut the bath sized hole in the ply such that the bath would sit ‘inside this hole’. We also allowed for 12mm of tiles/adhesive in our calculations such that the bath could ‘sit’ on these.
Bath frame being built up.
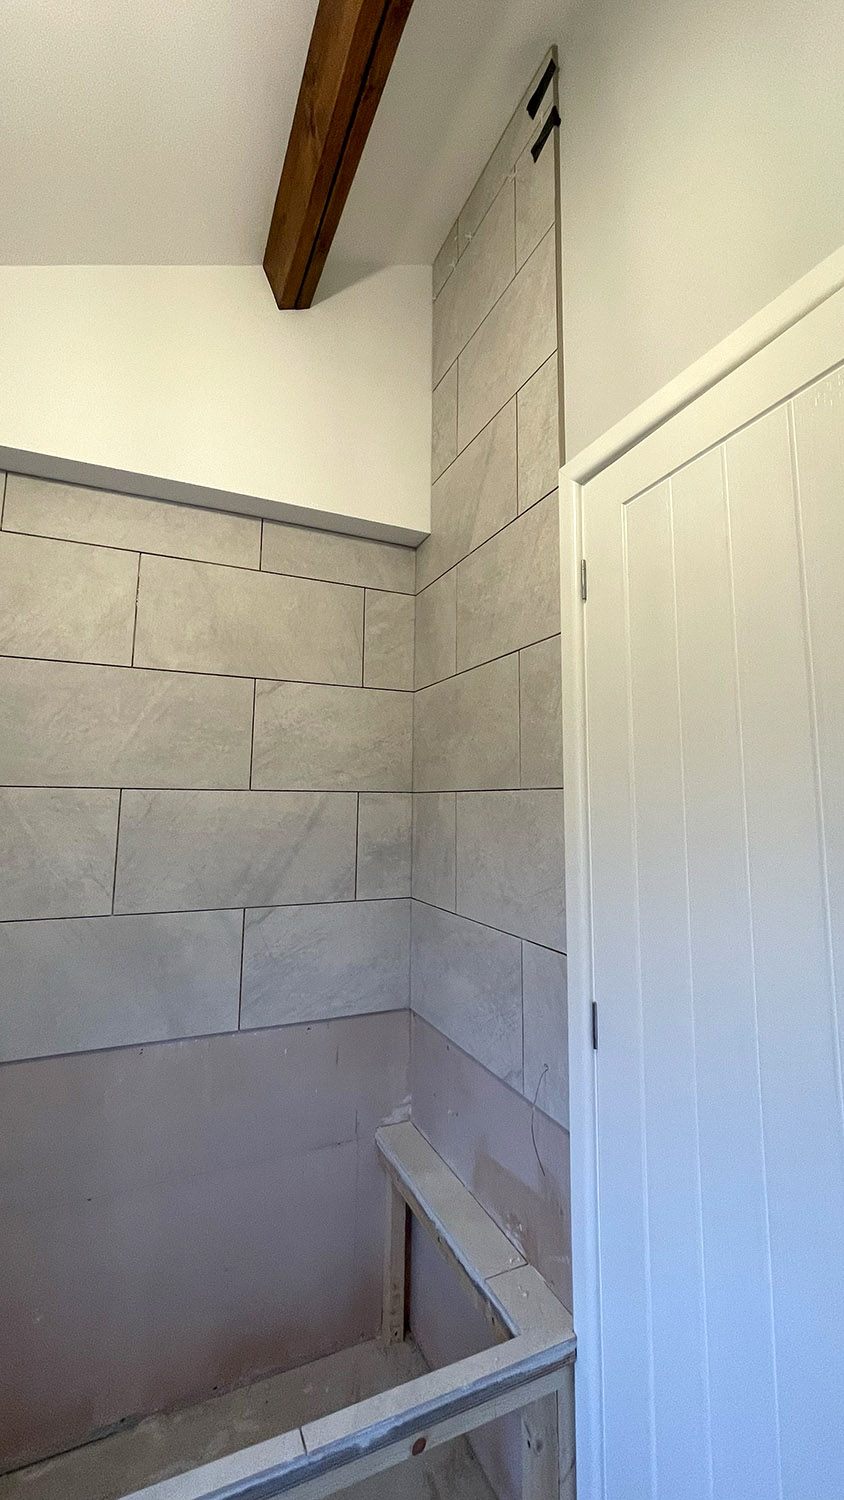
At this point we started tiling the rest of the bathroom (as this was easier without the bath in situ) and got to the point where all we had left to do was tile round the bath area once the bath was fully installed.
General tiling in progress.
With the top of the bath surround tiled we then installed the bath. One of the key issues with a bath installed in this way is a lack of support on the back wall and this is why so many move and creak after a few months (in my opinion anyway). I had carefully chosen a bath that had a wooden batten all the way round and came with support ‘L brackets’ for the back wall (screwed to the batten and the wall), but as is ever the case with me I wasn’t happy with the strength of the supplied brackets or the suggest fixing method where somehow you’re supposed to screw them to the back wall from underneath that inevitably means they end up at the ends of the bath providing next to no support in the middle where it needs it.
As such I purchased some better brackets and inverted them so they were screwed to the bath and the wall above the bath (positioned on the studding). This made for a much more substantial fixing and I was hoping they would be able to sneak between the tile backs and the wall i.e. be 'lost' in the adhesive. Next up we filled the bath and gave it a final fixing on the legs and brackets as well as double checking all the plumbing for leaks. Once we were happy the remaining tiling was done including carefully levelling and plumbing the tiles on the bath plinth so everything looked neat and tidy. Back to those brackets... remember when I said I ‘hoped’ they would squeeze between the tiles and the wall and be ‘lost’ in the adhesive... well they didn’t as they were fouling the tiles backs by a few millimetres. The solution? Grind out the backs of the tiles a little to fit round them... job done.
Bath install and final tiling.
For the floors in the bathrooms (and throughout the building) we chose to use Quickstep Impressive Sawcut Oak Grey laminate flooring. This was chosen as it works well with underfloor heating (provided it is installed with the requisite reassuringly expensive underlay... rolls eyes) and is properly waterproof as well as extremely hard wearing. It is also easy to install and just clicks together with no need for glue or the likes. In the bathrooms we added the skirting from the same range as this hides the expansion gap that has to be left for the floor and is a neatly sealed finish against the tiles.
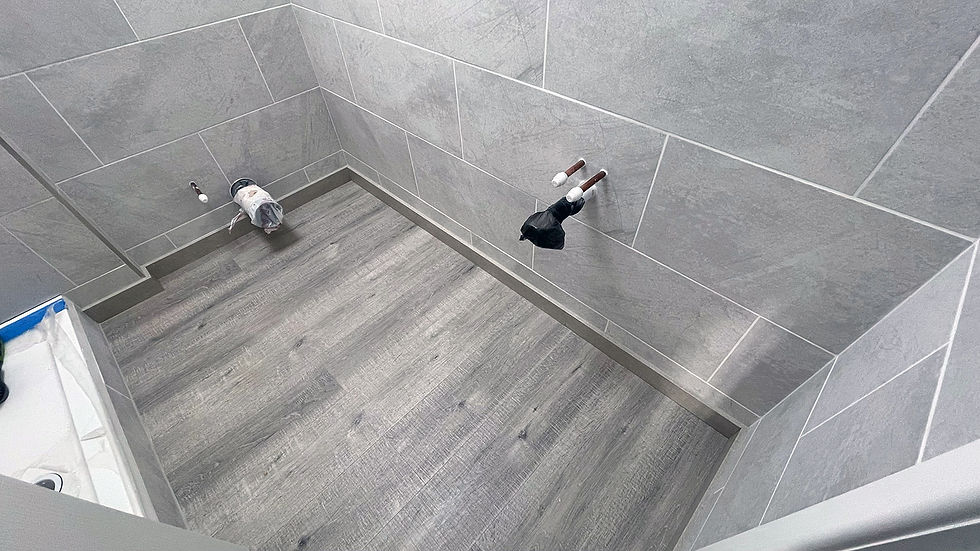
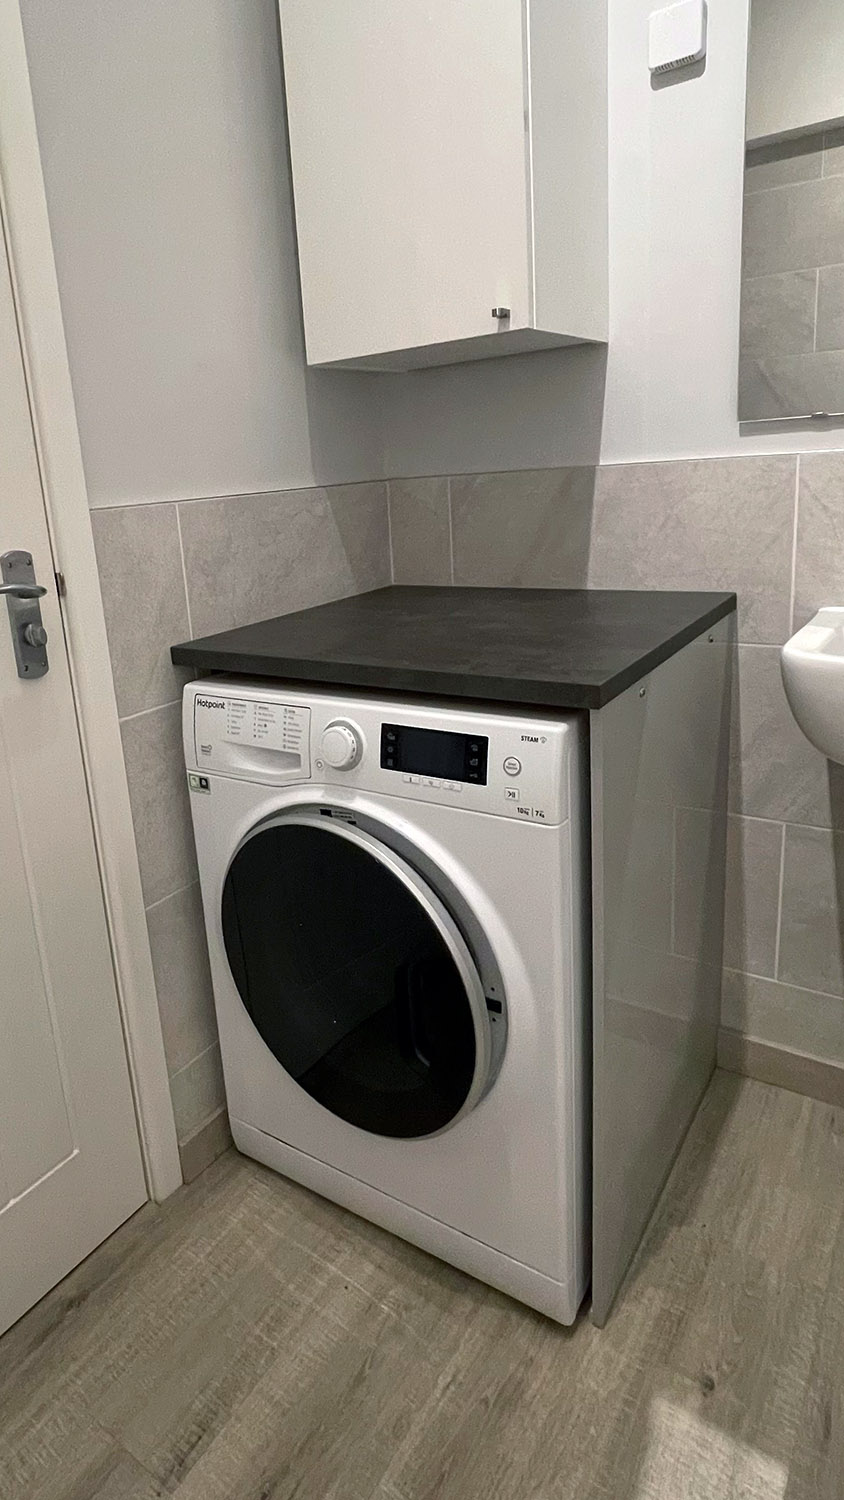
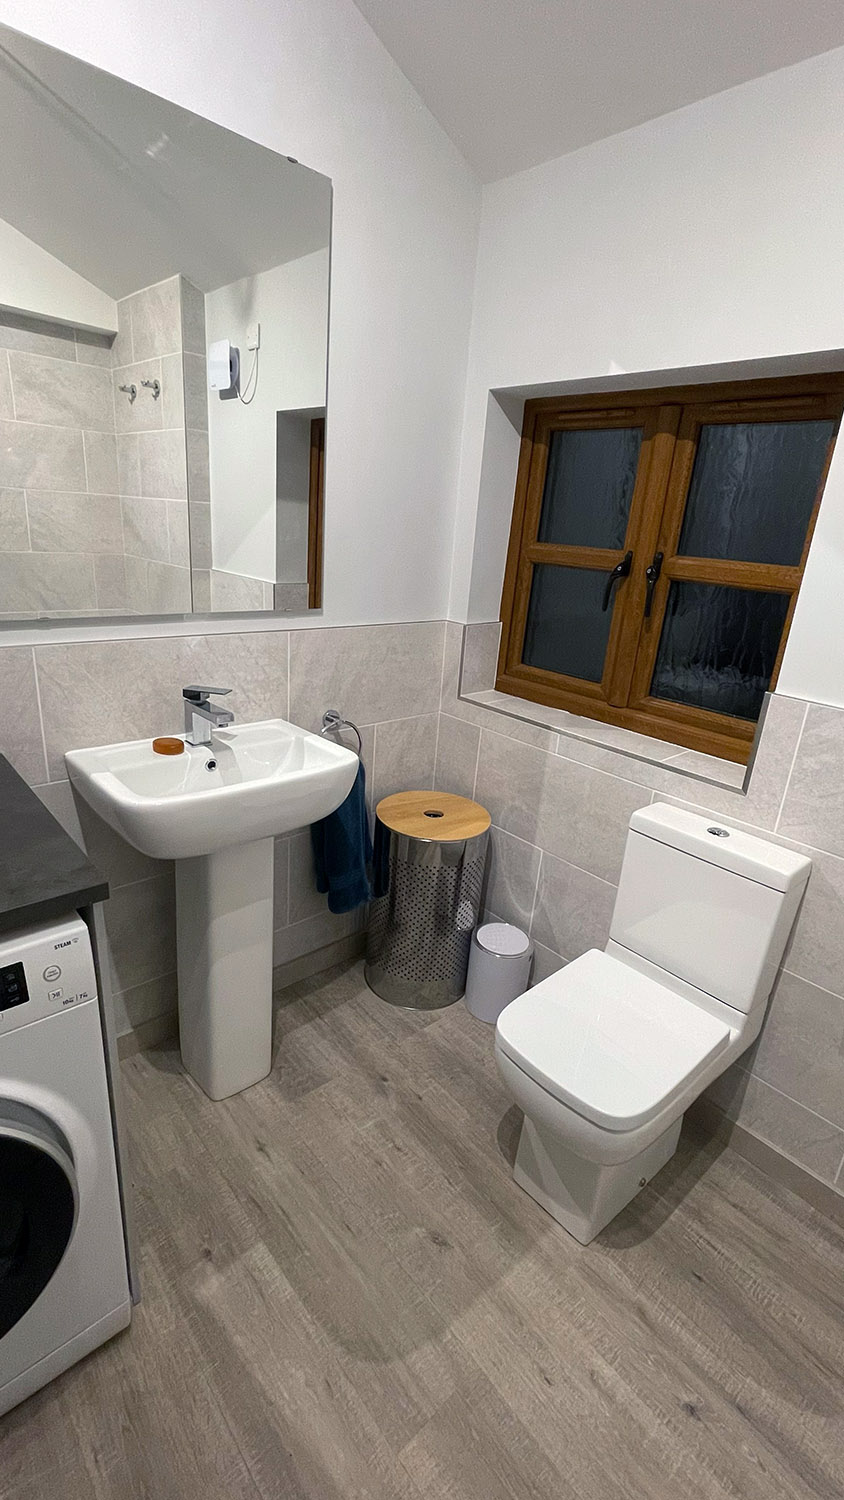
To complete the second bathroom the toilet, basin, towel rail and extractor fan were installed. The only other item was the washer/dryer that was plumbed in the corner of the room next to the sink. To house this a side panel and worktop arrangement were created, but the problem was how to get the washer/dryer to sit back far enough without the cables and pipes snagging. To combat this we made the side panel removable such that the machine’s cable and pipes could be manipulated from the side as it was pushed back and the panel could then be slotted into an aluminium ‘U’ channel anchored to the floor and secured to a batten affixed to the worktop with mirror screws to give a neat finish.
The completed bathrooms.























Comments