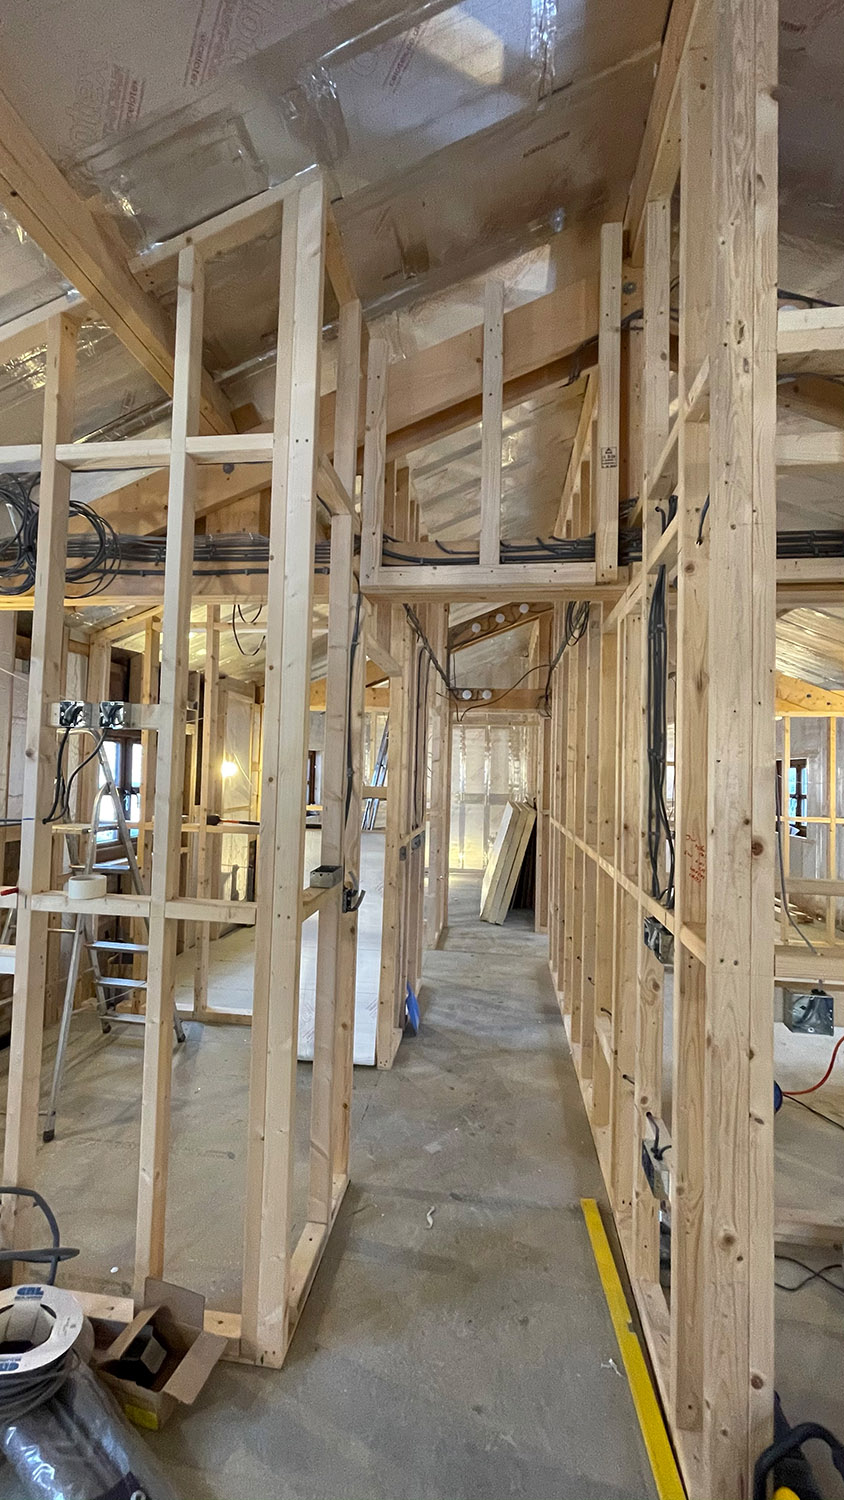
With the floor installed work on the first fix wiring was then undertaken. All the cables run from the new consumer unit position in the plant cupboard either round the walls or are routed over the top of the middle 'A frame' (which was being hidden) and distributed through the hall loft space to wherever they needed to go. The circuit topology is as follows:
Shower 45A
Air source heat pump 40A
Solar 16A
Bedroom ring main 32A
Living area ring main 32A
Kitchen appliances ring main 32A
Washing machine/dryer/towel rails ring main 32A
Heating cylinder pumps, immersion and UFH system 32A
Sheds 1 16A
Sheds 2 16A
Bedroom/bathroom lights 6A
Living area lights 6A
External lights 6A
Fire detection 6A RCBO
This means quite a number of cables, but I wanted to keep loads of the circuits and split equipment/different areas up as with it ultimately being a holiday let any problems with an appliance or circuit needed to cause as little inconvenience as possible. Furthermore, there are also a number of multicore cables that will eventually take the power and signals from the thermostat controls for the underfloor heating in each room back to the Heatmiser controller in the plant cupboard and these added to the general wiring melee. So all the cables were carefully run from the consumer unit location and clipped with clearly labelled junction boxes for various lighting circuits mounted where they could still be accessed once the building is completed.
Wiring and junction box installation.
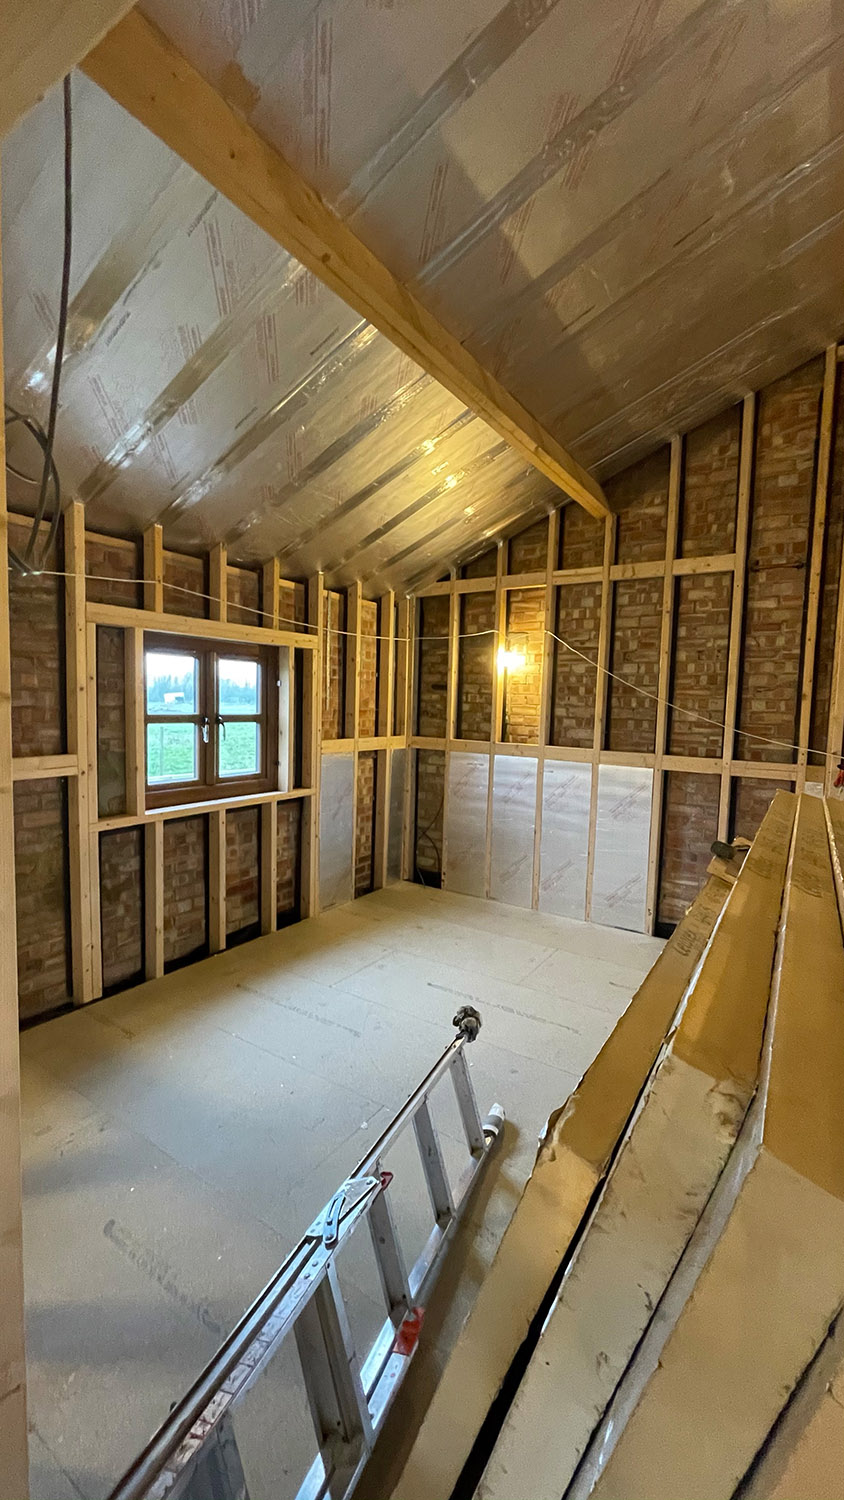
The job of insulating the building could now begin. The specification for this was as follows:
External walls – 75mm Celotex GA4075 PIR insulation between the timbers of the internal frame with 52.5mm Celotex PL4040 insulated plasterboard mounted on top of the frame for skimming.
Internal walls – full fill Rockwool acoustic insulation
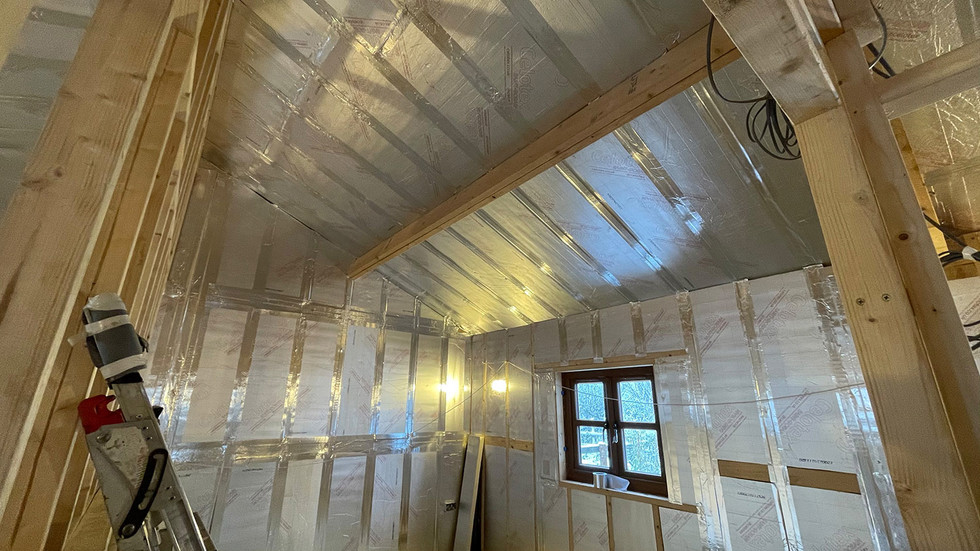
Roof/ceilings – 100mm Celotex GA4100 PIR insulation between the roof timbers with 50mm Celotex GA4050 PIR insulation mounted over them and 12.5mm plasterboard on top of this for skimming.
The vapour control layer was to be created by taping the insulation within the frames to the frames themselves before mounting the insulated plasterboard/further insulation over the top of these. While it’s not a huge building it is quite intricate in terms of the timber frame and various different apertures therein which combined with the number of rooms and the different heights of the vaulted ceilings made the insulation and vapour control layer installation a fairly significant amount of work that in all honesty took a bit longer than I expected. However, this is largely down to my underestimating the amount of work involved and at the end of the day I wanted a top job doing rather than us rushing it so no worries as they say down under.
Insulation and vapour control layer being installed.
A couple of specific areas worth mentioning are:
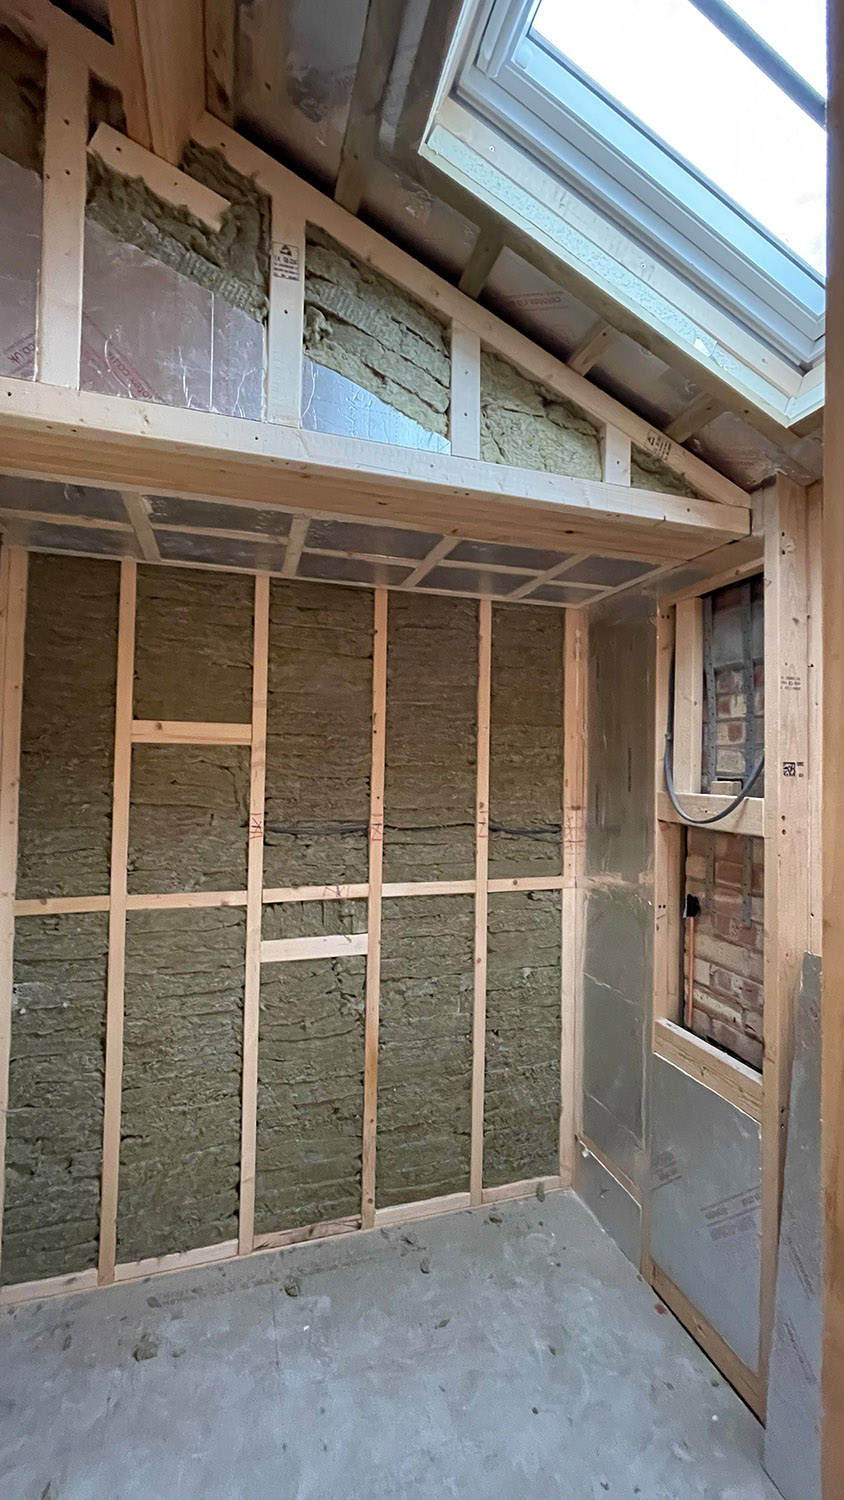
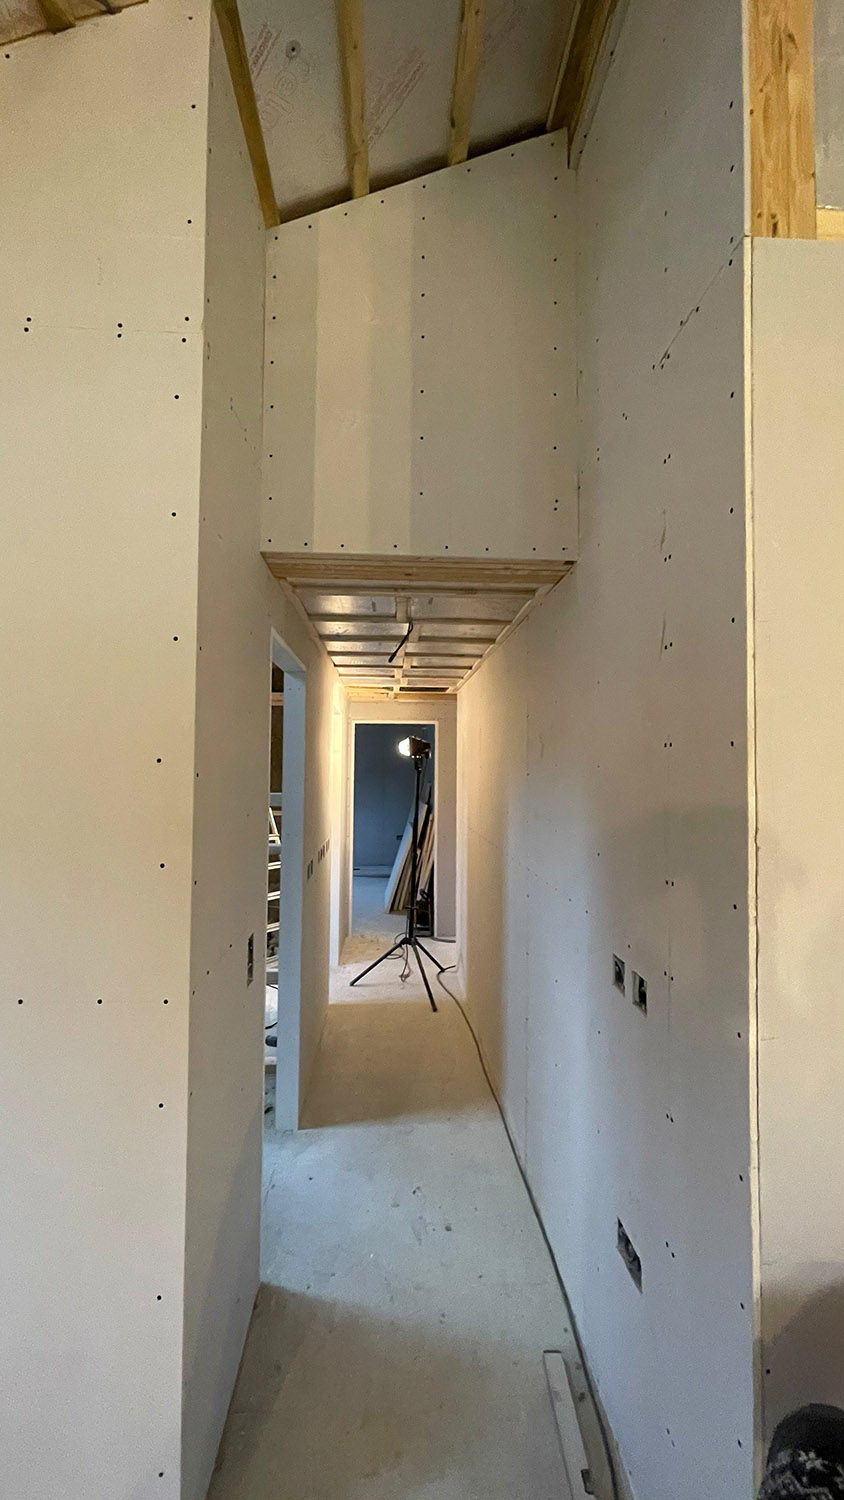
the creation of a loft space above the hallway which was done partly to add some storage to the building and partly to provide somewhere to hide cables and junction boxes etc. as with all the other rooms having vaulted ceilings (combined with the levels of insulation) this was tricky.
the shower area of the small bathroom which was created under the centre ‘A frame’ and boarded using a product called Aquapanel that is fully waterproof meaning any slight leak behind tile grout or the likes would not result in a sodden plasterboard wall in 5 years time. This was a completely new product to me, but is relatively easy to install and going to be worth it in the long run despite it being significantly more expensive than moisture resistant plasterboard used throughout the remainder of the bathroom.
The shower area and loft compartment above the hallway.
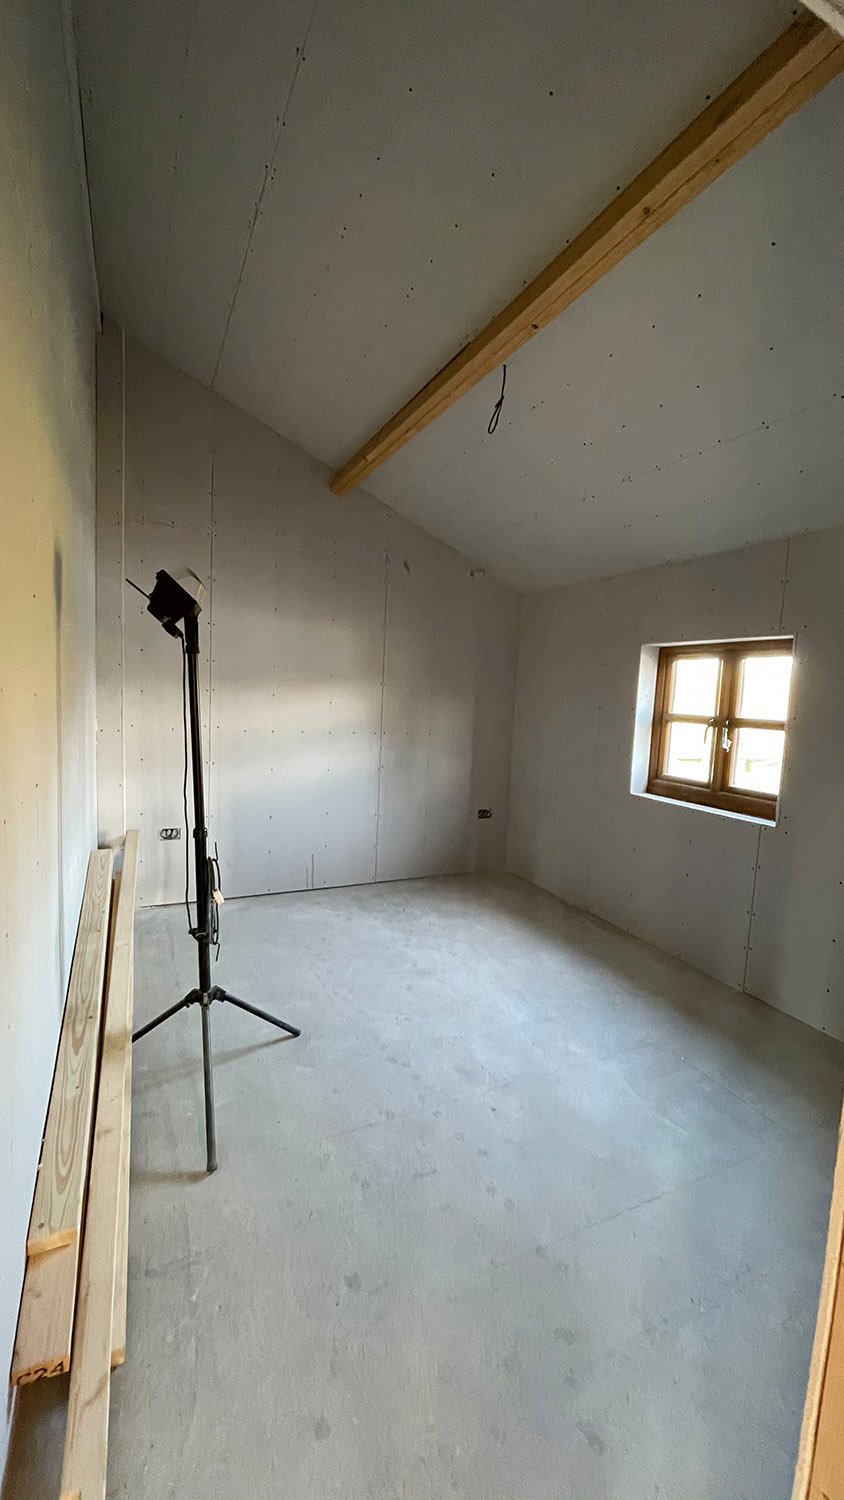
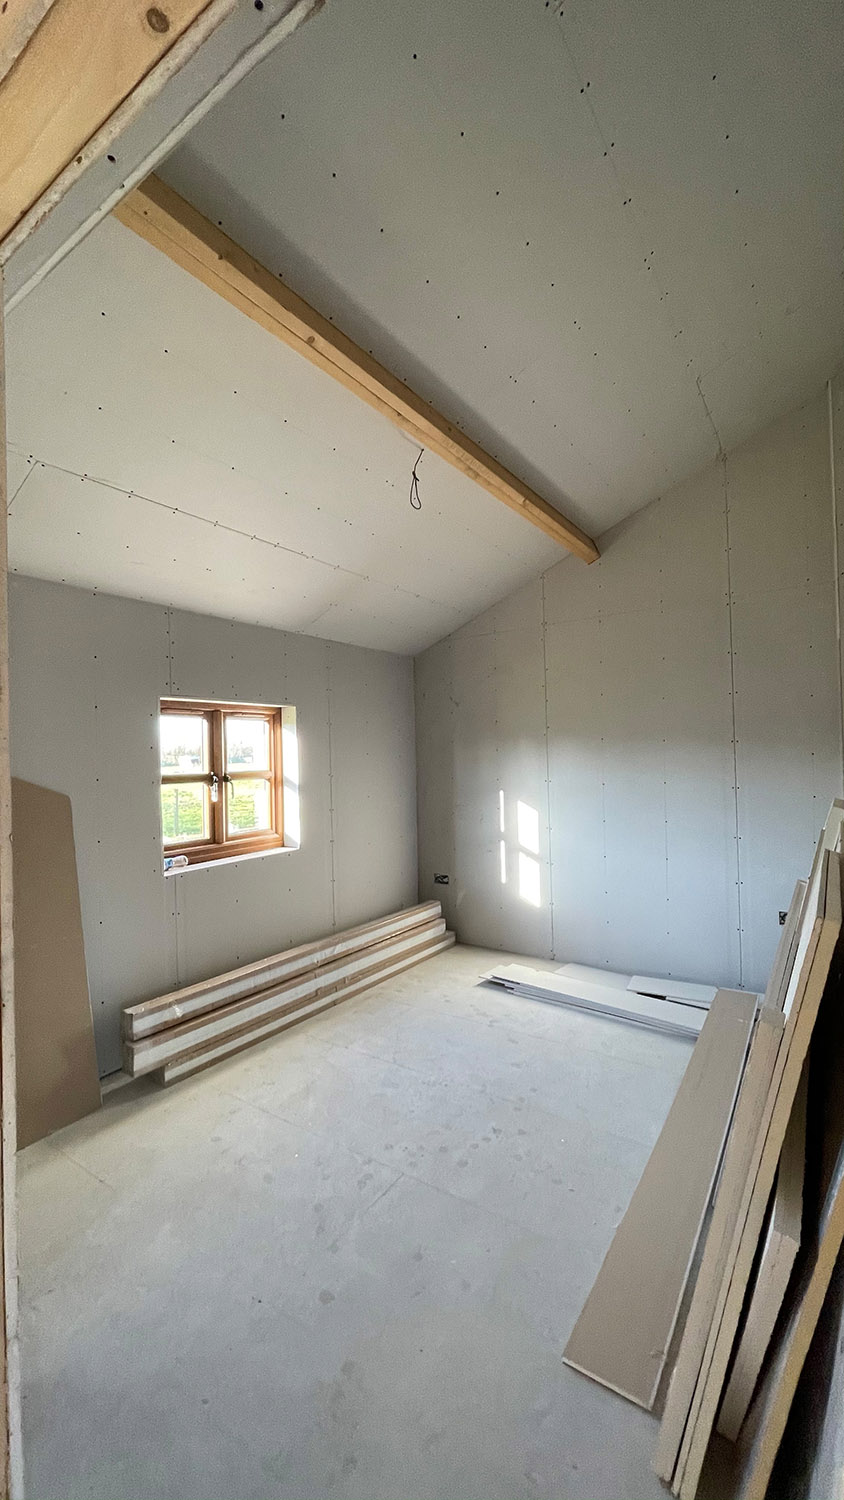
After the vapour control layer was completed the additional insulation was added to the ceiling and the walls and ceiling were fully plasterboarded in readiness for skimming. At the same time we isntalled MDF pre-primed door frames for each of the doors such that the plasterer could work up to them. This phase of the build was made slightly more difficult due to the fact that I popped the tendon off my elbow on Boxing Day 2020 by simply lifting half a sheet of plasterboard. This meant that for six weeks or so I was not much more than a site foreman and my helpers had to do all the heavy lifting work which obviously slowed the process down somewhat. This was a challenge as we had plasterers booked in for February (the only trade we didn’t undertake ourselves on the build) and had to somehow still make this deadline so the hours became long, but we got there. To keep the plastering cost down we also installed all the edge beading ourselves, but by then I was back in the game so I just worked late doing this as necessary.
Various stages of the plasterboarding process.
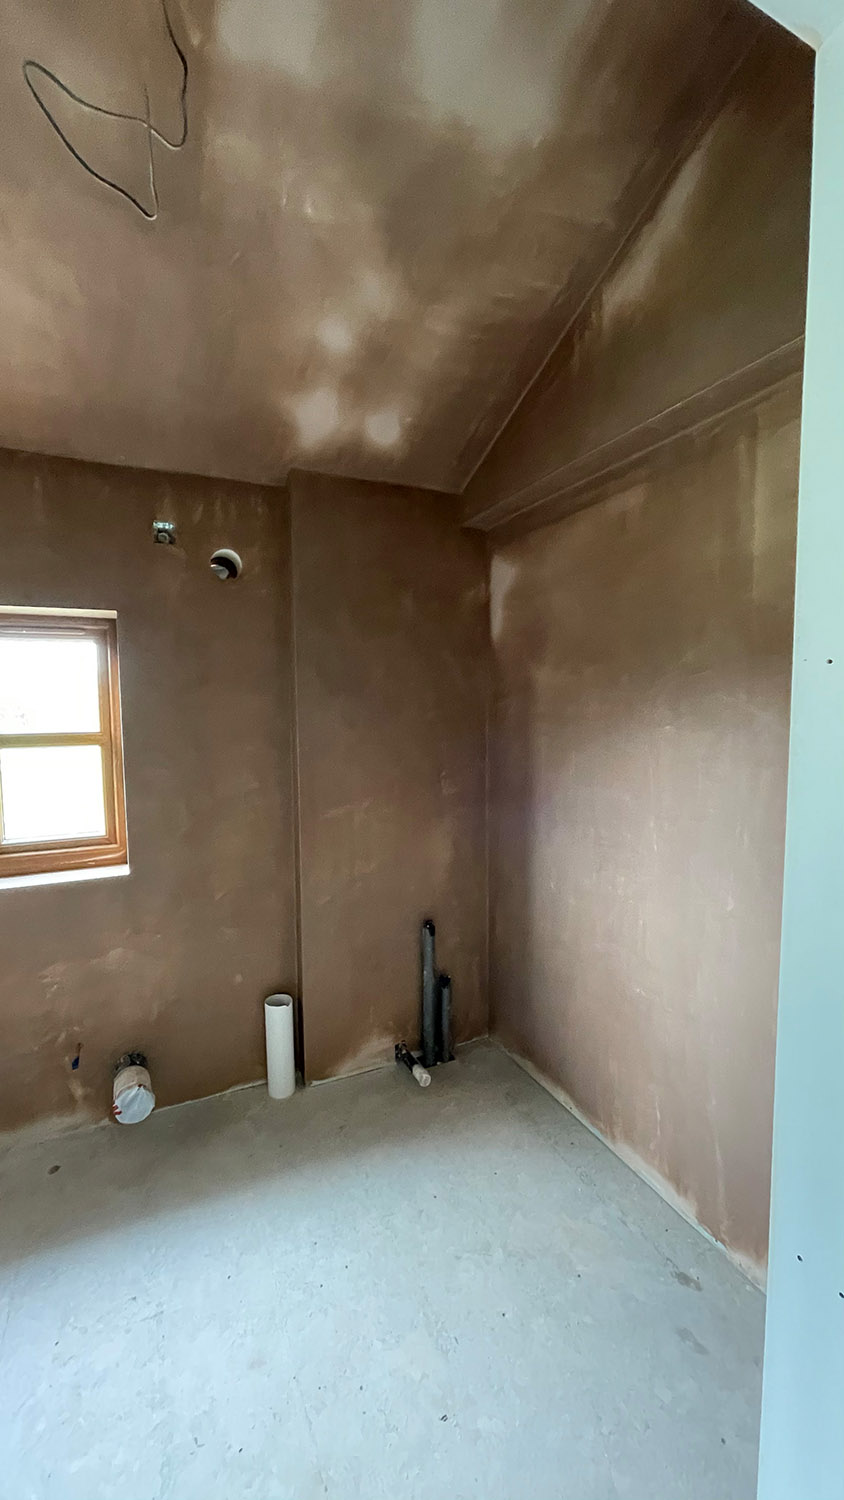
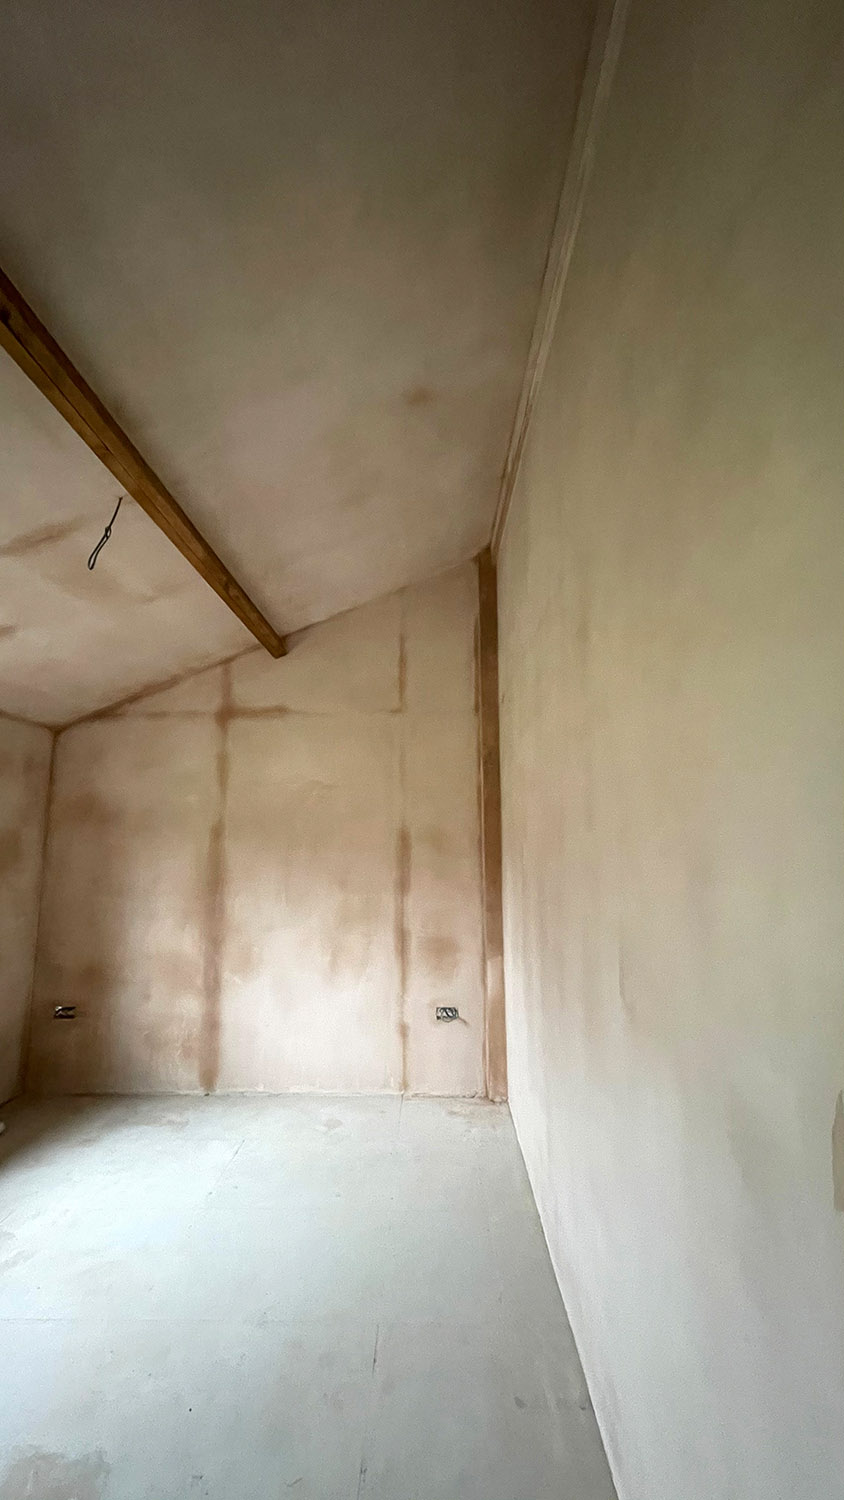
So it came to pass that the plasterer turned up on the day he said he would and did exactly the top job he promised over the next two weeks, a rarity in my experience these days. He was also impressed by the standard of plasterboarding too although sadly I couldn’t personally take a lot of credit for this achievement given my arm precluded me form doing much more than directing this process.
Some of the freshly plastered rooms.
At long last our old shed was beginning to look like a house inside as well as out.

















Kommentare